Crafting a hunting AR-15 from scratch presents a deeply engaging endeavor, offering a sense of accomplishment for firearms enthusiasts. This hands-on project can hone technical skills and allow for personalization, which ensures the final build meets the specific needs and preferences of the hunter. This process culminates in a uniquely tailored, high-performance hunting tool that embodies precision and reliability.
While numerous components and variations exist, this guide will cover the essential steps, providing a solid foundation for your first build. Read on to learn more.
Understanding The Basics
Before diving into the assembly process, it’s crucial to familiarize yourself with the AR-15’s basic components and functionality. The AR-15 platform is renowned for its modularity, allowing for various customizations tailored to hunting needs. Some key elements include the lower receiver, upper receiver, barrel, stock, and handguard, each playing a pivotal role in the firearm’s performance.
On the other hand, if you’re seeking quality parts and expert guidance, it’s best to check out reputable online resources or visit BearCreekArsenal.com and similar options for more information. These resources can offer a diverse selection of AR-15 components and accessories, ideal for custom building a hunting rifle that meets specific requirements.
Planning Your Build
Embarking on your AR-15 hunting build requires thoughtful planning. This initial phase lays the groundwork for a rifle that perfectly aligns with your hunting aspirations. To plan your build properly, consider the following tips:
1. Choosing the Right Caliber
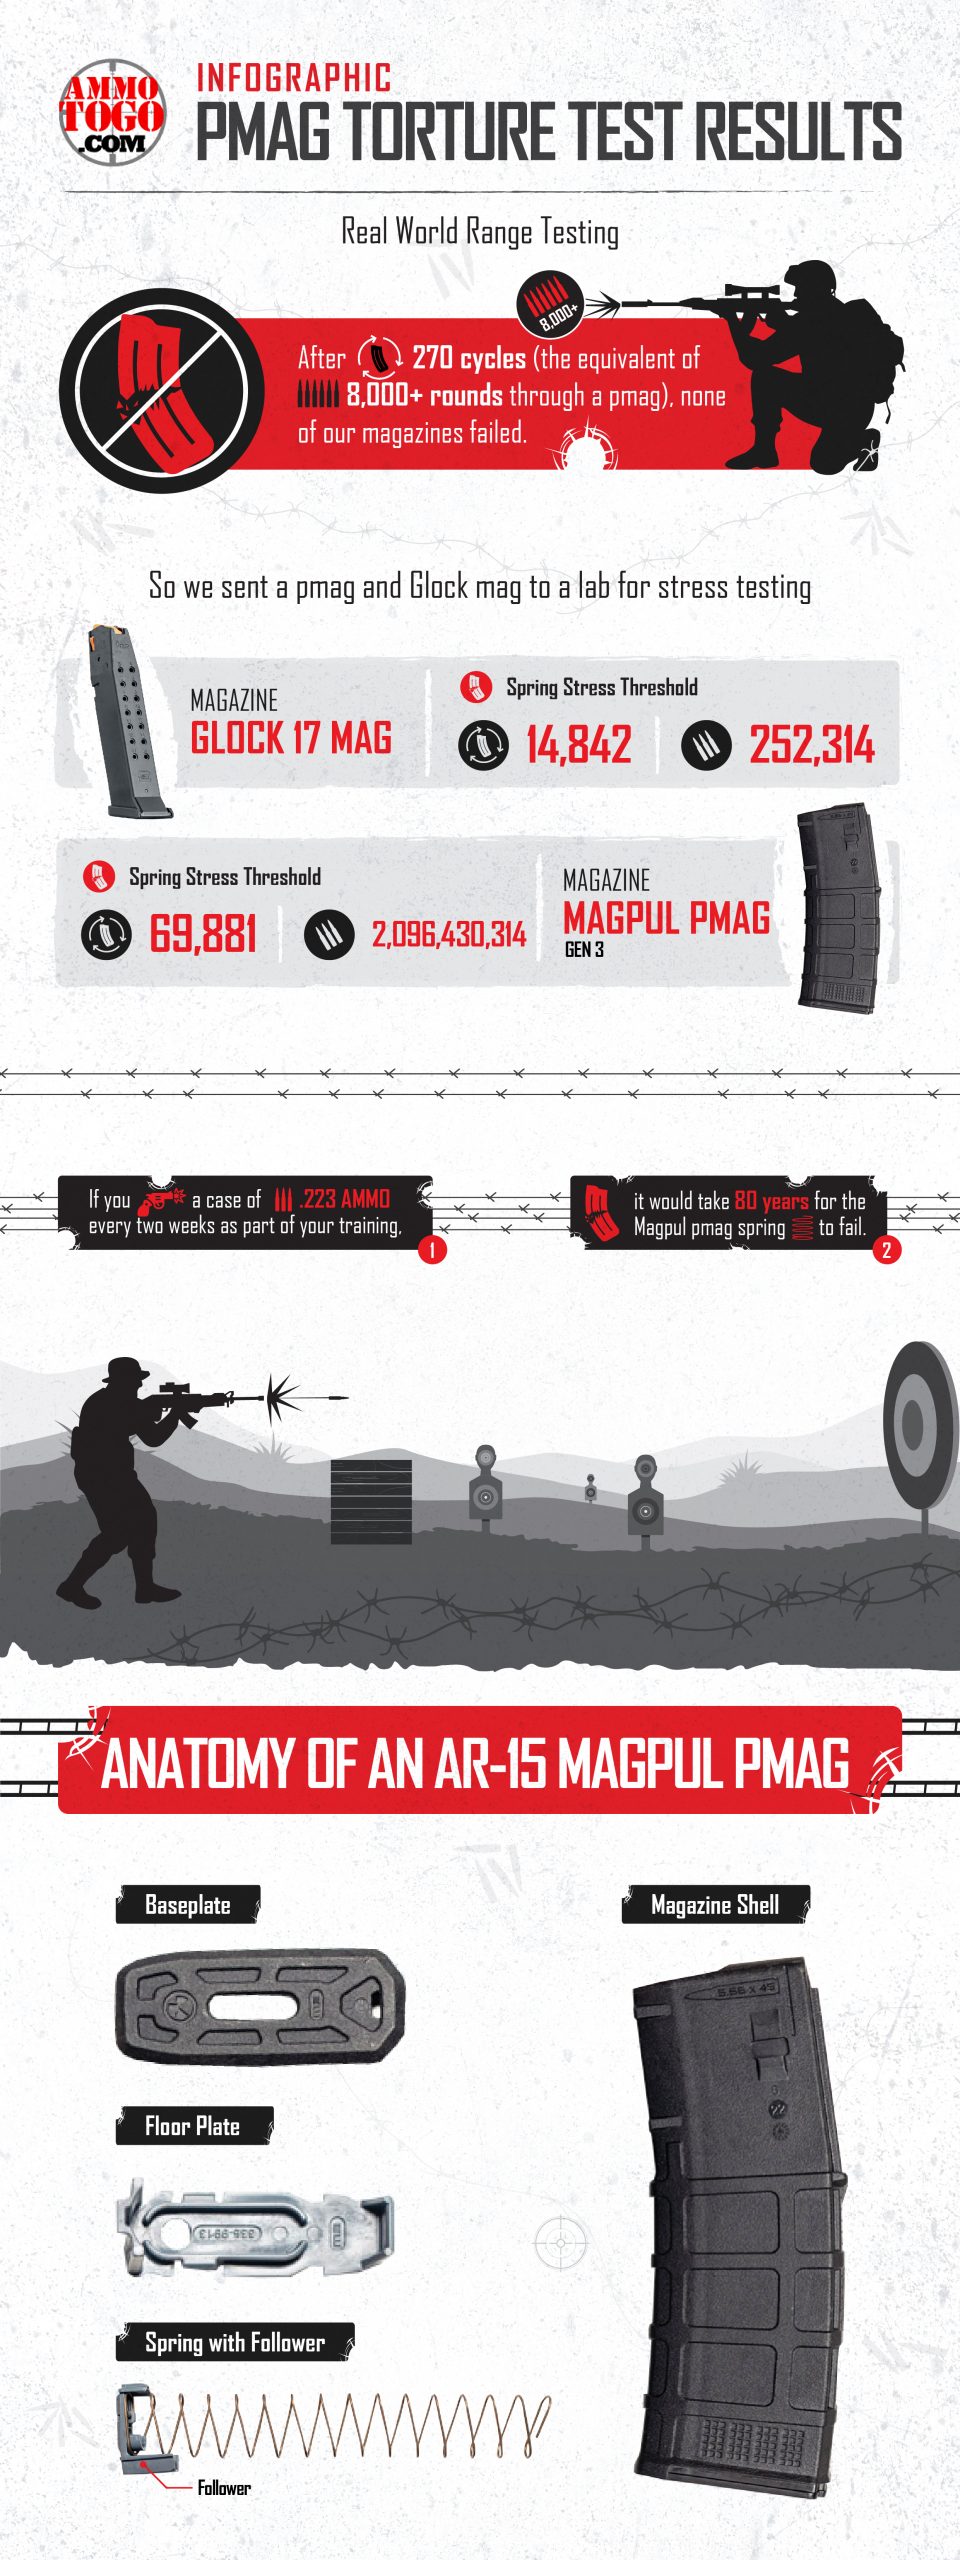
The choice of caliber is paramount in a hunting AR-15. Popular options include .223 Remington for smaller game and the more powerful .308 Winchester or 6.5 Creedmoor for larger game. Also, consider the game you intend to hunt and local regulations when selecting your caliber.
2. Selecting Components
To ensure a favorable building experience, choosing the right components is crucial. Some essential components include:
- Lower Receiver: As the foundation of your AR-15, it’s crucial to select a lower receiver that’s compatible with your desired caliber and made of high-quality materials.
- Upper Receiver and Barrel: These components are critical for accuracy. A longer barrel can offer increased accuracy over distance, which is beneficial for hunting.
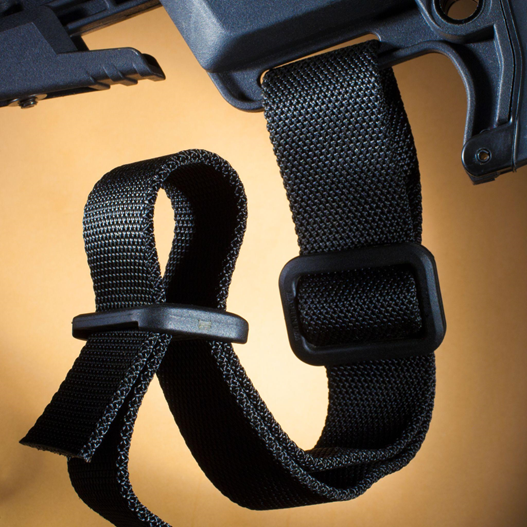
- Stock: Choose a comfortable, adjustable stock that can be tailored to fit your body and shooting style.
- Handguard: Opt for a handguard that provides sufficient space for accessories while ensuring comfort and heat resistance during extended use.
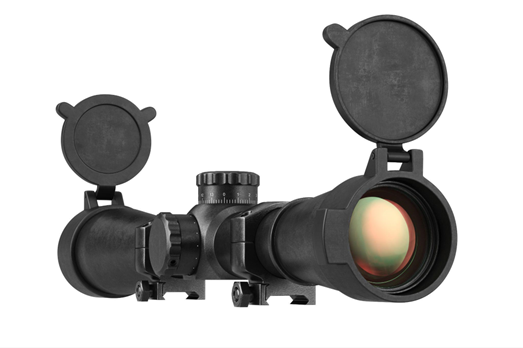
- Optics and Sights: High-quality optics can greatly enhance your hunting experience by improving accuracy and range.
Following these planning tips ensures you build your first hunting AR-15 properly and safely.
Assembling The Lower Receiver
The lower receiver houses the trigger assembly, magazine well, and stock attachment point. Begin assembling this component by securing the lower receiver in a vise. Install the magazine catch, trigger assembly, and safety selector following the manufacturer’s instructions. Precision and attention to detail are crucial in this step to ensure the functionality and safety of your firearm.
Installing The Trigger Group
The trigger group critically influences your AR-15’s accuracy and responsiveness. Carefully install the trigger, hammer, and associated springs. Conduct a function test to ensure the trigger assembly operates smoothly and safely.
Attaching The Stock
The stock is attached to the rear of the lower receiver. Depending on the stock type, installation might involve sliding it onto the buffer tube or securing it with screws. Ensure the stock is firmly attached and wobble-free to provide a stable shooting platform.
Assembling The Upper Receiver
The upper receiver assembly involves several key steps:
- Installing the Barrel: Secure the upper receiver in a vise and carefully install the barrel, ensuring it’s properly aligned and torqued to the manufacturer’s specifications.
- Attaching the Handguard: After the barrel is installed, attach the handguard. This component should provide a comfortable grip and ample space for mounting accessories.
- Mounting the Optics: Choose a scope or sighting system suitable for your hunting needs and mount it securely to the upper receiver.
Assembling the upper receiver is a crucial milestone, combining precision and craftsmanship to create the rifle’s core. This step can bring you closer to the field-ready firearm.
Final Assembly And Safety Check
With the upper and lower receivers complete, the final step is to join them together. This is typically done by aligning the pivot pins and pushing them into place, securing the two halves of the rifle.
Once assembled, conduct a comprehensive safety check. Verify that all components are securely installed and that the firearm operates as expected. Performing a function test under safe conditions is advisable to ensure reliability.
Conclusion
Building your first hunting AR-15 can be a complex but gratifying experience. By keeping the information mentioned above in mind, you can create a customized rifle that meets your specific hunting needs. Remember, patience and attention to detail are key to building a safe and effective hunting firearm. Whether you’re a seasoned gunsmith or a first-time builder, the journey of creating your own AR-15 can offer both challenges and rewards.