Original Article by PartSelect Blog
Written by Alison Hudson
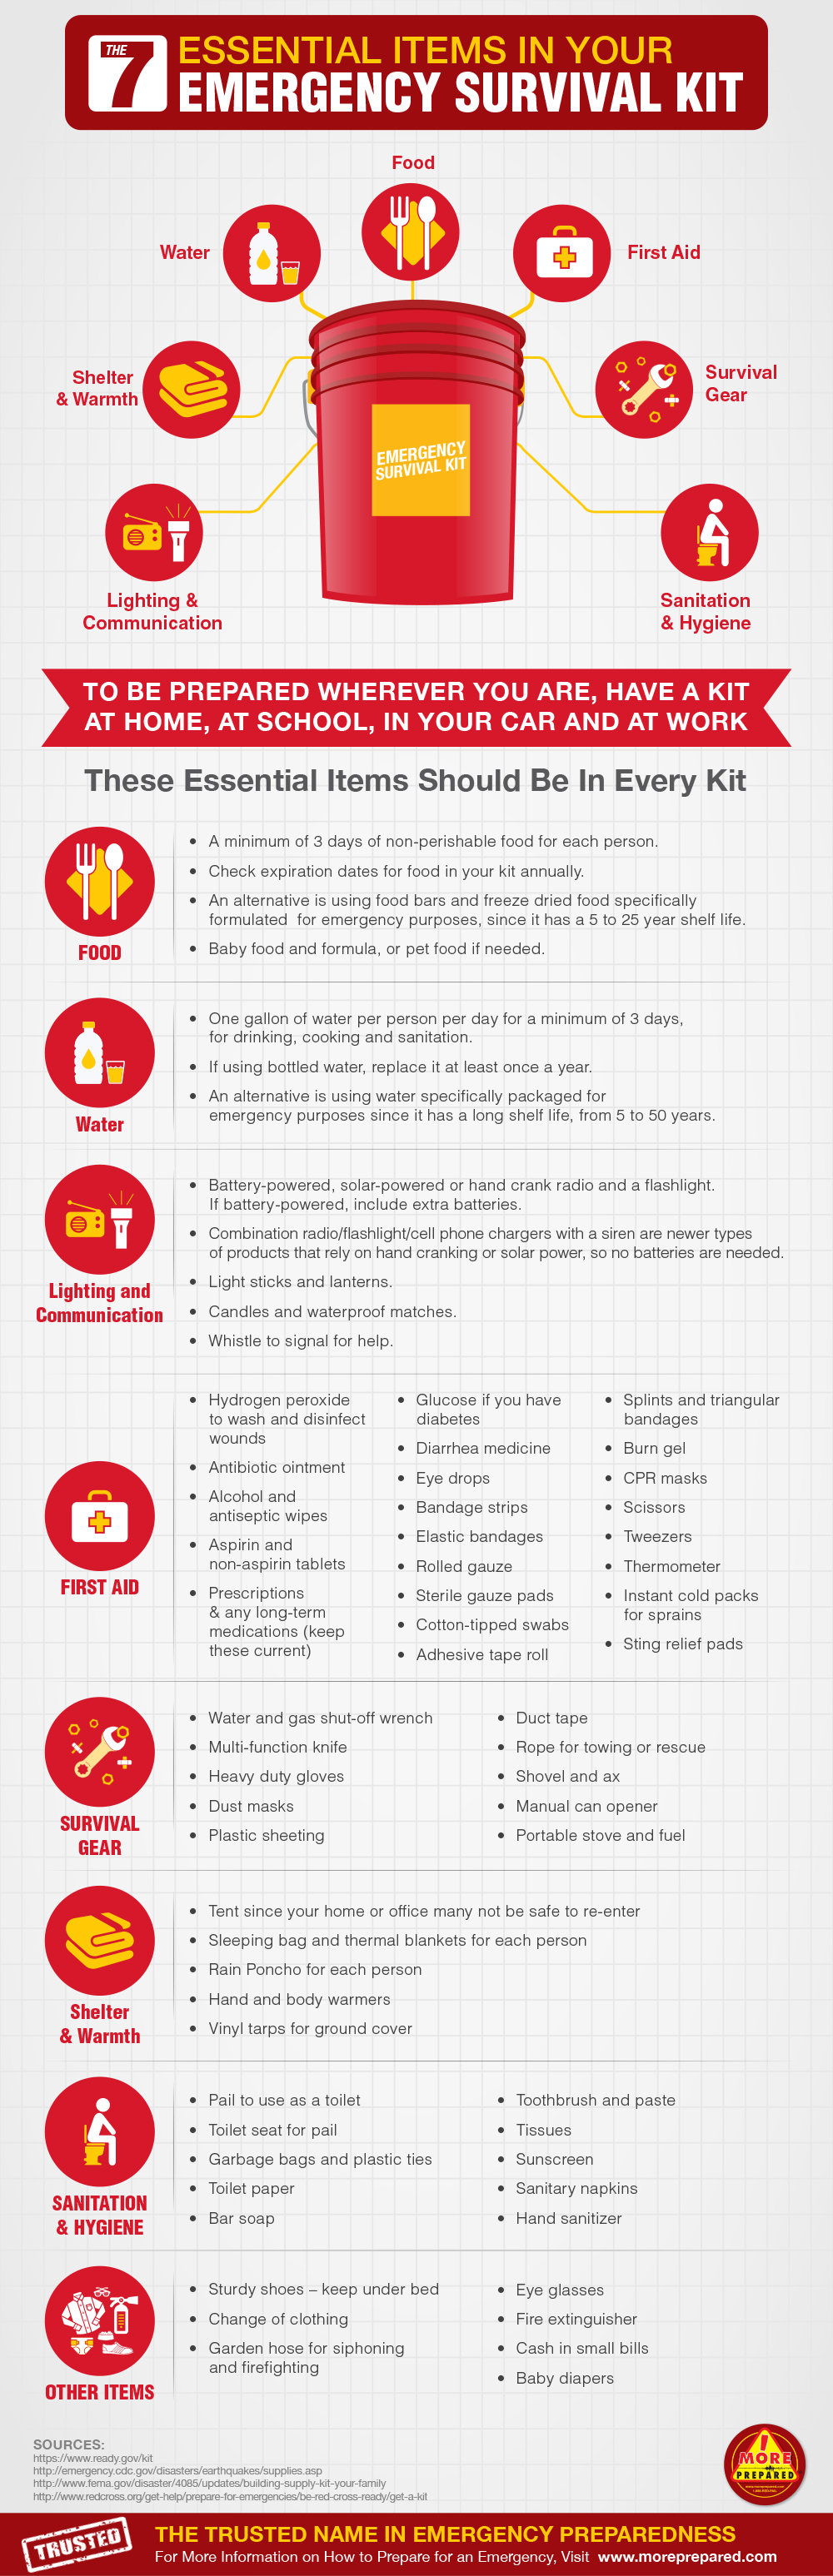
No matter what the seasons is, a trip in the backcountry requires a few essential items: food, shelter, and duct tape. For some people, the list could be whittled down to simply duct tape. Its adhesive capabilities and waterproof exterior make it one of the most dextrous tools you can carry; in a pinch, it can be used to build a shelter and create snares to catch food. Try turning a freeze-dried meal into a tent or vice versa! If you aren’t sold on the wonders of duct tape, here are fifteen reasons to bring a roll on your next wilderness expedition (and a few tips for how to keep your stash of tape organized and safe from the elements).
How to Pack It
On a backcountry trip, you won’t be happy carting around an entire roll of duct tape, replete with the inner cardboard roll: it’s heavy, it’s bulky, the cardboard will disintegrate when it gets wet, and the roll takes up an inordinate amount of space. Here are a few techniques for efficiently packing duct tape to bring on your next trip.
Flat Wrap
A little time consuming, but with a nice, compact final product. Simply start unrolling a little of the tape. When you have about 4 inches unspooled, fold the tape back on itself so you have two sides that are not sticky. Keep folding the tape on top of itself until you have the amount you need for your trip. Pack the duct tape in a ziplock bag to keep it from sticking to other things in your pack.
Spool
This is a common trick used by people who hike with trekking poles. Start by holding the trekking pole sideways so that it’s easier to work with the tape. Then wrap the duct tape around the trekking pole until you have the desired amount. If you don’t like a thick roll of tape, consider wrapping half on one pole and half on the other.
Half Spool
For little fixes, it’s nice to have a thin strip of duct tape, rather than the bulky width of the tape on the roll. To create a half spool, find something round, like a tent pole splint or a pencil. Using a sharp blade, slice the duct tape on the roll so that you have either two or three equal widths of tape; if you score all the way around the roll, it’s a lot easier to pull off. Start rolling one strip around the pencil until you have enough.
Mix it Up
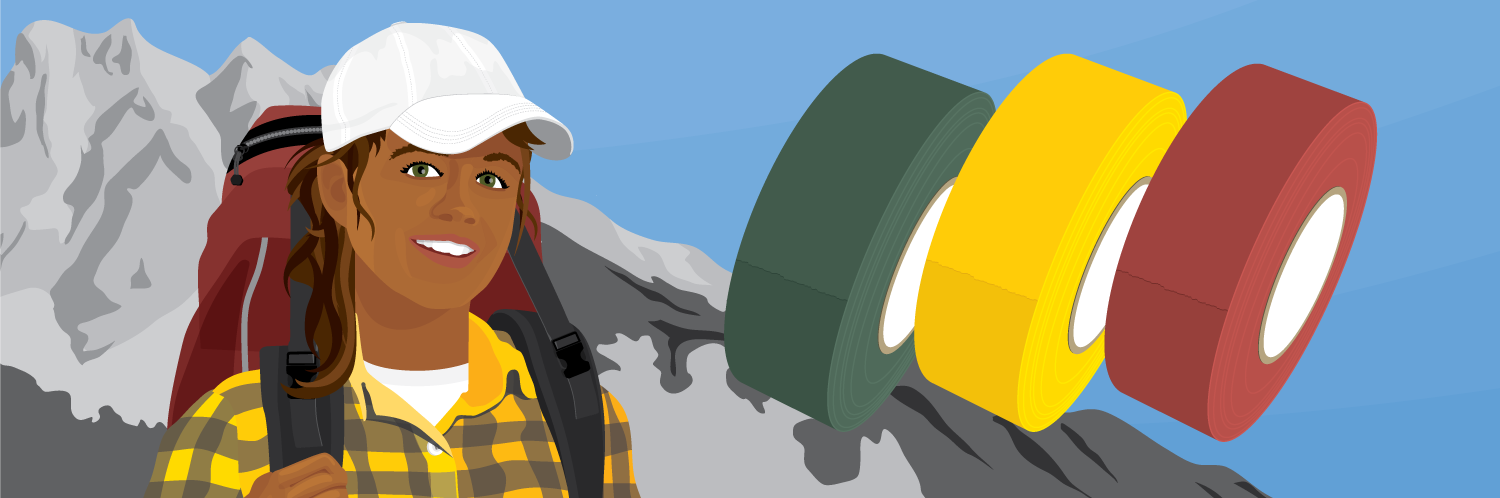
Duct tape now comes in a variety of colors and patterns, all of which have the same strength and stickiness of the original silver tape. If you’re hunting, pick up some camo-colored tape (or hunter orange for making yourself visible). If you’re wrapping tape around trekking poles, having two different colors of tape can help differentiate the two poles. If you anticipate using the tape to mend clothing, tents, or other wearable items, black, blue, or dark green make more discreet patches than the bright silver. Neon shades work especially well for marking trails because they show up so much better than silver or dark colors.
Fix Things
The original purpose of duct tape was to make repairs. This is one of its best applications in the wilderness, where supplies are limited and multi-purpose items are priceless.
Fix Your Gear
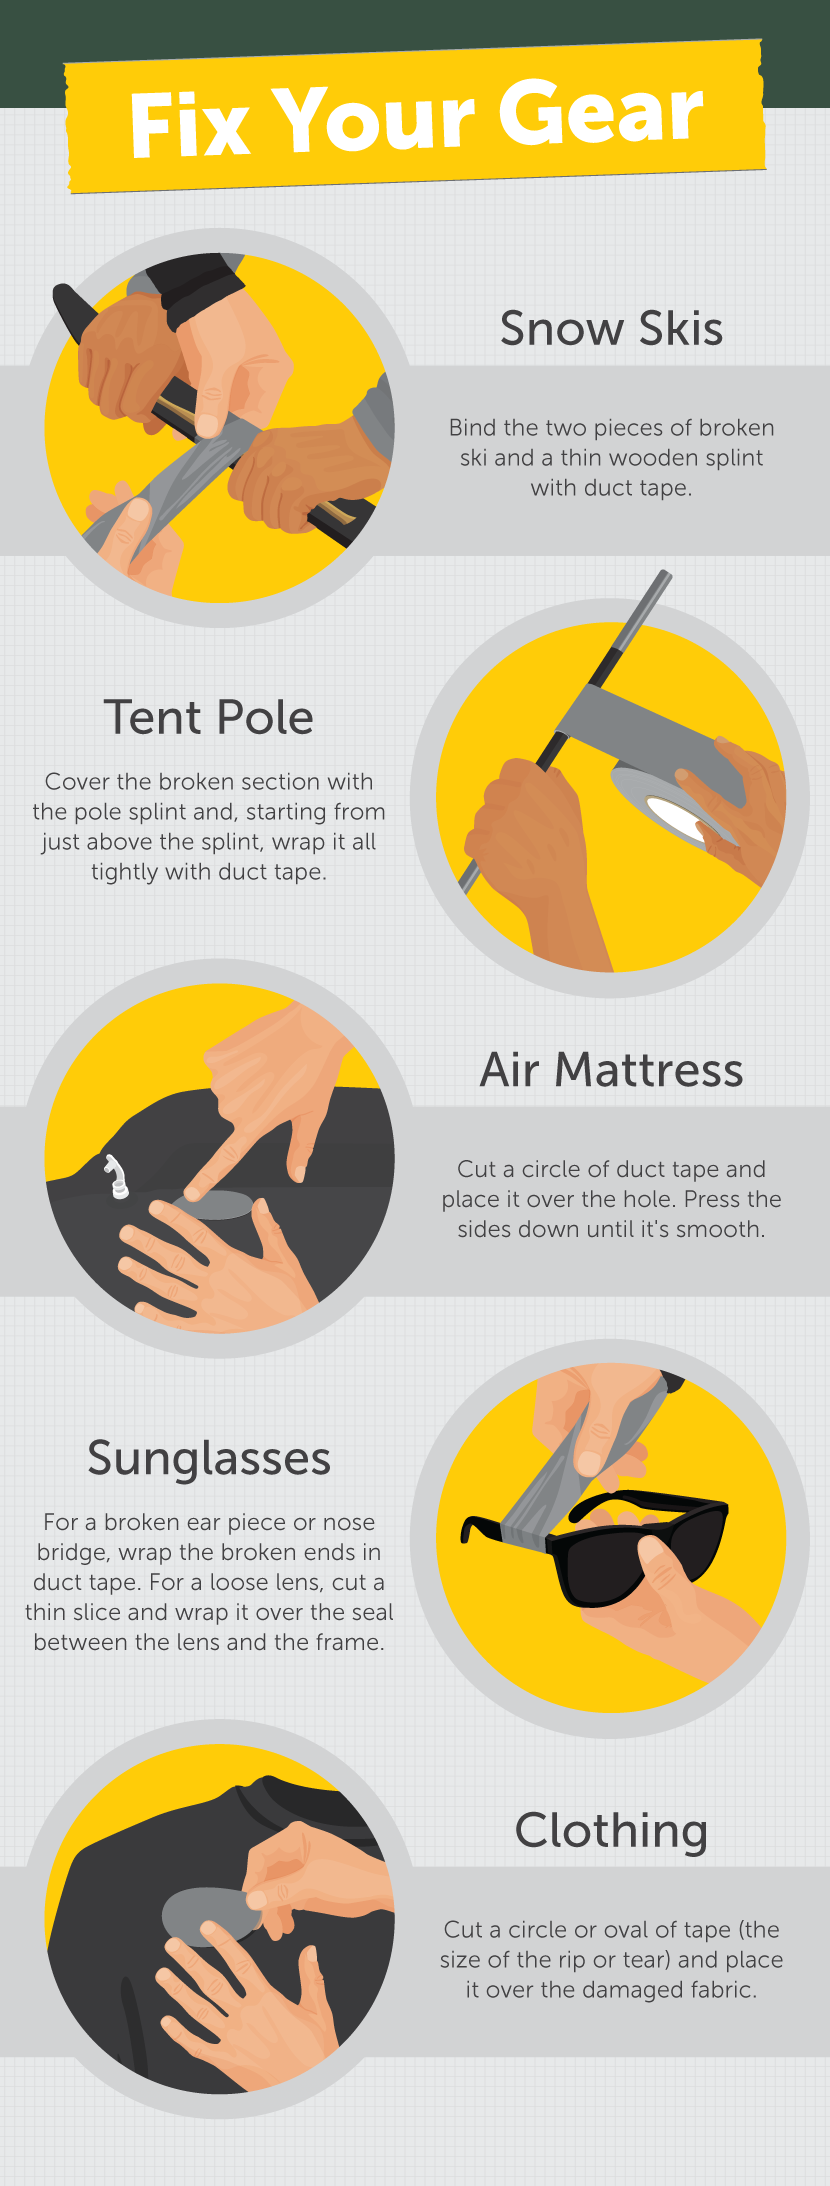
Broken Ski
A broken ski can be a huge hindrance, especially if you’re far from your car. Duct tape can be used for an easy fix, whether it’s a nordic or downhill set up. Using a thin tree branch as a splint, tightly wrap duct tape around the stick and both pieces of broken ski.
Repair a Tent (pole)
A broken tent pole can be detrimental to an extended camping trip. Even if your tent came with a splint for a broken pole, duct tape is a lot easier to use. Place the broken ends side by side, so they overlap, and wrap them tightly with tape.
Inflatable Mattress
Nothing is quite as pernicious as a leaky inflatable mattress. In a pinch, a circular duct tape patch will keep the air from escaping while you sleep through the night. Be sure to clean the area around the patch before placing the tape to make a better seal.
Repair Clothes
Rips, tears, shredded cuffs, all of these can easily be fixed with some masterfully placed duct tape. For rips, use a round piece of tape because the lack of corners makes it more likely to stay in place. For cuffs, fold a piece over the edge and press it smooth.
Repair Sunglasses
Broken ear piece, loose lenses, snapped nose bridge: these are just some of the ways in which sunglasses can break at the more inopportune time. Duct tape can be used to fix all of these problems, whether it means wrapping the nose bridge in a thin strip, wrapping the ear piece with a wide piece, or carefully outlining the lens with tape to keep it from falling out.
Fix Yourself
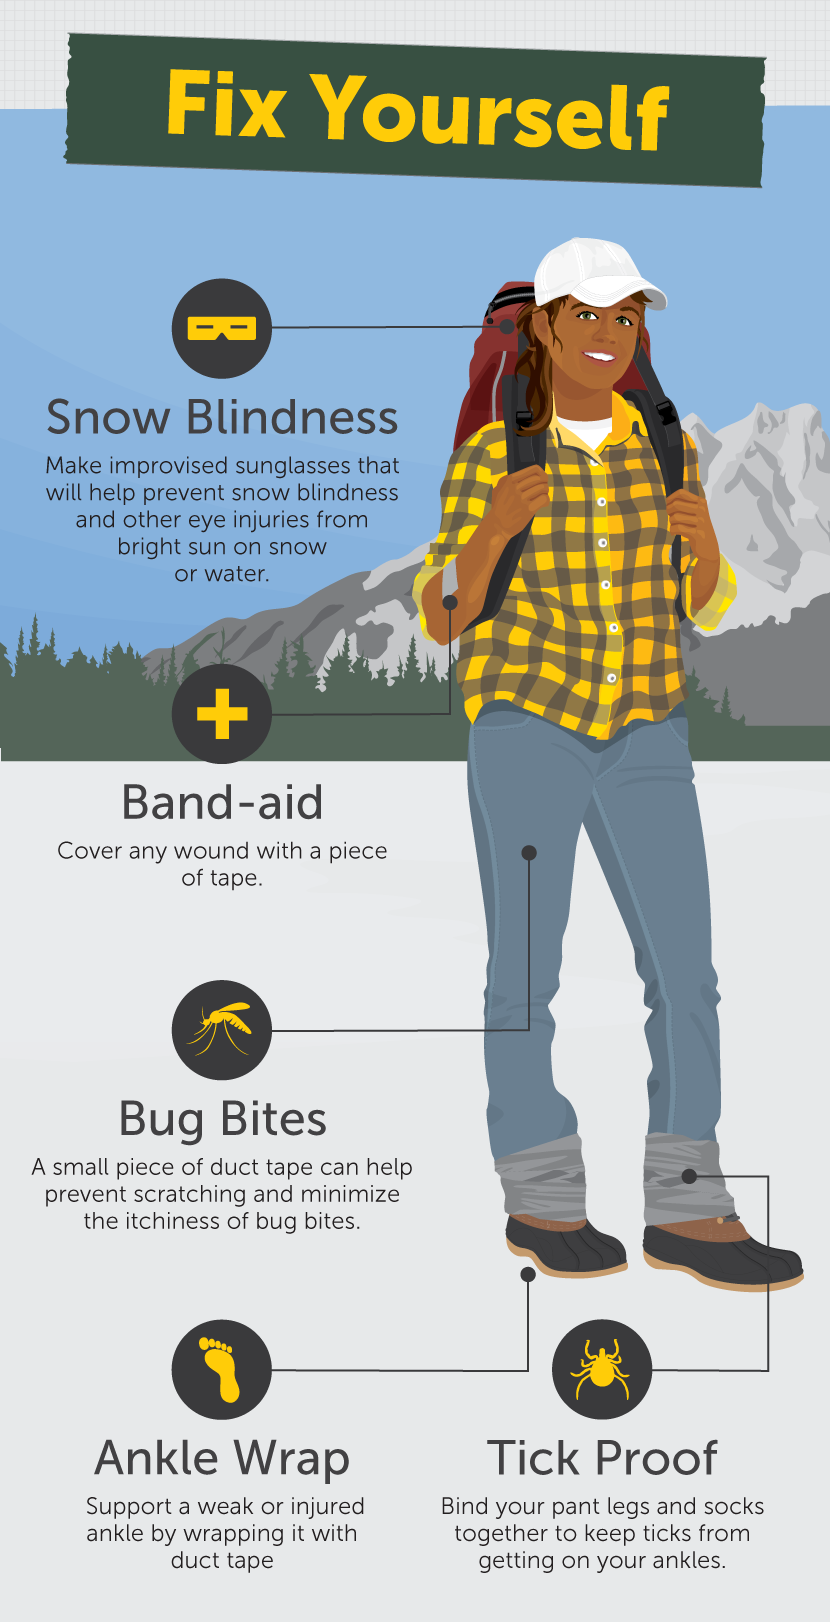
Band Aid
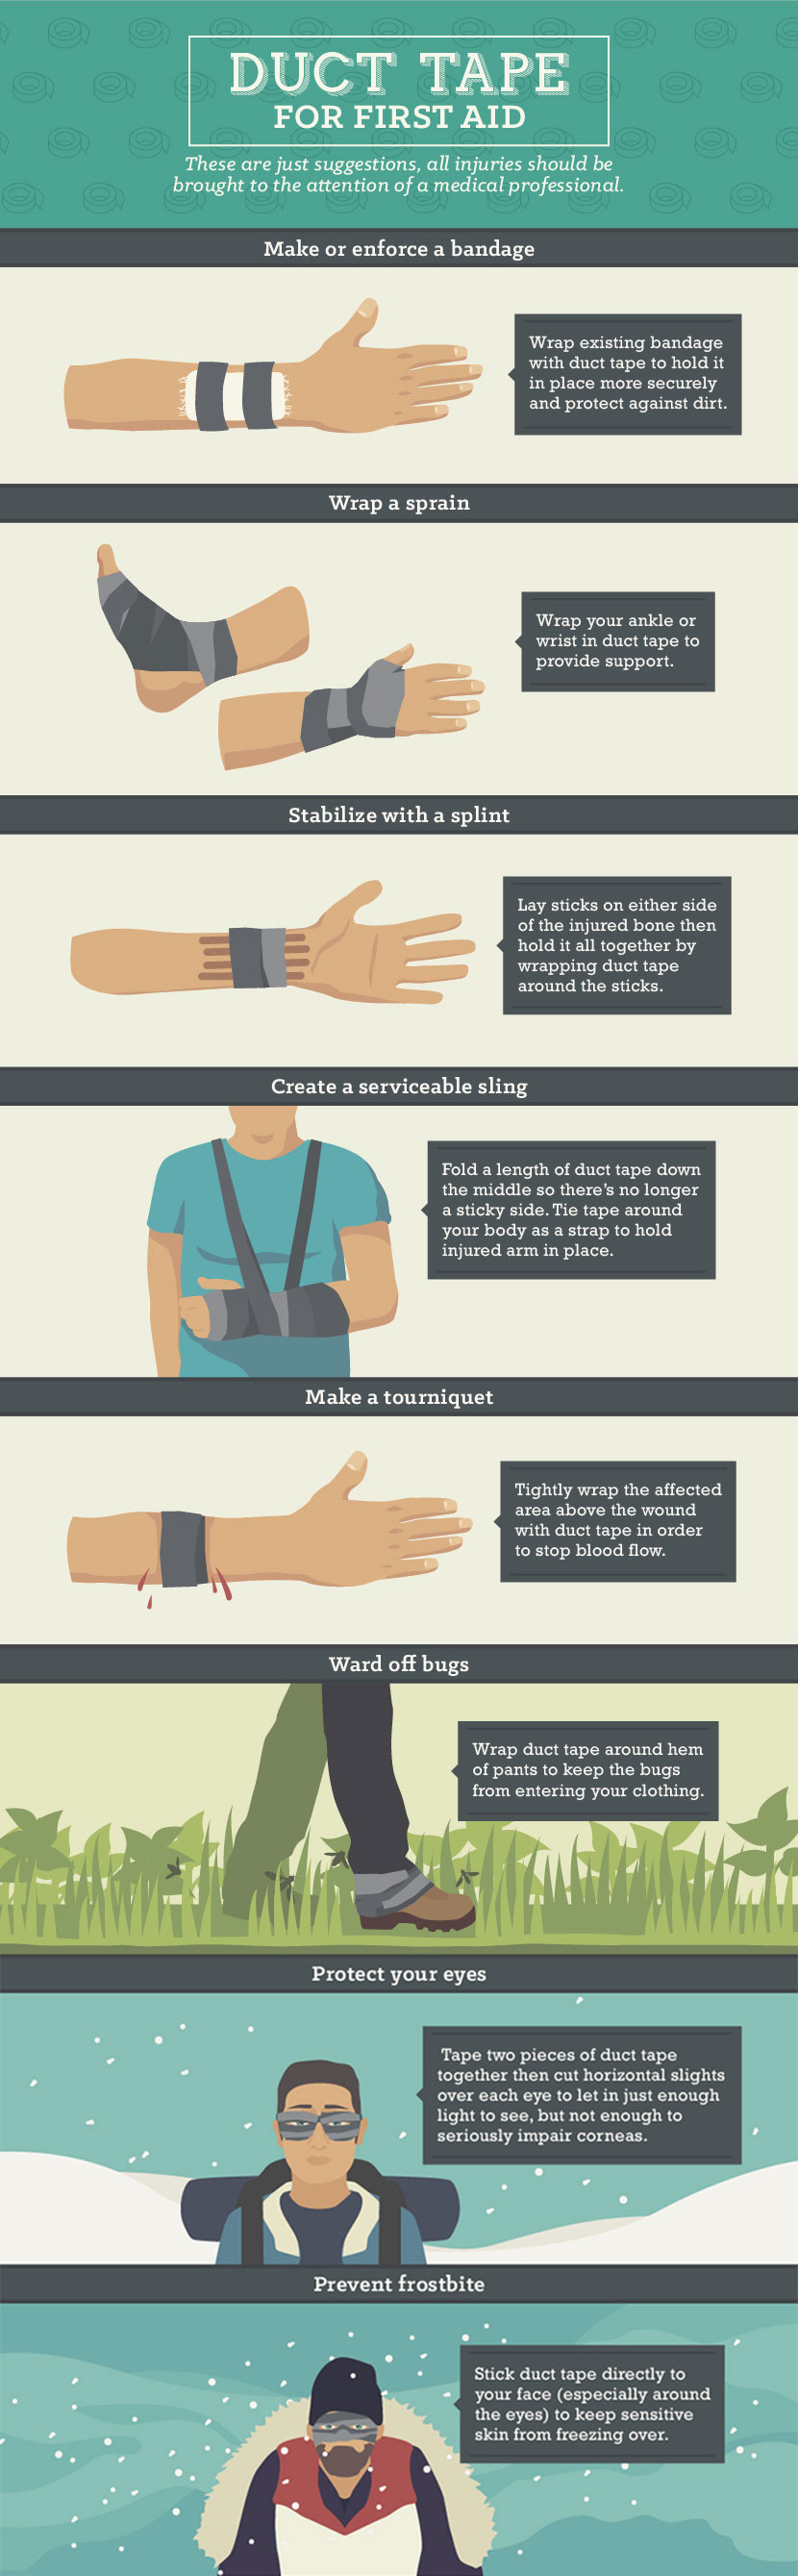
It may not have the same padding, but duct tape will keep a wound dry while keeping dirt and other detritus from causing an infection.
Ankle Wrap
Though not as flexible as athletic tape, duct tape will make a useable ankle wrap in a pinch. Wrap the tape with the sticky side out to prevent tearing skin away when the wrap is removed.
Prevent Snow Blindness
Forgot your glacier glasses in Base Camp? Duct tape can be used to make improvised sunglasses that will help prevent snow blindness and other eye injuries from bright sun on snow or water. Simply cut a width of duct tape (or two) that will extend across your face and make two very narrow slits where your eyes line up with the tape.
Tick-proof
In deep weeds or grasses where ticks are prevalent, it’s vital to seal all entrances to bare skin. Wrap duct tape around the bottom of your pants and tops of your socks to keep ticks from slipping through while you walk.
Cover Bug Bites
Some bug bites react well to being covered with tape, especially chigger bites. If you’re getting plagued by bug bites, use duct tape to cover the itchy bites and prevent worse damage.
Prevent Things from Breaking
Duct tape is perfect for preemptive use on gear that could get damaged.
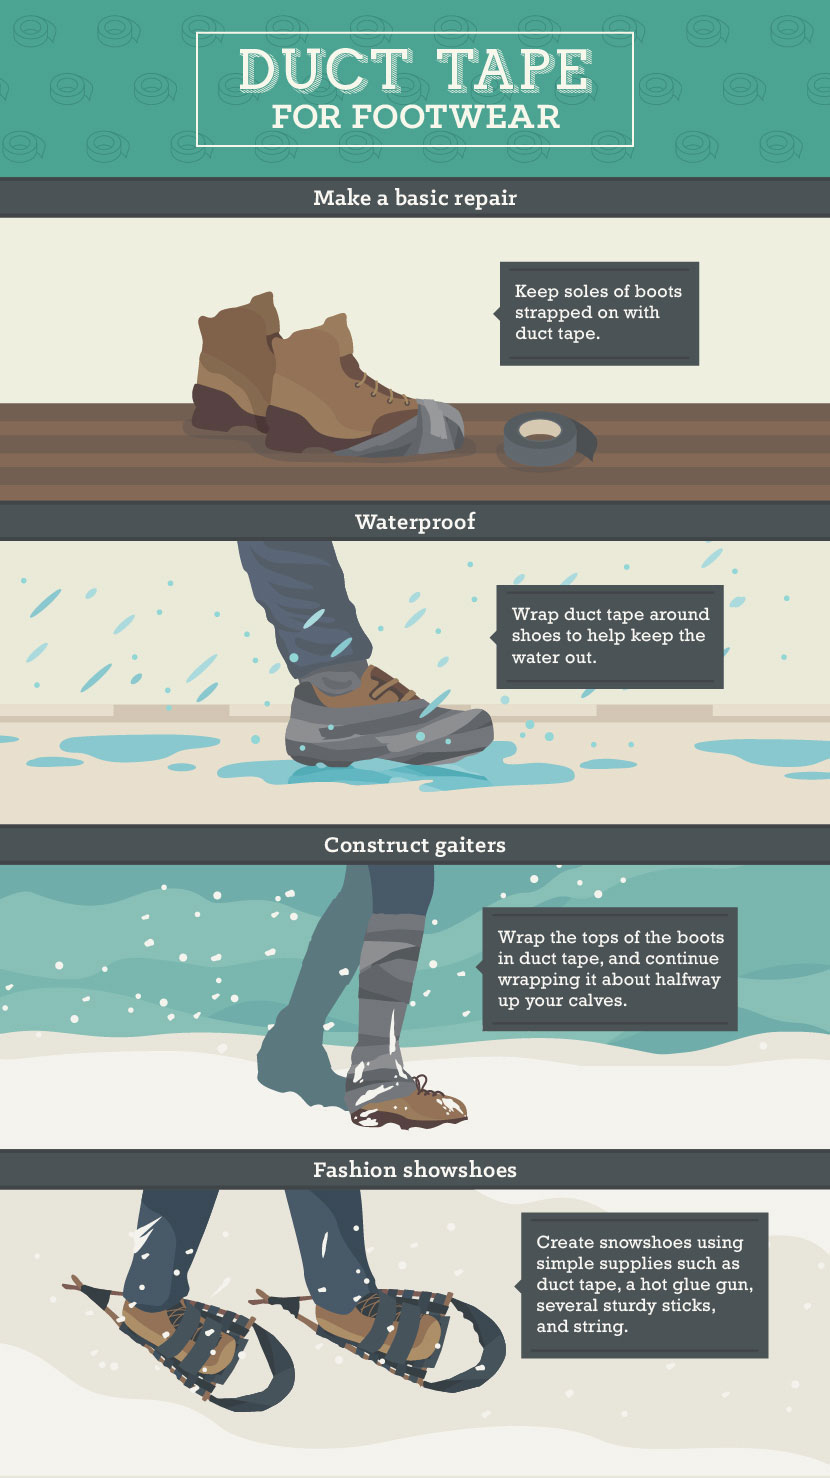
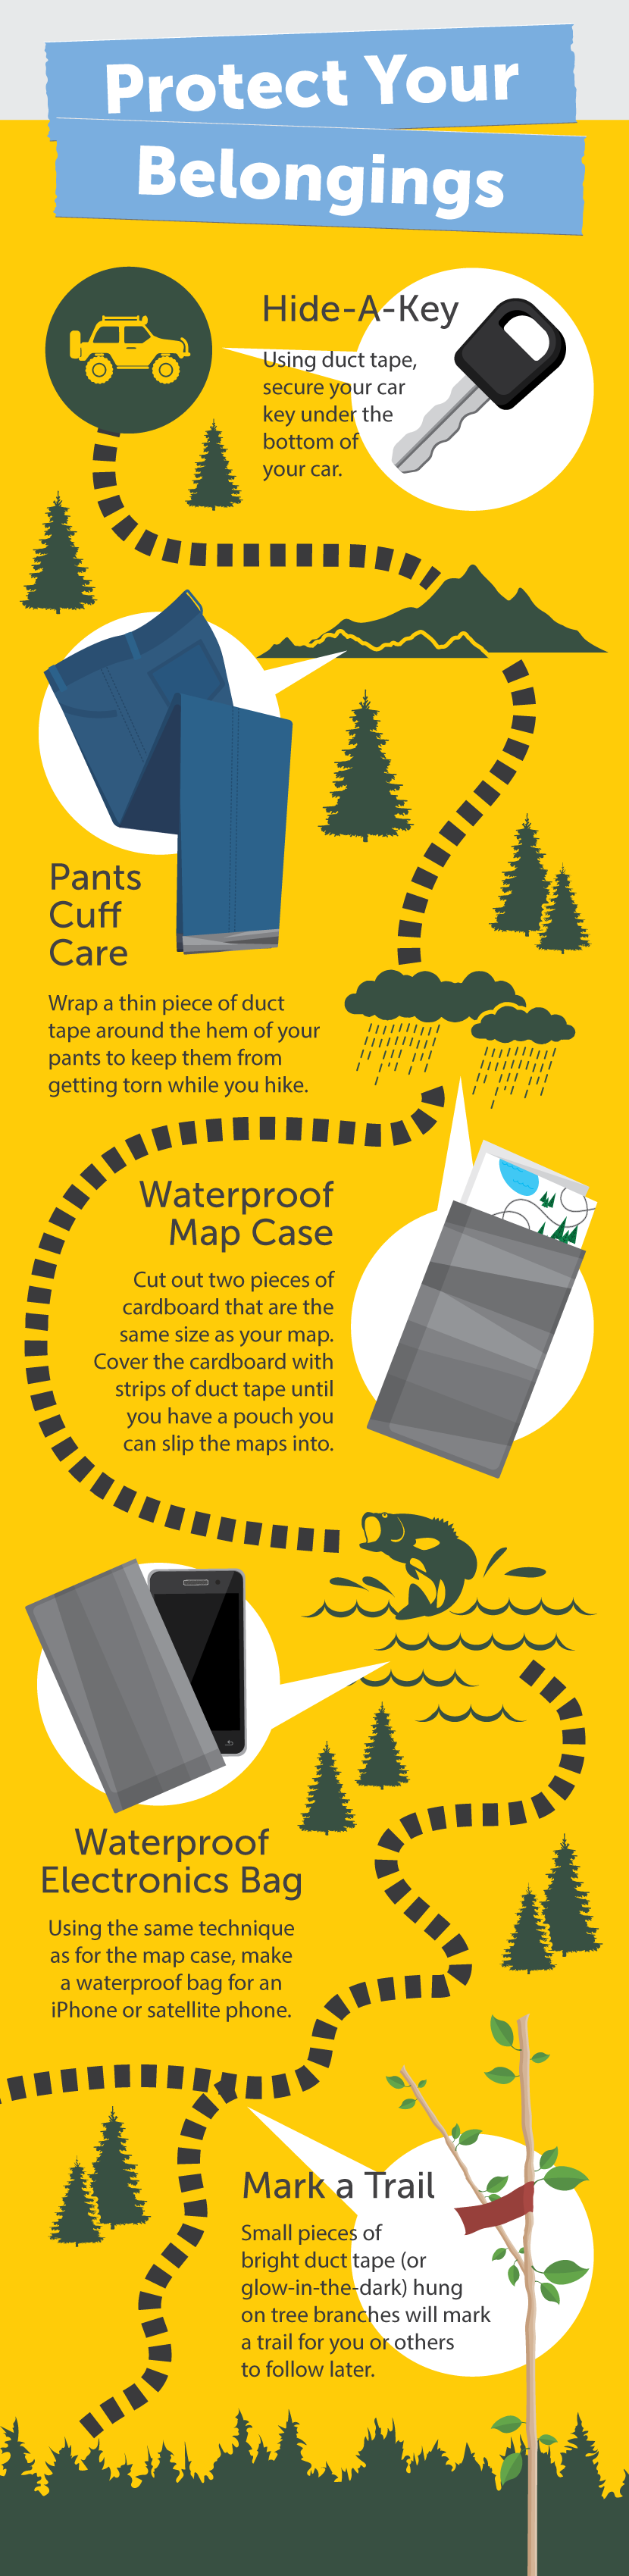
Pants Cuff Care
How many pairs of hiking pants or rain pants have you seen with blown out cuffs? It’s easy to ruin a pair of expensive pants by walking on the cuff. To prevent fraying, use a piece of duct tape to reinforce the hem. This is especially useful for rain pants, which are expensive to replace.
Waterproof Map Case
Duct tape is an inexpensive way to waterproof papers and other items that need to be protected from the rain. To make a map case, start by cutting two pieces of cardboard to match the size of your map or other papers. Once you’re created the template, cover the cardboard with stripe of duct tape. Be sure to overlap the edges of each piece to make it extra waterproof.
Dry Bag For Electronics
Using the same process described above, you can easily create a waterproof case for your electronics (everything from a smart phone to a satellite phone).
Hide-a-Key
It’s the last day of your wilderness trip and you’re back at the trail head exploding your back in search of the car key. Next time, use a piece of duct tape to secure your key under the car. That way you don’t have to worry about losing it in the woods or a lake.
Mark a Trail
Bright strips of duct tape can be used to flag a trail through the woods so that you or others can follow the path without getting lost.
A roll of duct tape and some creativity will go a long way toward relieving a stressful situation in the wilderness. Always pack more tape than you think you’ll need and don’t be afraid to experiment with bold ideas; when duct tape first came out on the market it was used on weapons, military vehicles, and boots. There is no situation too sticky for some duct tape.
Buy your duct tape in bulk and save some money with Sams Club discount codes

Embed Large Illustration:
<a href=”https://www.partselect.com/blog/duct-tape-hacks/”><img src=”https://www.partselect.com/assets/content/23995/duct-tape-embed-large.png” border=”0″ /></a><br />Source: <a href=”http://www.partselect.com/blog/”>Partselect.com</a>