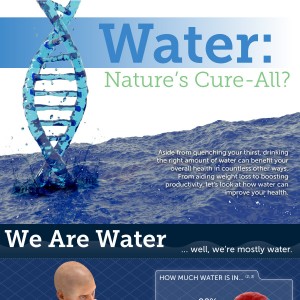
Water: Nature’s Cure-All?
Aside from quenching your thirst, drinking the right amount of water can benefit your overall health in countless other ways. From aiding weight loss to boosting productivity, let’s look at how water can improve your health.
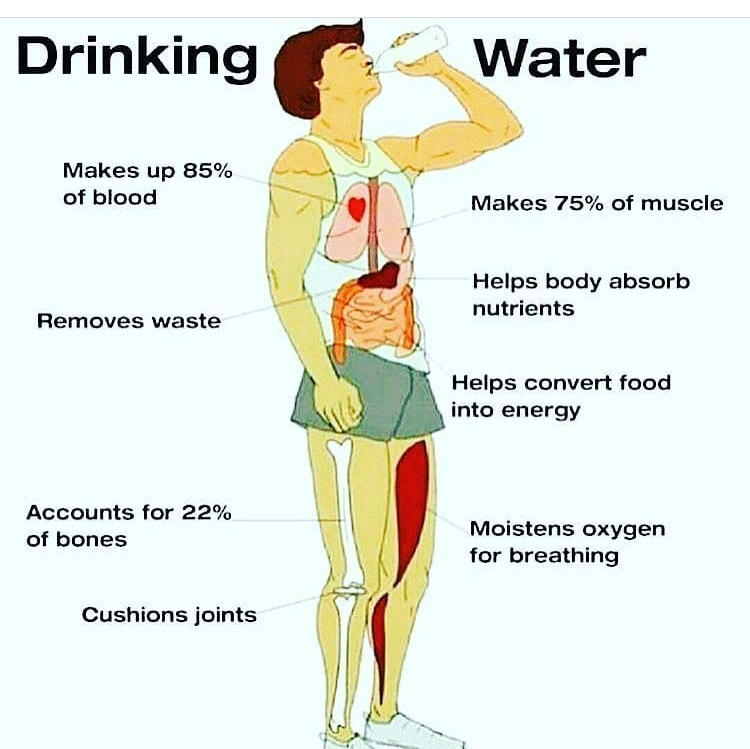
We Are Water
… well, we’re mostly water.
60%
Proportion of water in adult human body (1)
How much water is in … (2, 3)
Blood: 92%
Brain: 73%
Heart: 73%
Lungs: 83%
Skin: 64%
Muscles: 79%
Kidneys: 79%
Bones: 31%
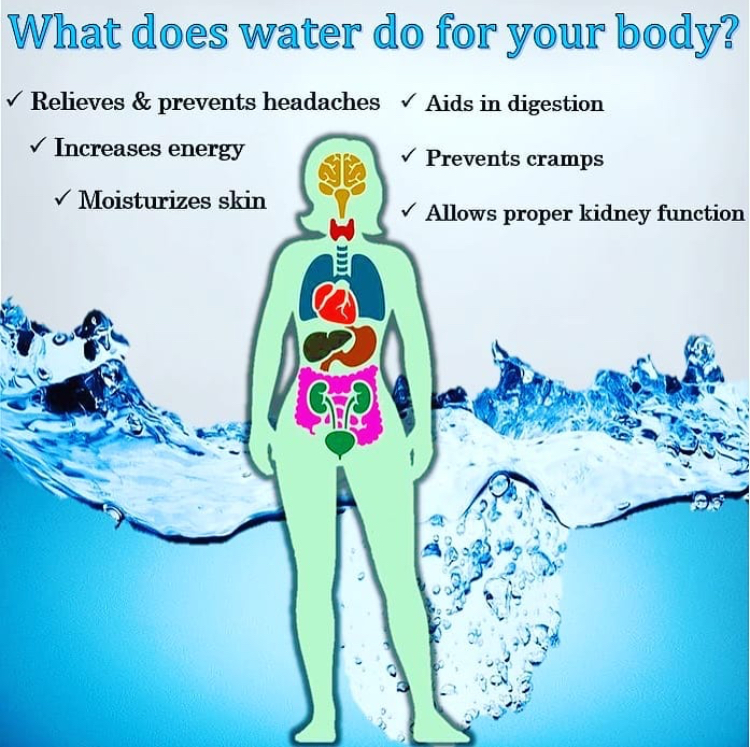
Nature’s Wonder Drug
Water’s basic functions include regulating body temperature, flushing waste and moving nutrients through our cells. But what can that mean for some of the most important illnesses and health issues? (4, 5, 6)
Aids digestion
60 million
Americans affected by digestive disorders (7)
Improves circulation
Helps create saliva
Reducing appetite
$60 billion
Annual U.S. consumer spending on weight loss efforts (8)
Providing fuel for muscles
Moisturizing skin
Clears skin of toxins
Facilitating kidney function
1 in 10
U.S. adults with some form of chronic kidney disease (9)
Boosts productivity and ramps up brain power
Preventing muscle cramps and strains
Prevents tiredness
30%
Adults who get less than 6 hours of sleep on the average night (9)
Relieving minor illnesses
Drinking It In
About 20% of our water intake comes from foods like fruits and vegetables. That means the rest comes from the beverages we drink. (4)
Good news, then, that water is the most popular beverage in the U.S., recently eclipsing soda for the top spot.
Average annual consumption in gallons (10)
Soda: 44
Water: 58
It’s not all plain water, though. Many Americans are getting their fill of water thanks in part to the myriad “flavored” waters on the market.
People who reported drinking any flavored water in the past week, in millions (11)
Spring 2010: 8.92
Autumn 2010: 8.57
Spring 2011: 8.69
Autumn 2011: 8.13
Spring 2012: 7.68
Autumn 2012: 8.07
Spring 2013: 8.96
1 in 5
U.S. households that buy bottled water and liquid flavor enhancers (12)
These enhancers often contain additives like salt, dyes and other chemicals. A better option is going natural. Don’t like the taste of water? Consider adding: (13, 14)
A few chunks of frozen fruit
Mint ice cubes
A slice of citrus
Mashed berries
Unsweetened fruit juice
Sliced cucumber
Source: Master-of-Health-Administration.com
Sources:
1. http://www.mayoclinic.org
2. http://water.usgs.gov
3. http://www.waterinfo.org
4. http://www.webmd.com
5. http://www.lhj.com
6. http://science.howstuffworks.com
7. http://digestive.niddk.nih.gov
8. http://money.usnews.com
9. http://www.cdc.gov
10. http://www.cbsnews.com
11. http://www.statista.com
12. http://abclocal.go.com
13. http://www.everydayhealth.com
14. http://www.shape.com