Old-fashioned Pickling Recipe from the 1890s

Old-fashioned Pickling Recipe

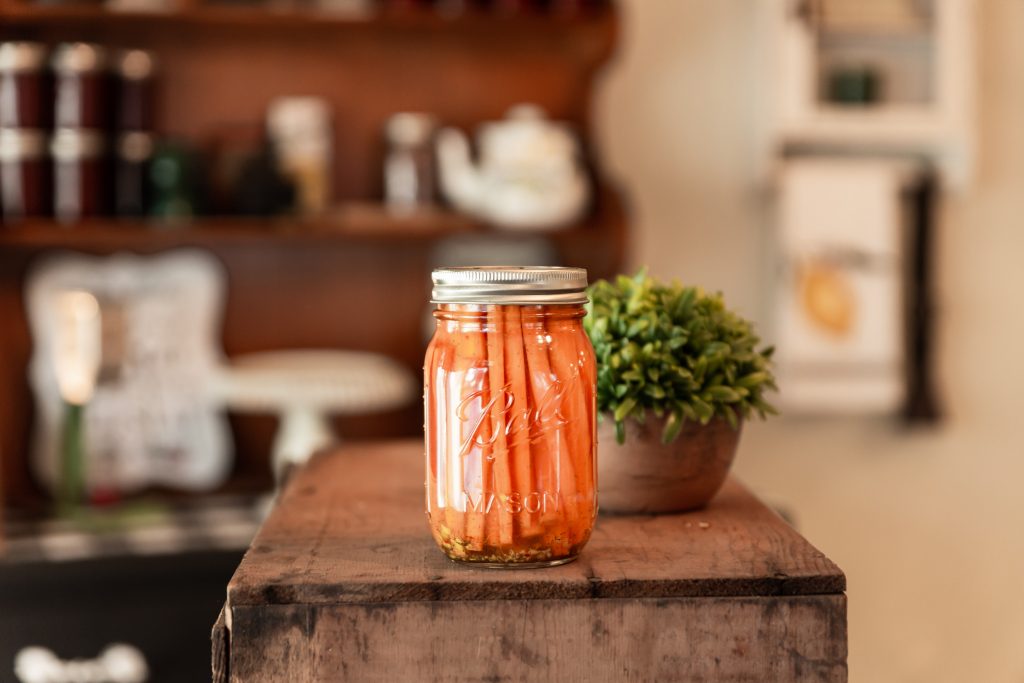
We are sharing an old-school recipe from the 1890s for pickling vegetables. You know how much we love preserving traditions, so let’s get started.

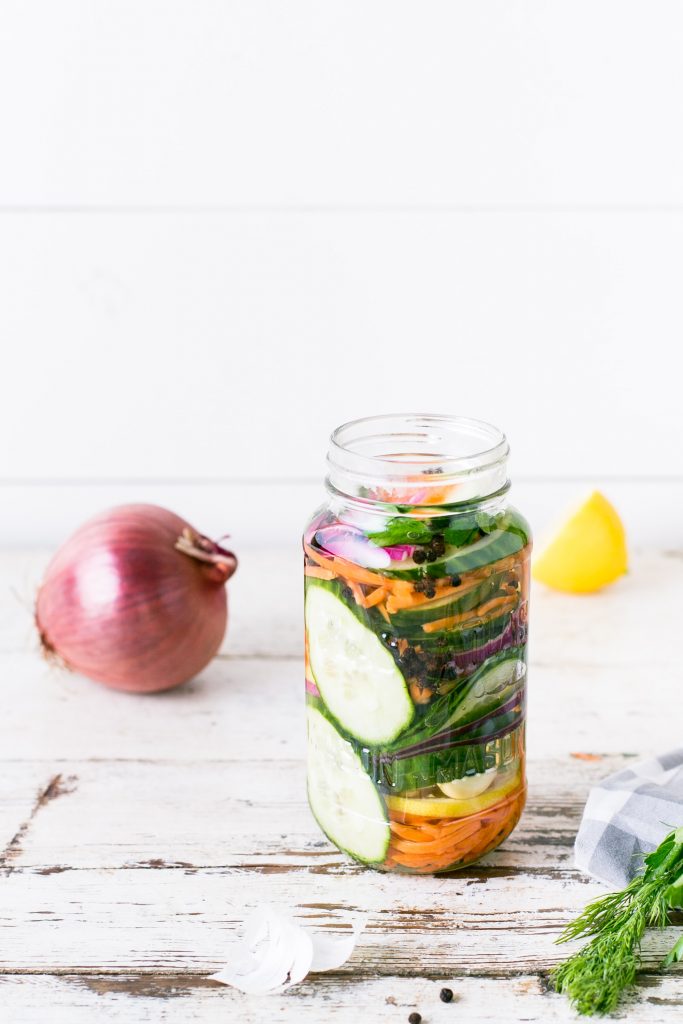
First, we’ll make the brine with vinegar, sugar, salt, and a blend of spices like mustard seed, allspice, cloves, and black peppercorns. Then, we’ll chop up our favorite veggies, like cucumbers, onions, and green tomatoes, and pack them into sterilized jars. Pour the brine over the veggies, remove any air bubbles, and seal the jars tight.

Now, here’s the most important part: let these babies pickle for at least 3 weeks before opening and serving. Trust us, the longer they sit, the more flavor they’ll develop. And don’t be afraid to experiment with different veggies and spice blends – that’s what makes pickling so fun!

experiment with different veggies and spice blends - that's what makes pickling so fun

So go ahead and give this 1890s recipe a try, and let me know in the comments how it turned out. Cheers, and happy pickling!

Here’s a recipe from the 1890s for pickling vegetables:

Ingredients:

  • 1 quart of vinegar
  • 1 cup of water
  • 1 cup of sugar
  • 1 tablespoon of salt
  • 1 tablespoon of mustard seed
  • 1 tablespoon of celery seed
  • 1 tablespoon of whole allspice
  • 1 tablespoon of whole cloves
  • 1 tablespoon of whole black peppercorns
  • Vegetables of your choice (such as cucumbers, onions, and green tomatoes)

Instructions:

  1. In a large pot, combine the vinegar, water, sugar, salt, mustard seed, celery seed, allspice, cloves, and black peppercorns. Bring the mixture to a boil and then let it simmer for 10 minutes.
  2. While the brine is simmering, prepare your vegetables. Cut them into small pieces or slices, depending on your preference.
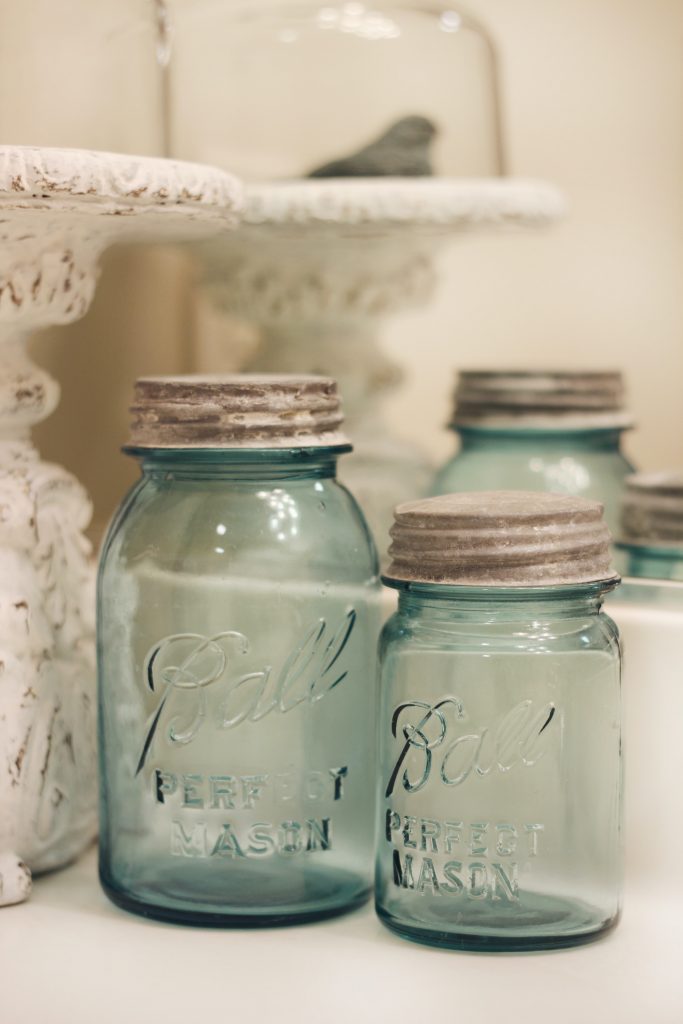
  3. Pack the vegetables into clean, sterilized jars. Make sure to leave enough space at the top of the jars for the brine to cover the vegetables completely.
  4. Once the brine has simmered for 10 minutes, remove it from the heat and carefully pour it over the vegetables in the jars.
  5. Use a knife or chopstick to remove any air bubbles from the jars. Then, seal the jars tightly with lids.
  6. Place the jars in a cool, dark place to pickle for at least 3 weeks before opening and serving. The longer the pickles sit, the more flavorful they will become.

Note: This recipe is from the 1890s and may contain outdated or unsafe canning practices. For safe and modern canning practices, please consult a reliable source such as the National Center for Home Food Preservation.

Pickled Vegetables
 

Make Your Own Survival Bread

Have you ever looked at your food storage and thought “I hope I don’t ever have to eat any of this”!  I do all the time!  The fact is, survival food doesn’t always look good or taste great!  Often it’s dehydrated, canned or preserved in some way.  What if you could have normal food, like fresh baked bread even when the SHTF?  Well if you’ve ever thought like that, then here is something that will fit the bill!  It’s an age old recipe that has withstood the test of time, filling bellies and putting smiles on faces for centuries, if not longer.


Indian-Fry-Bread-recipe

In an emergency fresh eggs/milk may be hard to come by and you certainly won’t be able to drop by your local market to pick up a loaf of sliced bread! So what do you do? Tuck this away, practice it and use it when/if needed. We have had a lot of requests for recipes like this so I will dig out my Grandmothers old recipe book and see what I can find. If you have any you would like to share, please send them to me via message and I will post them for everyone.

Indian Fry Bread/Navajo Fry Bread

4 cups flour

2 tsp. sugar

1 ½ cups warm water

2 tsp. salt

4 tsp. yeast (some use baking powder instead of yeast)

Vegetable Oil for frying (you can use a small amount or larger amount to deep fry)

1) Mix water, sugar, salt and yeast together – let stand 5 minutes.

2) Add flour and knead until the mixture is smooth.

3) Heat the oil in a fry pan.

4) Form dough into small balls, then flatten into a tortilla shape about ½ inch thick.

5) Fry bread on both sides until golden brown.

Tip – if dough is sticky, use a small amount of flour to coat your hands while handling the dough.

Real Indian fry bread is deep fried in a fair amount of cooking oil, but this is not necessary. You should use the dough immediately without allowing it to rise first. This is not like the traditional bread recipe that is baked into a loaf and rises beforehand.

Enjoy, you now have a recipe for bread, it can be used for sandwiches, eating with meals, with honey, cinnamon, tacos (my favorite – called Navajo Tacos)!

via Survival Bread – So good you’ll want it anytime!