Prepping for Beginners: How to Start Prepping in 90 Days

Are you new to prepping and feeling overwhelmed by the thought of getting started? Prepping doesn’t have to be an all-or-nothing endeavor. With a 90-day plan, you can gradually build your emergency preparedness supplies and knowledge, without breaking the bank or feeling too overwhelmed.

build your emergency preparedness supplies and knowledge

Here’s a simple guide on how to start prepping in 90 days:

Week 1-4: Start with the basics

  • Create a list of emergency supplies you need for survival, such as food, water, shelter, and first-aid supplies.
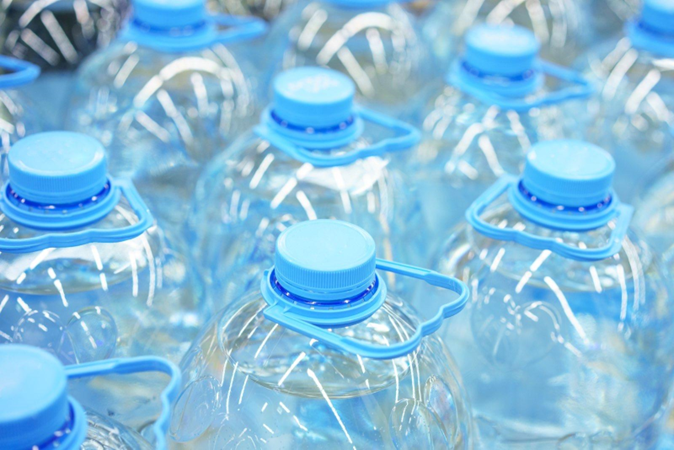
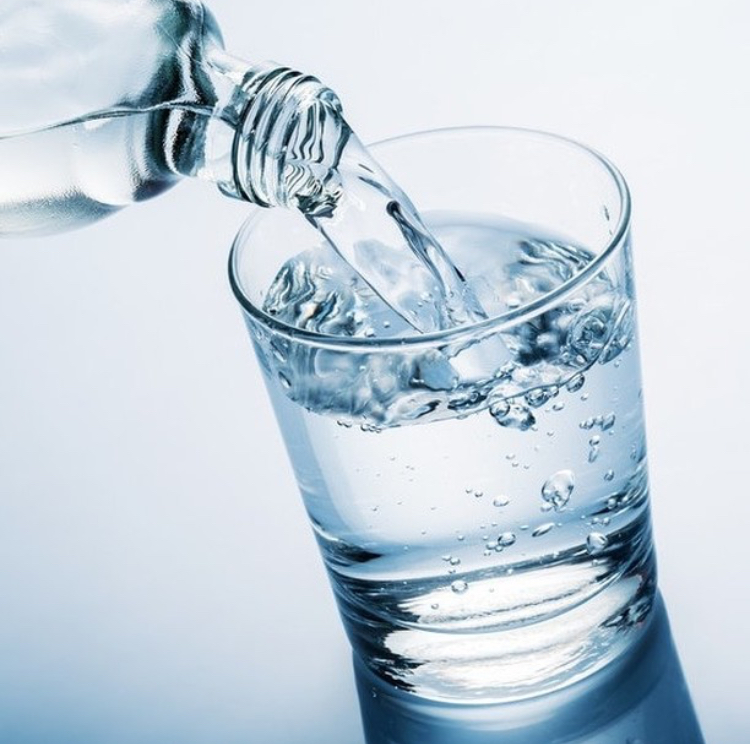
  • Stock up on a 3-day supply of non-perishable food and water for each person in your household.
  • Invest in a reliable emergency radio and a first-aid kit.

Week 5-8: Expand your supplies

  • Increase your food and water supplies to a 2-week supply.
  • Purchase a good quality tent or shelter for your family.
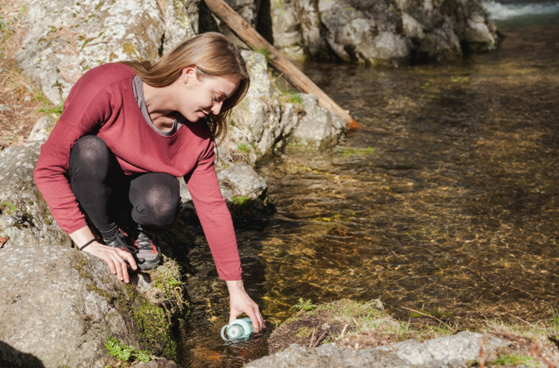
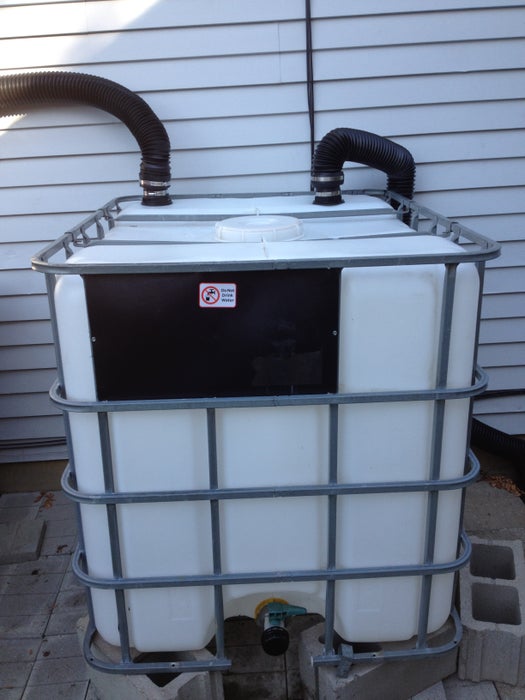
  • Invest in a good quality water filtration system.

Week 9-12: Enhance your prepping skills

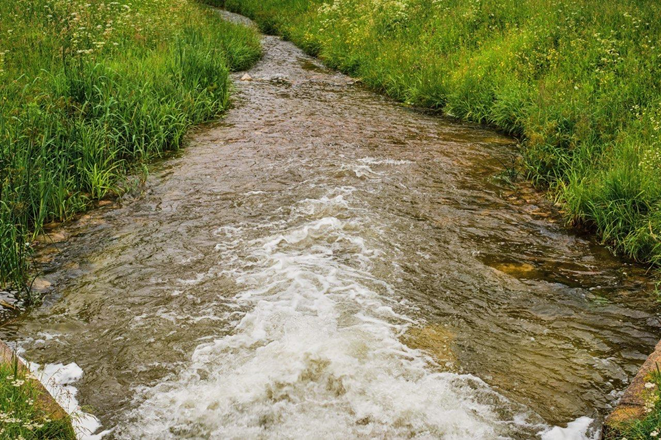
  • Learn basic survival skills like starting a fire, building a shelter, and purifying water.
  • Join a local prepper group or online community to learn from other experienced preppers.
  • Practice using your emergency supplies, so you know how to use them when it really counts.

By following this 90-day prepping plan, you’ll have the essential supplies and knowledge to better protect yourself and your loved ones in case of an emergency. Remember, prepping is a journey, not a destination, so keep learning and building your supplies over time.

Don’t worry, you can become prepared for anything in just 90 days!

protect yourself and your loved ones in case of an emergency

Here’s some more tips to help you start prepping in 90 days:

Week 1-2: Research and Planning

Make a plan: Before you begin prepping, it’s important to have a plan in place. Determine the types of emergencies you may face in your area and create a plan for each scenario.

  • Research potential disasters and emergencies in your area
  • Identify your family’s specific needs and vulnerabilities
  • Create a budget and a prepping checklist

Week 3-4: Emergency Food and Water

Gather emergency supplies: Start with the basics such as a first aid kit, flashlights, and batteries. Then gradually add to your supplies over time, including survival food, water storage, and shelter options.

  • Stock up on non-perishable food items
  • Store water for emergencies

Week 5-6: First Aid Kit and Emergency Supplies

Build a bug out bag: A bug out bag is a portable kit that contains essential items to help you survive for 72 hours. Make sure your bug out bag includes basic supplies such as food, water, shelter, and clothing.

Gather emergency supplies: Start with the basics such as a first aid kit, flashlights, and batteries. Then gradually add to your supplies over time, including survival food, water storage, and shelter options.

  • Assemble a comprehensive first aid kit
  • Purchase and organize emergency supplies like flashlights, batteries, and communication devices

Week 7-8: Personal Protection and Security

  • Purchase self-defense tools
  • Evaluate home security measures

Week 9-10: Shelter and Hygiene

  • Stock up on hygiene essentials like soap and hand sanitizer
  • Plan for alternative shelter options if necessary

Week 11-12: Practice and Review

Learn survival skills: Knowing how to start a fire, filter water, and navigate without a GPS can be crucial in a disaster scenario. Take classes or watch online tutorials to learn these essential survival skills.

  • Practice emergency drills with your family
  • Review and update your prepping plan and checklist
you can become better prepared for whatever emergencies may come your way

By following these steps, you can start prepping in just 90 days. Remember, prepping is a process, and it’s important to take things one step at a time. Start small and gradually build up your supplies and skills over time. With dedication and persistence, you can become better prepared for whatever emergencies may come your way.


Saving Lives: Learn How to Obtain Drinkable Water in an Emergency Situation

We have all heard of the dangers of dehydration, and it is important to know how to obtain drinkable water in an emergency situation. Water is essential for survival, and having access to it during a crisis can be the difference between life and death.

In this blog article, we will explore the sources of water during an emergency and how to make it safe to drink. We will also look at how to store water and how to clean containers for water storage.

Introduction to Water Shortages

Water shortages can be caused by any number of things, such as natural disasters, droughts, or contamination of water sources. In some cases, entire cities can be affected by water shortages. This can have a significant effect on the health and wellbeing of the population, as access to clean drinking water is essential for human survival.

Water shortages can also lead to famine and disease, as clean drinking water is necessary for food production and the prevention of communicable diseases.

The World Health Organization (WHO) estimates that more than 2 billion people lack access to safe drinking water. This is a major health issue, as access to clean water is essential for human health and survival. In addition, water shortages can lead to shortages in food production, which can lead to famine and malnutrition.

It is essential to be prepared for a water shortage in an emergency situation. Knowing how to obtain drinkable water in an emergency situation can save lives.

Signs of Dehydration

Dehydration occurs when the body does not have enough water. It is important to recognize the signs of dehydration so that you can take steps to obtain drinkable water in an emergency situation. Symptoms of dehydration include:

  • Dry mouth
  • Fatigue
  • Dizziness
  • Headache -Dark-colored urine -Decreased urination -Dry skin -Irritability

If you or someone you know is experiencing any of these symptoms, it is important to take steps to obtain drinkable water in an emergency situation as soon as possible.

Sources of Water in an Emergency Situation

In an emergency situation, it is important to know where to find sources of drinkable water. Some of the most common sources of water include:

  • Rainwater
  • Streams
  • Rivers
  • Lakes
  • Ponds
  • Wells
  • Tap water
  • Bottled water

It is important to remember that not all of these sources of water will be safe to drink. It is essential to take steps to make the water safe before drinking it.

How to Purify Water in an Emergency Situation

In an emergency situation, it is essential to purify any water before drinking it to make sure that it is safe. There are several methods for purifying water, including boiling, using iodine tablets, and using filters.

Boiling Water to Make it Safe

Boiling is one of the most effective ways to make water safe to drink. To boil water, you need to heat it to a rolling boil for at least one minute. This will kill any harmful bacteria in the water. It is important to remember that boiling water does not remove chemicals from the water, so if there are any hazardous chemicals in the water, you should not drink it.

Using Iodine Tablets to Purify Water

Iodine tablets are a good option for purifying water in an emergency situation. Iodine tablets are small tablets that contain iodine, which is used to kill any harmful bacteria in the water. It is important to follow the instructions on the package carefully when using iodine tablets.

Using Filters to Purify Water

Using a filter is another way to purify water in an emergency situation. Filters use a physical barrier to remove contaminants from the water. Filters come in many shapes and sizes, from small portable filters to large family-sized filters. It is important to make sure that the filter you are using is effective at removing contaminants from the water.

How to Store Water

In an emergency situation, it is important to know how to store water so that it remains safe to drink. It is important to use clean containers for water storage. Plastic containers are the best option for storing water, as they are lightweight and easy to transport. It is also important to make sure that the containers are completely sealed and that the water is stored in a cool, dark place.

Cleaning Containers for Water Storage

It is important to clean containers for water storage to make sure that the water is safe to drink. To clean containers, you should first rinse them with warm water and then scrub them with a brush.

You can also use a small amount of bleach or vinegar to disinfect the containers. It is important to make sure that the containers are completely dry before adding the water.

Conclusion

In conclusion, it is essential to know how to obtain drinkable water in an emergency situation. Knowing where to find sources of water and how to make it safe to drink will save lives in an emergency situation.

It is also important to remember to store the water in clean containers and to keep the containers sealed and in a cool, dark place. Knowing how to obtain drinkable water in an emergency situation can mean the difference between life and death.

Now that you know how to obtain drinkable water in an emergency situation, make sure to share this information with your friends and family.

About the Author

My name is Robert and those that know me know that I like to research and to always be prepared the best I can for whatever life brings my way.  My website was born out of putting those two things together. I am married with 3 children, a dog, 2 hamsters, 3 fish, and a gecko.  We have many life adventures.

Thanks for reading,

Robert

https://notscaredalwaysprepared.com

SODIS – And How to Use the Sun to Disinfect Water

Solar water disinfection, also known as SODIS, is a simple and effective way to purify contaminated drinking water. All you need is a transparent plastic bottle and some sunlight.

To use SODIS, fill the bottle with contaminated water and expose it to full sunlight for at least six hours. The sun’s UV-A radiation (wavelength 320-400nm) and the increased water temperature work together to kill harmful bacteria and viruses in the water. If the water temperature reaches 50°C or higher, the disinfection process is three times faster.

Mason jars can also be used for solar water disinfection, though plastic bottles may be easier to find and lighter to carry in a survival situation.

It’s important to note that SODIS is just one method of water purification and it’s always a good idea to have multiple methods at your disposal in case of an emergency.


30 Things To Include In Your Camping & Wilderness Survival Pack

This is a great starter list for packing a camping or hiking bag. Many of the items cross over to a survival bug-out bag as well.

Top 30 Essential Tips For Your Camping & Wilderness Survival

Source: GroomNStyle | 30 Things To Include In Your Survival Pack


DIY – Make your own Survival Garden – Patriot Direct

When designing a survival garden, it’s essential to understand what seeds to get and what to skip — and it’s just as important to

Great article for understanding the proper balance of plants you will need to grow to survive. One must take into account calories and nutritional values that you would need to sustain yourself.

Source: DIY – Make your own Survival Garden – Patriot Direct


Do you know what basics you need to survive an Apocalypse?

Do you know what you need in an Apocalypse? Emergency Survival Checklist
This infographic shows you what to have handy:

What You


Why Prepare?

There are real benefits to being prepared.

  • Being prepared can reduce fear, anxiety, and losses that accompany disasters. Communities, families, and individuals should know what to do in the event of a fi and where to seek shelter during a tornado. They should be ready to evacuate their homes and take refuge in public shelters and know how to care for their basic medical needs.
  • People also can reduce the impact of disasters (flood proofing, elevating a home or moving a home out of harm’s way, and securing items that could shake loose in an earthquake) and sometimes avoid the danger completely.

The need to prepare is real.

  • Disasters disrupt hundreds of thousands of lives every year. Each disaster has lasting effects, both to people and property.
  • If a disaster occurs in your community, local government and disaster-relief organizations will try to help you, but you need to be ready as well. Local responders may not be able to reach you immediately, or they may need to focus their efforts elsewhere.
  • You should know how to respond to severe weather or any disaster that could occur in your area—hurricanes, earthquakes, extreme cold, flooding, or terrorism.
  • You should also be ready to be self-suffi cient for at least three days. This may mean providing for your own shelter, first aid, food, water, and sanitation.

Using this guide makes preparation practical. > Are You Ready? Why Prepare.


How To Build Your Own Heavy Duty 275 Gallon RAIN BARREL

Heavy Duty 275 Gallon RAIN BARREL
My wife asked for a rain barrel for her flowers. Our water bill has added up again and again, so I started checking craigslist for possibilities. As luck would have it, I found a polytank that was original used for similac baby food storage. That was great, since I didn’t want to worry about chemicals in the tank killing the plants and garden. The seller offered to deliver for the $35 purchase price. Great deal!!

Step 1:

The first thing I did was to go to the hardware store and get connections so I could hook up my downspouts. I found black plastic tubing that was cheap and useful.

Step 2:

The shower drain is on the left along with the coupling to attach it to the black gutter pipe I got at the store. As you can see the pipe in the background has a square opening, meant to receive the end of a normal downspout from the house.

Step 3:

I couldn’t find a really good connection for the plastic. Most plumbing is meant to be screwed down and wouldn’t work. So, I used 3″ shower pan drain. It was a oversize screw type and I drilled a 3 1/8 hole, slipped the connection in and screwed on the retaining cap. Then I connected the downspout. The sizes were not the same, so I used a rubber connection meant for odd sized pipes. I used metal straps to hold both connections. And as a bonus, the shower drain cover acts as a large item filter for the tank.

Step 4:

I realized I needed a overflow for the water, just in case I filled the tank. (Which has happened twice in the last month!) So I added a second connection that simply goes to the other side and drains into the low ridge between my house and the neighbors, which leads to a sewer drain. So the final product is not the prettiest thing in the world, but it works great and helps to save me a little cash. All parts including the cinder blocks to support the tank were under $100. The tank is up a little to provide some water pressure for the hose. And actually, I may add two more blocks or a water pump soon, because the water pressure is still a little low.