
Instructions for a 6-strand Flat Braid using Paracord
I have included two ways to make this flat braid. The first is simply the normal braiding method, and the second is more of a finger weaving method. The structure of the braid is basically the same for both methods, but because of the difference in the way tension is put on the strands, the two methods produce somewhat different looking results.
Method #1
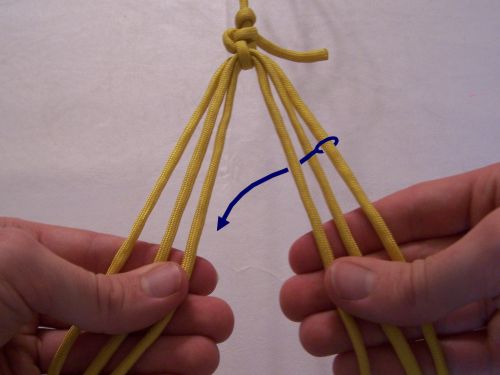
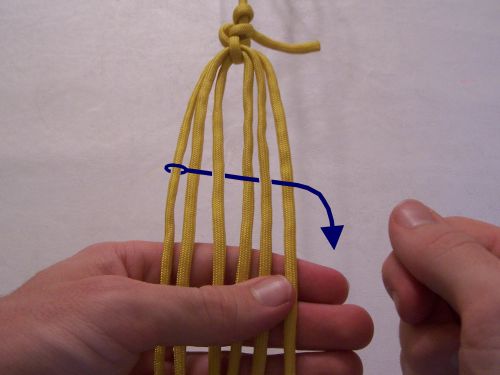
To start the braid, hold three strands in each hand. Bring the outside right-hand strand over middle right-hand strand, under the inside right-hand strand, and transfer it to the left hand as indicated by the arrow, keeping it on the inside of the other left-hand strands.
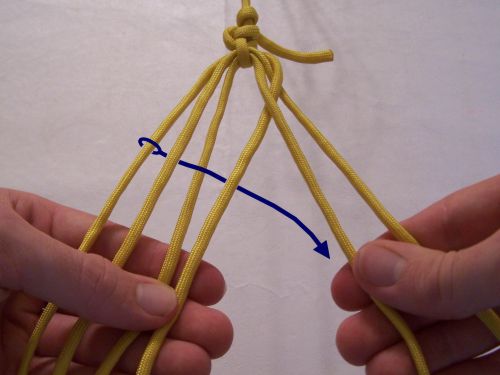
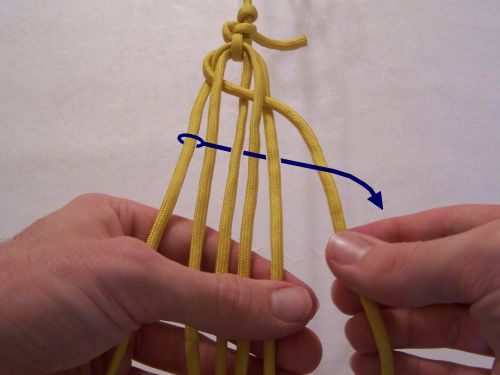
Now take the outside left-hand strand and bring it through the other three left-hand strands going under-over-under, and transfer it to the right hand, keeping it to the inside of the other right-hand strands.
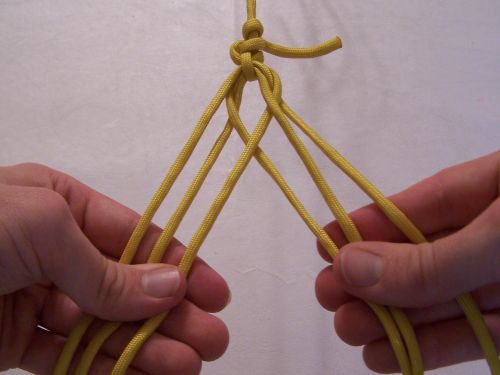
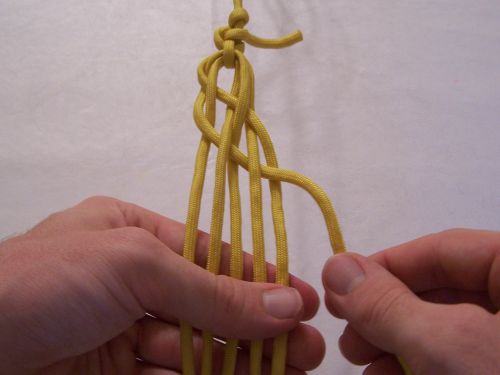
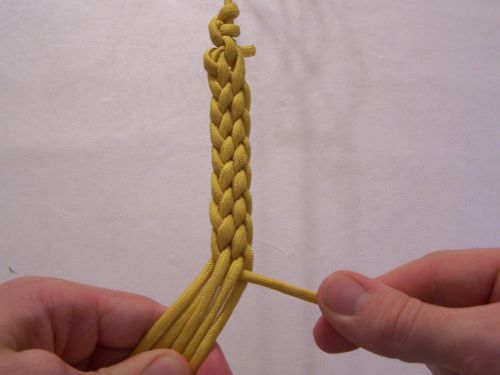
Here you can see both steps have been done. These two steps are repeated for the rest of the braid.
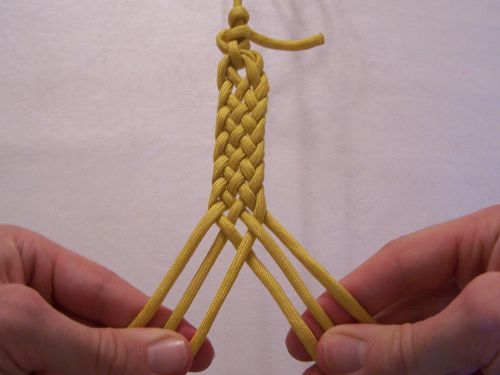
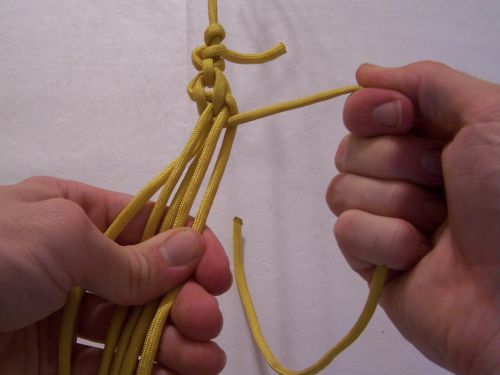
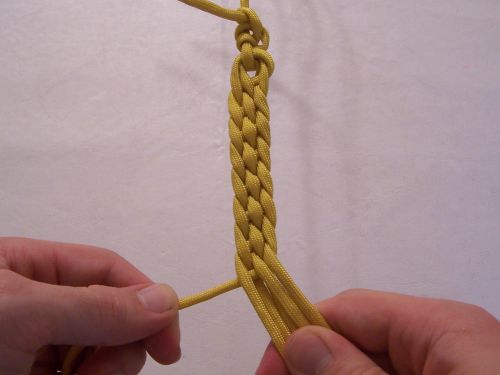
Here you can see several passes of the braid completed.
Method #2
For this method, hold all six strands in the left hand. Take the farthest strand to the left and weave it through the other five strands going over-under-over-under-over, and then bring it down alongside the farthest right strand as shown by the blue arrow. It is as though the farthest left strand is used as a weft and the other strands are used as warp.
The weaving process is repteated with each strand in sequence. The strand most recently woven through becomes the farthest strand on the right, and the strand that is now the farthest on the left is the next one to be woven through.
Here you can see what it looks like after two steps are done without being pulled tight.
In order to make this method work, it is necessary to pull tight on a strand after it has been woven through the others. Illustrated here is what the two completed steps look like when tightened.
Here is what the braid looks like after several more passes are completed.
Here is a view of the backside of the work.
