Prepper Supplies vs No Prepper Supplies: Which is Better for Survival?

When there’s a disaster or emergency, it’s important to be ready. Prepper supplies can help you be ready. But what if you don’t have any prepper supplies? Can you still survive?

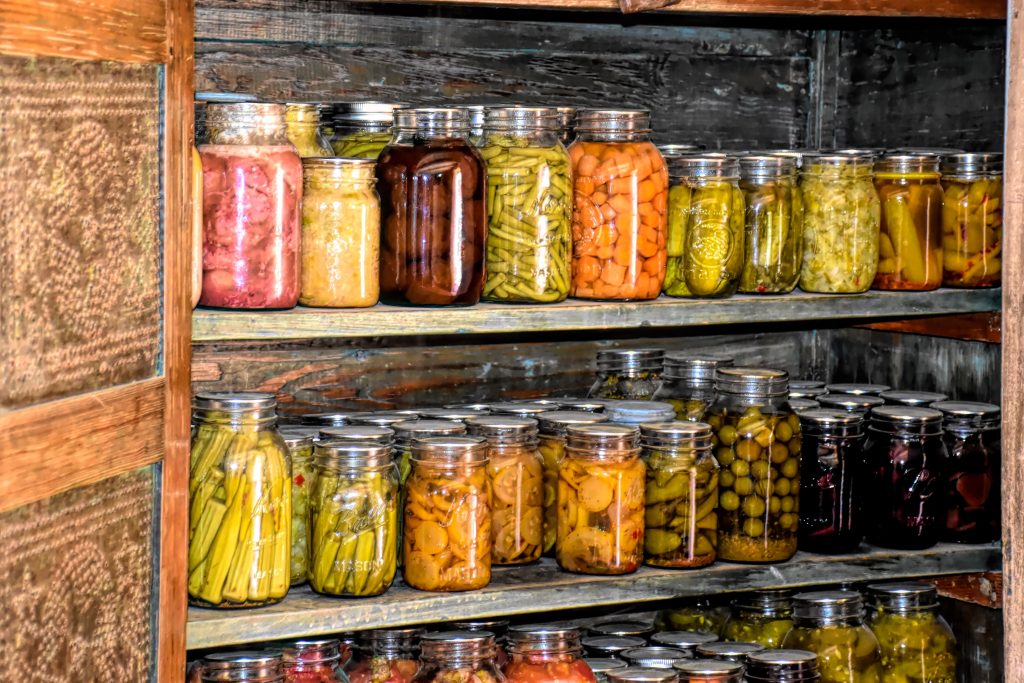
A well supplied cupboard

Let’s compare surviving with prepper supplies vs without prepper supplies and see which one is better for survival.

Surviving with Prepper Supplies:
Prepper supplies can include things like food, water, shelter, first aid, and tools. These supplies can help you stay alive in a disaster or emergency. For example, if you have food that won’t spoil, you won’t have to worry about going hungry if you can’t leave your house because of a disaster. Similarly, if you have water, you won’t have to worry about getting dehydrated. Prepper supplies can also help you stay warm and dry, protect you from the weather, and help you ask for help if you need it.

Surviving Without Prepper Supplies:
If you don’t have any prepper supplies, you can still survive, but it will be harder. You’ll need to use your skills and resourcefulness to find food, water, and shelter. For example, you can look for food that grows in nature, catch fish or animals to eat, and find water to drink. You’ll also need to know how to build a shelter using things in nature and start a fire without matches or a lighter. Surviving without prepper supplies means you need to know more things and be more creative.

Comparison:
Prepper supplies make survival easier and more comfortable, but they’re not the only way to survive. Surviving without prepper supplies is possible, but it takes more effort and skill.

Here are some things to think about when comparing the two options:

Convenience: Prepper supplies are easy to find, but without them, it takes longer to find food, water, and shelter.
Reliability: Prepper supplies are dependable and can last for years, but finding food and water in nature can depend on things like weather and where you are.
Cost: Prepper supplies can cost a lot of money, but finding food and water in nature is free, though it takes more work.
Comfort: Prepper supplies make survival more comfortable, but without them, it can be hard to stay warm, dry, and safe.

Conclusion:
Prepper supplies can make survival easier, but you don’t need them to survive. Surviving without prepper supplies takes more knowledge and creativity. Whether you choose to rely on prepper supplies or not, it’s important to know some basic things to stay alive in an emergency or disaster.

References:
– “Wilderness Survival Skills” by HowStuffWorks
– “Disaster Preparedness” by Ready.gov


100 Items That Will Disappear First In The U. S. When The SHTF (updated)

We saw it with Sandy, and now you are seeing it with the severe winter storms this year. We saw it with Covid, the un-prepared hoards of people buying anything and everything off of the store shelves. (remember the toilet paper run of 2020)

Natural disasters happen. It’s Mother Nature. Do you think you could last a few days, weeks, or even months without the basics of food, water, gas and electricity?

What is your plan? Do you have food insurance built up? Water? Fuel? Etc…

100 items that will disappear

You can start small and build up your supplies over time. You may even have many of theses items already.

Below is a list of the 100 items most likely to disappear in a disaster scenario:

1. Generators (Good ones cost dearly. Gas storage, risky. Noisy…target of thieves; maintenance etc.)
2. Water Filters/Purifiers
3. Portable Toilets
4. Seasoned Firewood. Wood takes about 6 – 12 months to become dried, for home uses.
5. Lamp Oil, Wicks, Lamps (First Choice: Buy CLEAR oil. If scarce, stockpile ANY!)
6. Coleman Fuel. Impossible to stockpile too much.
7. Guns, Ammunition, Pepper Spray, Knives, Clubs, Bats & Slingshots.
8. Hand-can openers, & hand egg beaters, whisks.
9. Honey/Syrups/white, brown sugar
10. Rice – Beans – Wheat
11. Vegetable Oil (for cooking) Without it food burns/must be boiled etc.,)
12. Charcoal, Lighter Fluid (Will become scarce suddenly)
13. Water Containers (Urgent Item to obtain.) Any size. Small: HARD CLEAR PLASTIC ONLY – note – food grade if for drinking.
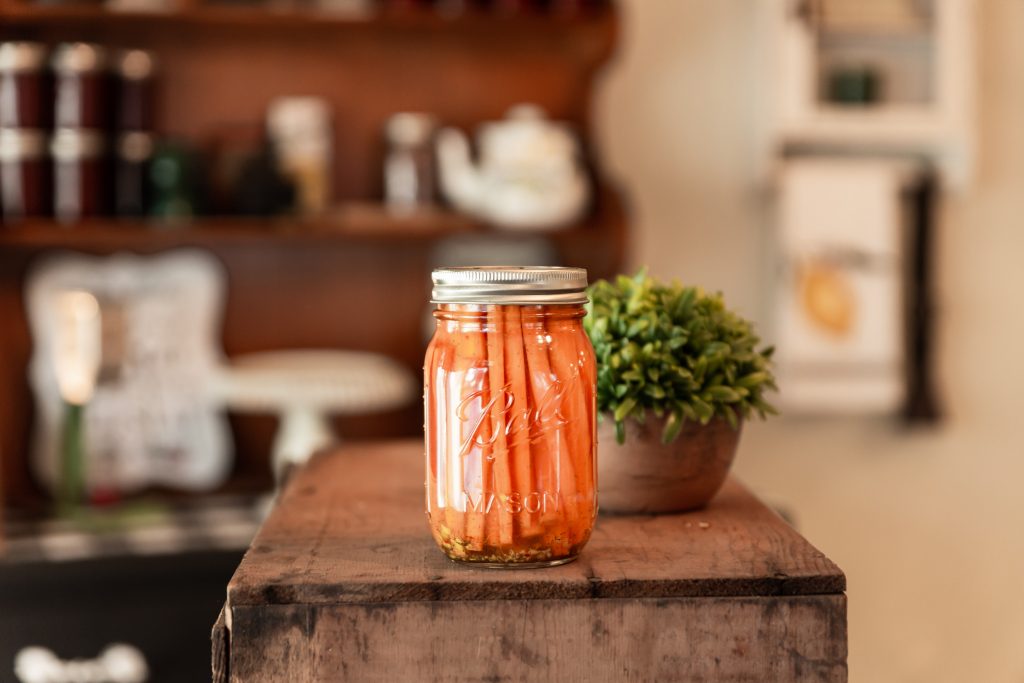
stock up in preparation

14. Mini Heater head (Propane) (Without this item, propane won’t heat a room.)
15. Grain Grinder (Non-electric)
16. Propane Cylinders (Urgent: Definite shortages will occur.
17. Survival Guide Book.
18. Mantles: Aladdin, Coleman, etc. (Without this item, longer-term lighting is difficult.)
19. Baby Supplies: Diapers/formula. ointments/aspirin, etc.
20. Washboards, Mop Bucket w/wringer (for Laundry)
21. Cookstoves (Propane, Coleman & Kerosene)
22. Vitamins
23. Propane Cylinder Handle-Holder (Urgent: Small canister use is dangerous without this item)
24. Feminine Hygiene/Hair-care/Skin products.
25. Thermal underwear (Tops & Bottoms)
26. Bow saws, axes and hatchets, Wedges (also, honing oil)
27. Aluminum Foil Reg. & Heavy Duty (Great Cooking and Barter Item)
28. Gasoline Containers (Plastic & Metal)
29. Garbage Bags (Impossible To Have Too Many).
30. Toilet Paper, Kleenex, Paper Towels
31. Milk – Powdered & Condensed (Shake Liquid every 3 to 4 months)
32. Garden Seeds (Non-Hybrid) (A MUST)
33. Clothes pins/line/hangers (A MUST)
34. Coleman’s Pump Repair Kit
35. Tuna Fish (in oil)
36. Fire Extinguishers (or large box of Baking Soda in every room)
37. First aid kits
38. Batteries (all sizes…buy furthest-out for Expiration Dates)
39. Garlic, spices & vinegar, baking supplies
40. Big Dogs (and plenty of dog food)
41. Flour, yeast & salt
42. Matches. {“Strike Anywhere” preferred.) Boxed, wooden matches will go first
43. Writing paper/pads/pencils, solar calculators
44. Insulated ice chests (good for keeping items from freezing in Wintertime.)
45. Work-boots, belts, Levi’s & durable shirts
46. Flashlights/LIGHTSTICKS & torches, “No. 76 Dietz” Lanterns
47. Journals, Diaries & Scrapbooks (jot down ideas, feelings, experience; Historic Times)
48. Garbage cans Plastic (great for storage, water, transporting – if with wheels)
49. Men’s Hygiene: Shampoo, Toothbrush/paste, Mouthwash/floss, nail clippers, etc
50. Cast iron cookware (sturdy, efficient)
51. Fishing supplies/tools
52. Mosquito coils/repellent, sprays/creams
53. Duct Tape
54. Tarps/stakes/twine/nails/rope/spikes
55. Candles
56. Laundry Detergent (liquid)
57. Backpacks, Duffel Bags
58. Garden tools & supplies
59. Scissors, fabrics & sewing supplies
60. Canned Fruits, Veggies, Soups, stews, etc.
61. Bleach (plain, NOT scented: 4 to 6% sodium hypochlorite)
62. Canning supplies, (Jars/lids/wax)
63. Knives & Sharpening tools: files, stones, steel
64. Bicycles…Tires/tubes/pumps/chains, etc
65. Sleeping Bags & blankets/pillows/mats
66. Carbon Monoxide Alarm (battery powered)
67. Board Games, Cards, Dice
68. d-con Rat poison, MOUSE PRUFE II, Roach Killer
69. Mousetraps, Ant traps & cockroach magnets
70. Paper plates/cups/utensils (stock up, folks)
71. Baby wipes, oils, waterless & Antibacterial soap (saves a lot of water)
72. Rain gear, rubberized boots, etc.
73. Shaving supplies (razors & creams, talc, after shave)
74. Hand pumps & siphons (for water and for fuels)
75. Soy sauce, vinegar, bullions/gravy/soup-base
76. Reading glasses
77. Chocolate/Cocoa/Tang/Punch (water enhancers)
78. “Survival-in-a-Can”
79. Woolen clothing, scarves/ear-muffs/mittens
80. Boy Scout Handbook, / also Leaders Catalog
81. Roll-on Window Insulation Kit (MANCO)
82. Graham crackers, saltines, pretzels, Trail mix/Jerky
83. Popcorn, Peanut Butter, Nuts
84. Socks, Underwear, T-shirts, etc. (extras)
85. Lumber (all types)
86. Wagons & carts (for transport to and from)
87. Cots & Inflatable mattress’s
88. Gloves: Work/warming/gardening, etc.
89. Lantern Hangers
90. Screen Patches, glue, nails, screws,, nuts & bolts
91. Teas
92. Coffee
93. Cigarettes
94. Wine/Liquors (for bribes, medicinal, etc,)
95. Paraffin wax
96. Glue, nails, nuts, bolts, screws, etc.
97. Chewing gum/Candy/Chocolate
98. Atomizers (for cooling/bathing)
99. Hats & Bandanas, cotton neckerchiefs
100. Goats/Chickens/Rabbits

Some Thoughts From a Sarajevo War Survivor:

Experiencing horrible things that can happen in a war – death of parents and
friends, hunger and malnutrition, endless freezing cold, fear, sniper attacks.

1. Stockpiling helps. But you never no how long trouble will last, so locate
near renewable food sources.
2. Living near a water well with a manual pump is like being in Eden.
3. After awhile, even gold can lose its luster. But there is no luxury in war
quite like toilet paper. Its surplus value is greater than gold‘s.
4. If you had to go without one utility, lose electricity – it’s the easiest to
do without (unless you’re in a very nice climate with no need for heat.)
5. Canned foods are awesome, especially if their contents are tasty without
heating. One of the best things to stockpile is canned gravy – it makes a lot of
the dry unappetizing things you find to eat in war somewhat edible. Only needs
enough heat to “warm”, not to cook. It’s cheap too, especially if you buy it in
bulk.
6. Bring some books – escapist ones like romance or mysteries become more
valuable as the war continues. Sure, it’s great to have a lot of survival
guides, but you’ll figure most of that out on your own anyway – trust me, you’ll
have a lot of time on your hands.
7. The feeling that you’re human can fade pretty fast. I can’t tell you how many
people I knew who would have traded a much needed meal for just a little bit of
toothpaste, rouge, soap or cologne. Not much point in fighting if you have to
lose your humanity. These things are morale-builders like nothing else.
8. Slow burning candles and matches, matches, matches
Survival Tips: The Importance of Having Multiple Options

In any emergency situation, it’s crucial to have alternative routes and options for transportation. While land-based options like cars and roads are often the go-to, don’t forget about the potential of water-based options in a crisis. Creeks, rivers, and other bodies of water can serve as valuable routes for travel, especially if roads are blocked or impassable.

One way to utilize water-based transportation is by using a canoe, kayak, or inflatable raft. These options allow for travel over long distances with minimal equipment and resources. In fact, in a worst-case scenario, a canoe or kayak could even serve as a temporary shelter if needed.

When it comes to survival, it’s always important to have multiple options and strategies in place. Don’t rely solely on one mode of transportation – consider the potential of using water-based options as well.

Here are a few top picks from our Year Zero Survival staff:

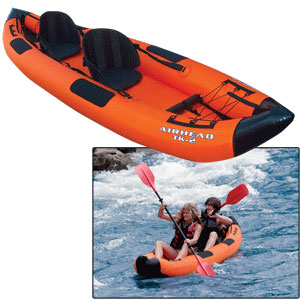
Travel Kayak 2 Person Inflatable Kayak

Travel Kayak Deluxe 12′ 2 Person Inflatable Kayak

Inflatable kayaks are perfect for bugging out, camping, vacationing, exploring remote areas, and cruising yachts. They’re also great for paddling enthusiasts that don’t want to drive around with a kayak on their rooftop! Travel Kayaks fit easily into the trunk of your car, duffel bag or suitcase. When you feel the itch to paddle, your boat is with you!

Inflatable Kayak

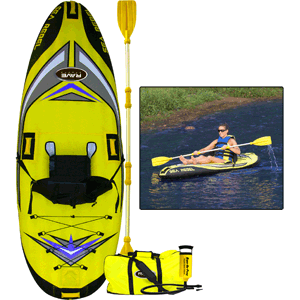
Rave Sea Rebel™ Inflatable Kayak

This one-person kayak inflates in minutes and features a water resistant dry bag and water bottle holder, with adjustable backrest. Includes a paddle, hand pump, carrying bag.

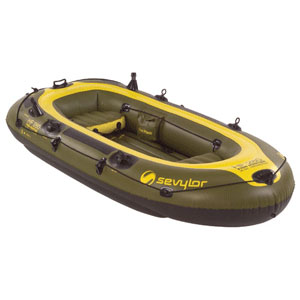
4 Person Inflatable Boat

4 Person Inflatable Boat

Gear bag, grab line, Four person inflatable boat.

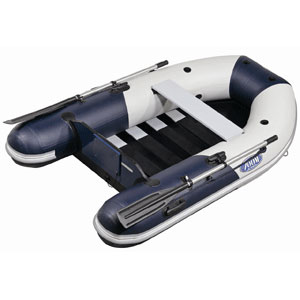
Zodiac Zoom 230 Roll Up

Zodiac Zoom 230 Roll Up

It has an impressive load capacity so you can carry more supplies. The truncated cone tube ends provide great buoyancy.

Zodiac Wave – 5 Passenger

The big daddy of them all, The `Wave by Zodiac’ is an easy-to-use inflatable designed for a quick set-up and easy storage. The lightweight, durable design allows for rugged use in extreme conditions.


Benefits of Rainwater Collection

To say that water is a precious natural resource in this world is an understatement. There have been many stories told about how people have survived on water alone in the most dire circumstances. Water sustains life, not just human life but all life on earth. However, there is a growing worldwide concern on the limited supply of water that we use.

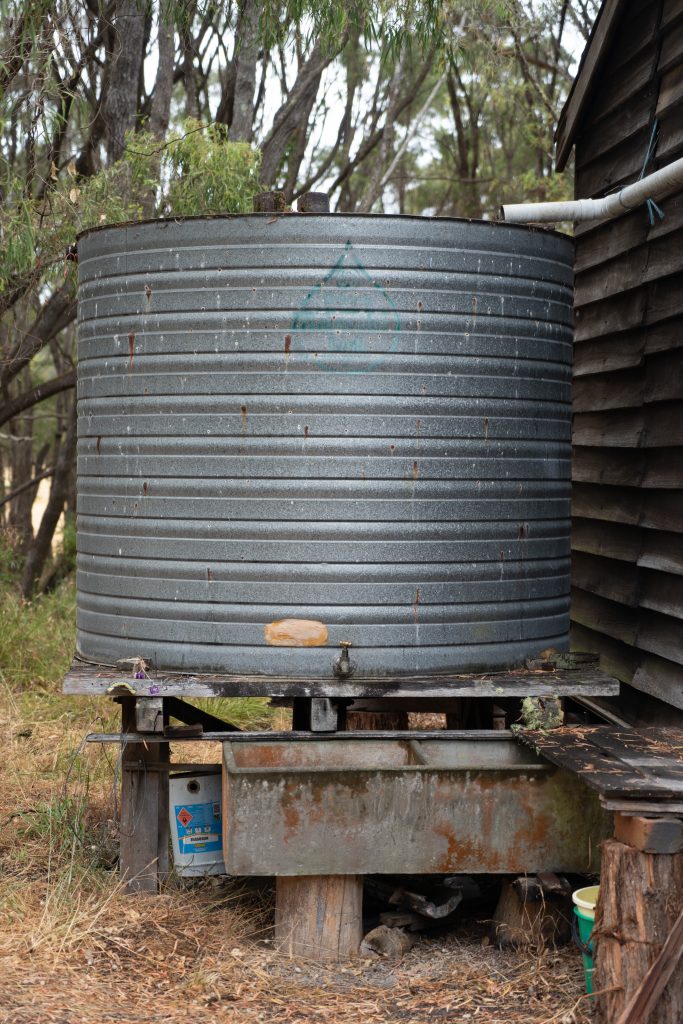
Collecting rain water to live on.

People living in Australia, considered as one of the ‘driest continents in the world’,  have learned to harvest rainwater to supply their household needs using it for just about everything from drinking, to cooking, to bathing, doing laundry, irrigating the fields and whatever else that might normally be done with water.rain water

Rainwater harvesting is the accumulation, collection and distribution of rainwater for use in the household and, in some cases, in the work place. If done properly rainwater makes for a safe and sustainable supply of water, not to mention it being very economical as it can effectively eliminate paying monthly water bills. It also makes you self-reliant when it comes to water supply because people who harvest rainwater are not dependent on the water companies especially during the times when it has to be rationed due to lack of supply common during the summer. Having your own rainwater harvesting system would ensure you a steady supply of water all year round.

Not only is rainwater free, but with its natural quality most also believe it is safer than those supplied by some water companies which often collect water from dams which is chemically treated to make it potable. With rainwater being chemical-free, it makes for a healthier option.

rainwater has many useful benefits

Aside from its economic benefits, investing in rainwater harvesting can also be socially and environmentally beneficial. As noted earlier, having your own rainwater harvesting system makes you self-reliant by allowing you to supply your own water needs, meaning you would become one less person who will be dependent on the government and water companies for water supply. There would then be no need to build more dams and to install more pipes, the cost of which will eventually find its way to your taxes. Rainwater harvesting also lessens the accumulation of water in creeks and other water habitats especially during a storm, which is one of the many factors that contribute to damaging these natural water habitats.

Essential to rainwater harvesting then is the installation of a good system wherein the rainwater is accumulated on the roof and channeled towards a tank for storage. There are many tanks to choose from but a good one should be able to save you money, easy to install, effectively store water without making your home look incongruous and cost less in maintenance.

How to Live Off the Grid: a Guide to Freedom

We live such hectic lives, filled with absolute non-sense that we forget what it is we’re actually living for. Most of us have 60 hours’ work weeks so we can pay rent, taxes and buy food. We don’t even have time for our loved ones, and we seem too busy or too tired even when we take a day off. That’s when leaving it all behind and starting a new life in the middle of nowhere starts to sound like an awesome idea.

Give it all up

The first thing is renouncing your old life and habits. That sounds pretty terrifying, but it’s liberating at the same time. Ask yourself this: if a tornado were to take you to Oz, what would you miss the most about your life now?

Giving up your life starts by prioritizing the essential things and relationships. After that, you’ll find there are plenty of things you would gladly let go of, if, in exchange, you could have peace, tranquility, and love.

Find a place

Cabin-in-the-woods

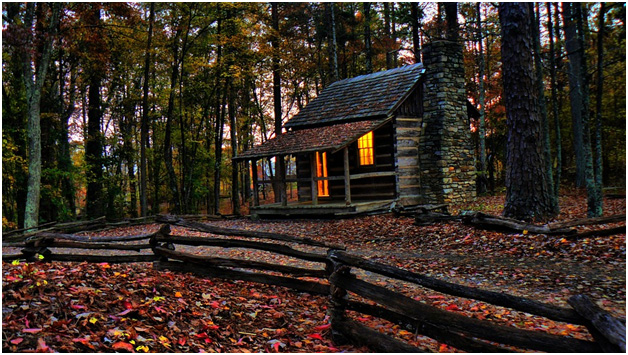
After deciding you really need to take off, you can’t simply do it without a plan. That’s why you should find somewhere to stay first. Maybe you have a cabin in the woods or a property in an isolated territory, and that could be your starting point.

But if you have to find your own place, things can get complicated. For instance, you can either buy or rent a piece of land. You should make sure the place is isolated enough so you won’t have any nosy Nellies around, but still, have some neighbors at convenient distances. You should also check that a nearby town doesn’t have future plans to extend closer to your property if you want to live a more solitary life.

After that, you can set up a camp, maybe even move in your trailer and start building your own home. If you have some money saved, you can commission the work to a professional, but you also have the option of turning this into your first DIY project.

Learn survival skills

You can’t move off in the wilderness without learning some survival skills first. The first one would be how to find water if there are limited water sources near your property. If you have very hot summer days when springs peter out, you might need to use other techniques like placing plastic bags on tree branches or digging for water.

making-fire

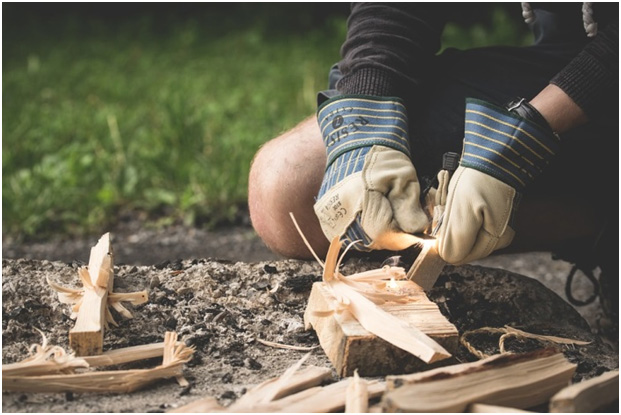
You should also learn how to build a fire, but that’s the easy part. After all, you can leave home equipped with 20 pounds of waterproof matches. The hardest part is to learn which trees you can cut down, how to chop them and how to store the wood properly. If you cut green trees and the wood gets too wet, you’ll have fewer chances of building a lasting fire.

Grow your own food

This can mean different things depending on where your property is. If you’ve moved off to a deep, damp forest in the mountains, your only options might be hunting, fishing and eating wild fruits. Of course, learning some hunting and fishing skills, along with buying proper equipment is useful no matter where you might end up. And you need to recognize which plants are edible, and which aren’t.

If you’re moving to a friendlier environment, you can always build a greenhouse with basic equipment. So you might need nothing more than some sturdy cellophane and a few pallets, along with plenty of water and the right seeds.

Apart from that, you can farm certain animals, depending on how large your property is. Chicken is the easiest when you take into account all the logistics, like space and food, plus they give you nutritious meat and eggs. Otherwise, you can consider raising cows for their milk, maybe buy a couple of horses if you own a bigger farmstead.

Arrange your amenities

You also need some degree of comfort, especially for keeping a clean environment. So you’ll want a toilet and some sort of washing facilities, and you have plenty of options here too. The easiest would be to buy a camp toilet and a camp shower, which can easily be transported and used no matter where you are.

Or, you can build your own bath, and improvise if you don’t have any running water. For instance, your toilet can be an outhouse, but you have to place it at some distance from your house and greenhouse.

Your shower can be a barrel of warm water with a valve attached to it and a hose with a showerhead for the warmer summer days. Or you can get a bathtub for indoor use, and that would help you relax after a long day’s work.

Earn the money you need

You might still need some money even if you’re living in a remote location for paying the rent or for buying the things you can’t produce on your own, but that doesn’t mean you should get a day job in the city.

One idea is to sell or trade the things you produce in surplus. So if you have lots of eggs or meat, you can sell that to your neighbors, or trade with them for clothes or different tools.

Another idea is to focus on a skill you already have, and sell the results of your work on the Internet. For instance, you might be into crafting and learn how to make interesting sculptures. Or decorate axes. Or make origami. The world is your oyster.

Learn to enjoy solitude

prepare-to-be-alone

This might prove to be difficult enough, especially if you’re all alone. We’re so accustomed to noise (even white noise) that eating a meal by ourselves without constantly checking our social media accounts seems impossible. But if you’ve chosen to live off the grid, you can find pleasure in loneliness.

So after all that, what seems like the most difficult to do? What plan do you have? Tell us all about that in the comments.


About the author: Mike is a passionate hunter and his favorite grounds are Alaska and British Columbia. He’s also an expert in hunting gear and he is one of the most reliable resources when it comes to choosing the right tools for the job. He also writes for OpitcGearLab.com

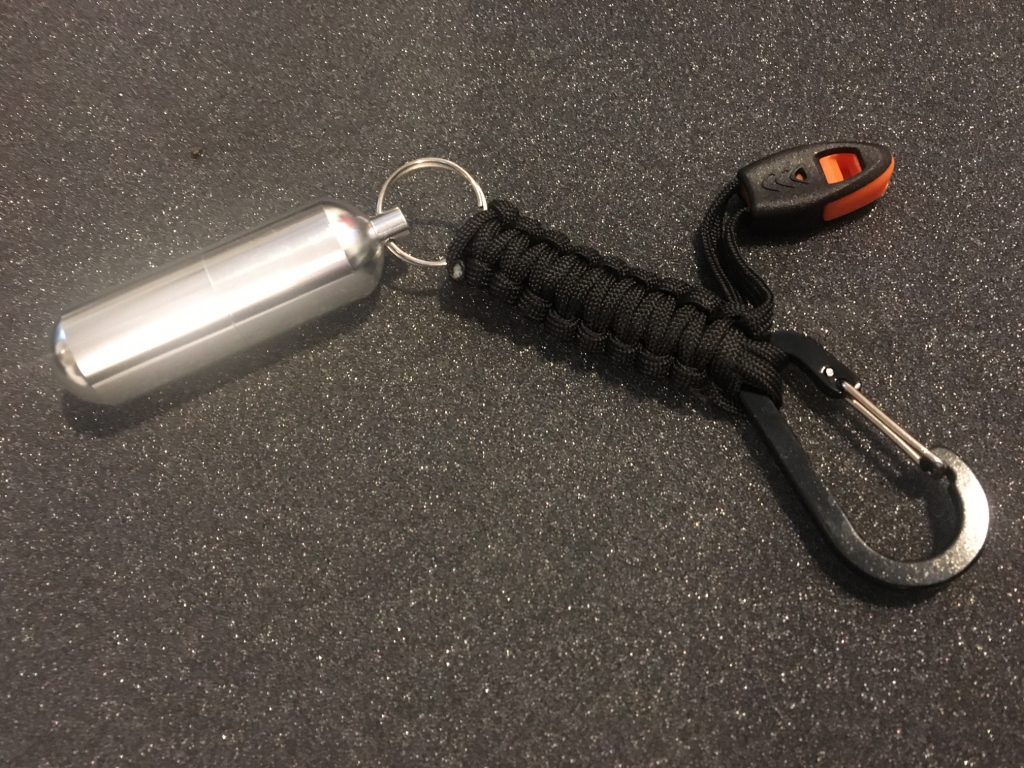
OmegaMan Tested: EDC Survival Keychain by Survivalhax

EDC Survival Keychain

Field tested by our guest blogger, OmegaMan quoted: “A great little paracord keychain with a ear piercing whistle attached to a durable aluminum case filled with survival essentials!”

EDC Survival Keychain

“This is a great addition to any preppers’ everyday carry (EDC) or bugout bag. Here’s what you will be shocked to find inside the survival case: Fire striker bar & tinder, fishing swivels, fishing float & weights, fishing line & hook, 2 safety pins, a wire saw, and a knife!”

DETAILS:

It’s a key chain, a survival kit, and a waterproof pill container all in 1.

The 10 in 1 Paracord EDC Keychain is a waterproof aluminum EDC (everyday carry) pill bottle.

A durable carabiner and 550 paracord are used so you can take this mini survival kit anywhere.

If you carry your car keys everywhere, you’ll have a much better chance of surviving the apocalypse.

No need for a bug out bag, this is small enough to fit in your pocket.

What’s Inside?

There are technically 11 separate pieces inside the canister. 

  • Fishing line
  • Hooks
  • Weights
  • Floaters
  • Sinkers
  • Swivels
  • Eye knife
  • Cotton tinder
  • Fire starter rod
  • Safety pins
  • Wire saw

The paracord is over 4 feet long when unraveled and has an emergency whistle attached to it.

Our goal was to make a reusable PSK (Personal Survival Kit) that gives you the ability to catch a fish, gut it, and cook it.  Sure there are easier ways to do this, but none that fit on your keychain.

What Can This Mini Survival Kit Do?

From nothing, you can make a Fishing Pole 

  1. Can you find a branch in the woods?  Great you’ve got a fishing pole.
  2. Open your EDC bottle and pull out the fishing line.
  3. Tie the line to one end of your branch or stick.
  4. Attach your hooks to your fishing line.
  5. Add your sinkers and floaters.
  6. Find a bug or worm for bait.
  7. You are now fishing, bushcraft style.

No survival kit would be complete without a way to start a fire.  And in order to start a fire, you need wood. The finger chainsaw can slice through branches with enough elbow grease. Slide two sticks in the finger holes for extra torque.

Contents:

  • 1 x Waterproof EDC container
  • 1 x Paracord
  • 1 x Fishing line
  • 2 x Hooks
  • 2 x Weights
  • 2 x Floaters
  • 2 x Sinkers
  • 2 x Swivels
  • 1 x Knife
  • 1 x Tinder cotton
  • 1 x Fire starter
  • 1 x Saftey Pins
  • 1 x Finger saw
  • 1 x Whistle
  • 1 x Carabiner

Specs:

  • Total length: 9.2 inches
  • Bottle length: 3.3 inches
  • Bottle width: .9 inches
  • EDC bottle material: Aluminum Alloy
  • Paracord length: 3 inches
  • Untied Paracord length: 4 feet
  • Weight: 0.14 pounds

ORDER NOW

Does It Really Take $50,000 To Be A Prepper?

What Does it Cost to Prepare

Scouring the internet for information on disaster preparedness sheds an interesting light on what most people think it costs to ready themselves for the unexpected. Guides abound on how to prepare with minimal investments – but most put the focus on unreliable foodstuffs, tools, and supplies.

At the opposite end of the spectrum are the complete “how to” guides, that claim to show a family how to prepare for any emergency. These guides tend to indicate that the total cost of preparing a family of four for a natural disaster ranges from $5,000 to over $50,000.

Does It Really Take $50,000 To Be A Survival Prepper?

Preparing for the Worst – Not As Expensive As Most Think

Preparing for a disaster doesn’t mean that you and your family could survive in an underground bunker for thirty years without ever accessing the outside world. It means preparing for the inevitable and unexpected emergencies that can arise at any time.

Disaster preparedness isn’t limited to hurricanes, blizzards, and failures of the national infrastructure. It extends into the smaller disasters that we encounter while going about our everyday lives – like getting stranded in a broken down vehicle in the middle of nowhere, or finding yourself injured while on a hike.

Preparing for these situations is relatively inexpensive. With the help of products like these Backpack Survival Kits it can be incredibly simple, too.

Would you have access to digital money in a disaster scenario? #Bitcoin

Preparing for Different Types of Emergencies

While the ideal disaster preparedness plan includes provisions for long periods of isolation from modern amenities (such as running water and food supplies), the majority of emergencies the average person will encounter require far less extensive planning.

Breakdown / Stranded Emergencies – If your vehicle were to break down, or if you found yourself stranded in the middle of nowhere, what would you do? With a ready-made kit, like the Guardian Elite (which comes prepared in a sturdy, easy-to-carry back pack) you would have food, and first aid supplies on hand. Toss in a few bottles of water before you head out, and you’ll have that covered, too.

Temporarily Unavailable Food Supplies – Whether it’s a true natural disaster or merely a predicted blizzard, when the newsman warns that rough weather is moving in, everyone rushes to the grocery store and clears the shelves. Having a one month supply of food on hand would ensure that your family doesn’t go hungry, and with kits like the Meal Package, is not only affordable, but incredibly easy to store.

In both of the cases described above, your total investment is going to be far less than what you might expect. Since the kits are ready made and based on government recommendations for preparedness, you can also be sure that they’re relatively complete.

Don’t put off preparing for disaster because you don’t think you can afford it – it’s far less expensive than you think.

Please share your cost saving prepper and survival ideas in the comments below.


Homemade Sling-Bow

by Kayak Kid

Picture of Homemade Sling-Bow
In this DIY I will be showing you how to make your very own sling-bow.  A sling-bow is basically a slingshot that’s altered to shoot arrows.  They are pretty powerful depending on what materials you use to construct them with, and can be made on a very slim budget. So without further ado lets begin!

Step 1: What You’ll Need

Picture of What You'll Need
You’ll need:

  1. A sling shot
  2. A golf tee
  3. An O-ring
  4. Two medium zip ties
  5. An old beat up arrow
  6. A few strips of duck tape

Optional:

  1. Whisker biscut

Step 2: The sling shot

Picture of The sling shot
IMG_6974.JPG
The first thing you need to do is to prep the sling shot.  The first step in doing this is to take off the existing elastic bands, and discard them.  Next take your heavy duty replacement bands and trim them until there’s 1 inch of band for every 5 inches of arrow.  For example I trimmed my bands to 5 1/2 inches, and they work perfectly with my 25” arrows.  Next put your bands on and leaving a quarter inch to a half inch of extra band extending at the end.  To test pull it back to it’s max draw and have someone measure the distance from the pocket to the extra bit of band on the sling shot.  You want this number to be less than the length of the arrow by one or two inches.

Step 3: The Arrow Rest

Picture of The Arrow Rest
IMG_6988.JPG
IMG_6989.JPG
IMG_6994.JPG
IMG_7008.JPG
The arrow rest is what is going to hold the arrow before and during the release.  You want the O-ring, to be perfectly vertical, so to do that you first need to put one of the zip ties through the O-ring and then around the end tag of the elastic band like in the picture above. Don’t tighten it all the way yet, we’ll get to that later. Then next to get the ring to stand vertical you need to counter twist the other zip tie. If you are confused at this point just reference the pictures above.  Now tighten the zip ties until the ring is right in the center, and vertical.

Step 4: Optional: Whisker Biscuit

Picture of Optional: Whisker Biscuit
IMG_7012.JPG
IMG_7011.JPG
Attaching a whisker biscuit is optional, but will help your accuracy and help preserve your arrow fletchings.  To do this put a rubber band around your O-ring using a small zip tie, like in the picture. Then slide your whisker biscuit into place.

Step 5: Arrows

Picture of Arrows
IMG_7018.JPG
IMG_7017.JPG
IMG_7019.JPG
The arrows I use are just some carbon fiber arrows I out grew or some that just have bad fletchings.  First you need to remove the fletchings and knock.  The knock should pull out with a pliers, and the fletchings are easy to remove using a pocket of your hunting knife.  You should by now have an arrow striped of everything except it’s Insert.

Step 6: Fletching The Arrows

Picture of Fletching The Arrows
IMG_7021.JPG
IMG_7023.JPG
IMG_7024.JPG
To fletch the arrows I use duck tape.  This is the best, cheapest, way I found to do it. First rip a section of duck tape about 2-3 inches long. Next crease the duck tape in the middle leaving a little bit not stuck together at the top. Then stick that part to the arrow shaft about 1 to 1-1/2 inches from the end were the knock use to be. You will get better flight and accuracy if you angle your vane’s to make the arrow spin, but it isn’t required for good performance.

Step 7: Reapeat

Picture of Reapeat
IMG_7032.JPG
Once you have repeated this to all three to five sides you are ready to cut out the actual shape your vane/feather will be. I like to use a downsized version of the original vane’s shape, and make normally three of these.

Step 8: The Nock

Picture of The Nock
IMG_7037.JPG
IMG_7038.JPG
For this I found that hot gluing a golf tee into the shaft is the best way to go.  Shooting arrows with the standard nock is OK but it seem to put more stress on your fingers, and can sometimes slip out. The last thing to do after this is to screw in your point.
Now you’re all set to shoot!  I hoped you enjoyed this instructable and wish to see more in the future.