This is a great idea for capturing rainwater for your home, garden or even at your bugout location. It comes in handy in places where you may not be able to tap a well or water source directly.
I wanted to share instructions on how to build a “drain barrel” for those of you who may not have gutters on your house. This project is most useful for those of us who have a clearly-defined gouge in our wood chips where the water pours off the roof.
Step 1:
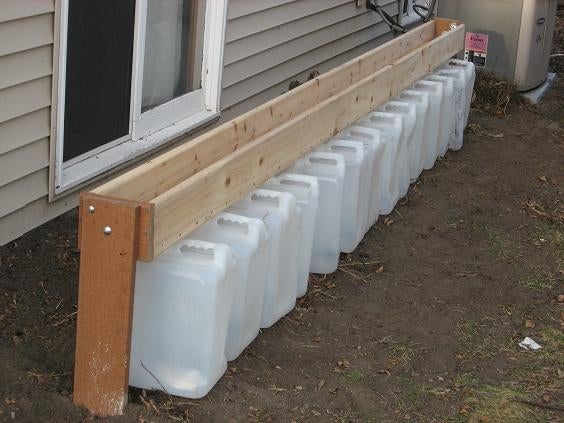
Purchase three cedar decking boards and screw them together in the shape of a trough. Seal all joined edges with a clear silicone caulk.
Step 2:
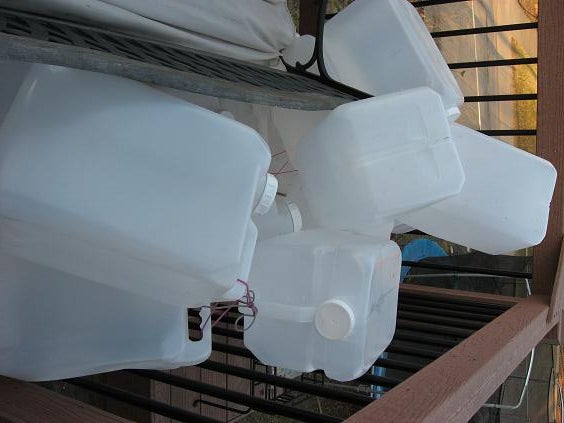
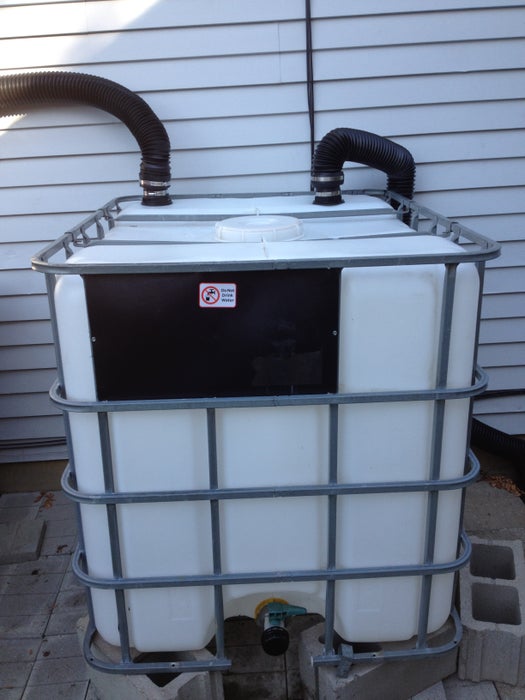
Obtain containers in which the capture the rainwater; it would be best to find containers with about a 2″ opening.
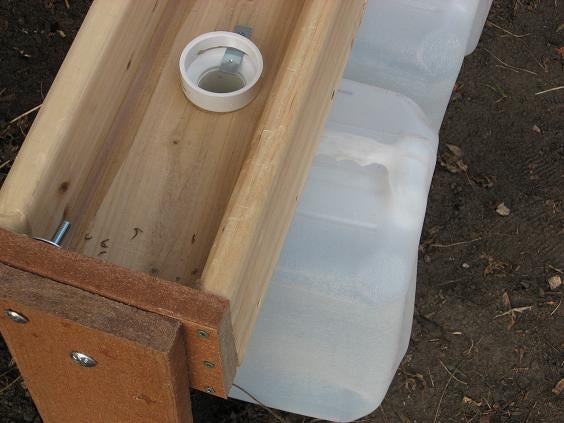
Step 3:
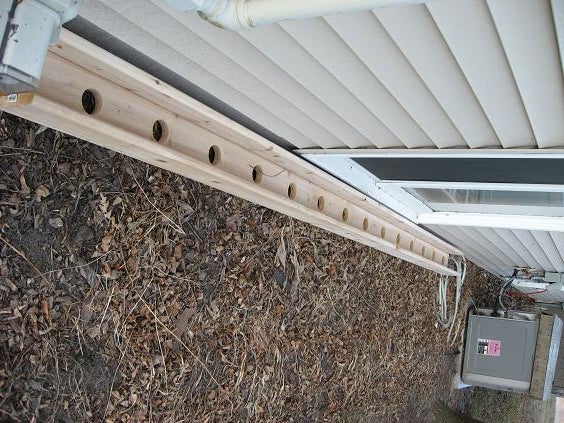
Line up the containers and measure the distance between the center of the containers’ openings. Leave about 1/2″ per container for expansion. Measure the diameter of the container’s opening and use a hole saw (attached to the drill) to make holes in the trough.
Step 4:
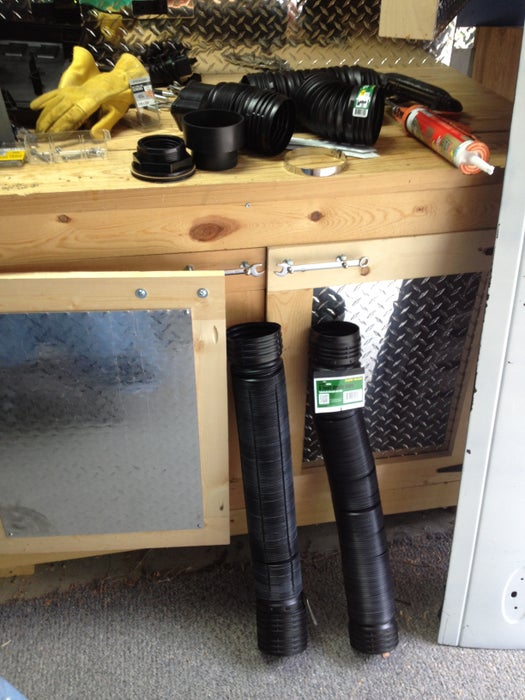
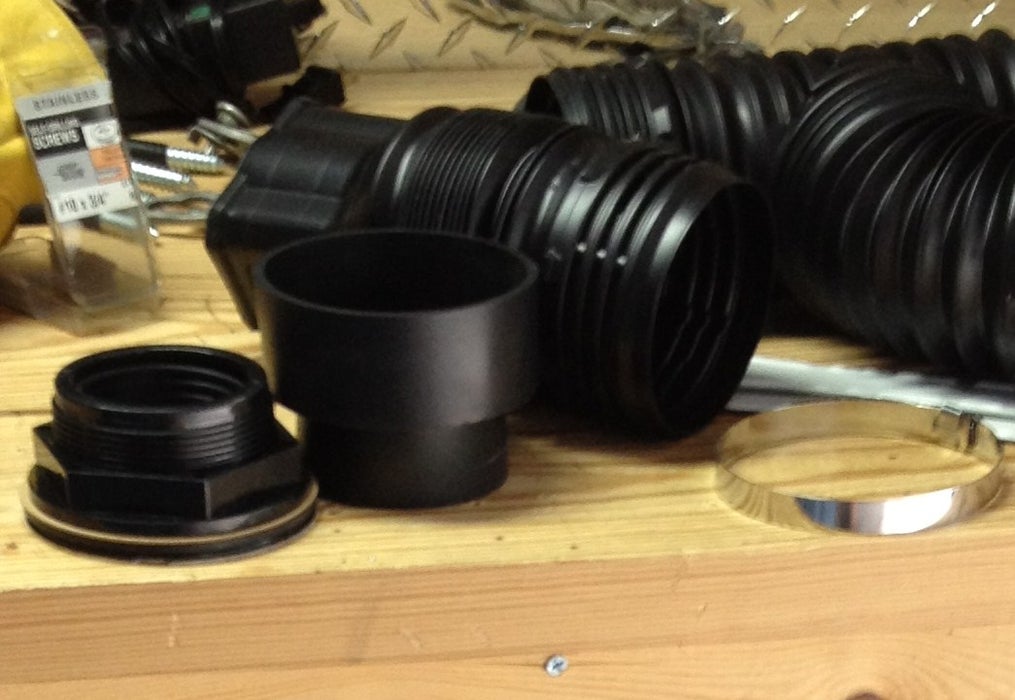
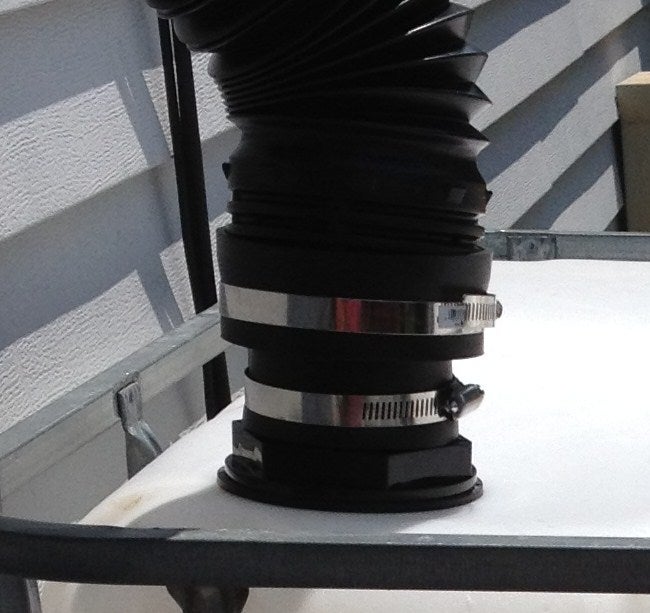
Purchase a 10′ length of PVC pipe. It should be slightly less in diameter than your hole. Count the number of holes and divide evenly. Cut the PVC into equal lengths. Purchase a narrowing PVC conduit to glue to the top of your pipes. Drill two holes in the widest part of the conduit and use a miter saw to remove the material between the holes. This will make a slit to help drain the water into the pipe and ultimately into your container.
Step 5:
Construct some simple “feet” to attach to the ends of the trough. If you drill a hole in the middle of the end of the trough, you will be able to swivel the trough up-side-down on the lag bolt to prevent snow from weighing the trough down during the winter. Dig a hole on both ends for the “feet”, level the trough, and add concrete to prevent the structure from moving during a hard rain.
Step 6:
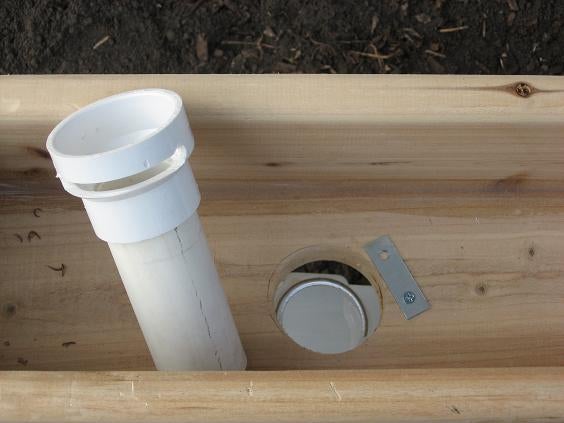
Rake the area under the trough so that you can remove the containers easily. Insert the PVC pipe, and add metal menders if you like to ensure the container’s slit stays level with the trough. When it rains, the water will be directed from the trough, into the PVC pipe and then into your container. When the container is full, lift the PVC pipe out of the mouth of the container, remove the container, and water your plants. When the container is empty, put it back under the trough and slip the PVC pipe back down into the mouth of the container. If you like, you can purchase a rain barrel with which to pour the full containers.
[source]