We are sharing an old-school recipe from the 1890s for pickling vegetables. You know how much we love preserving traditions, so let’s get started.
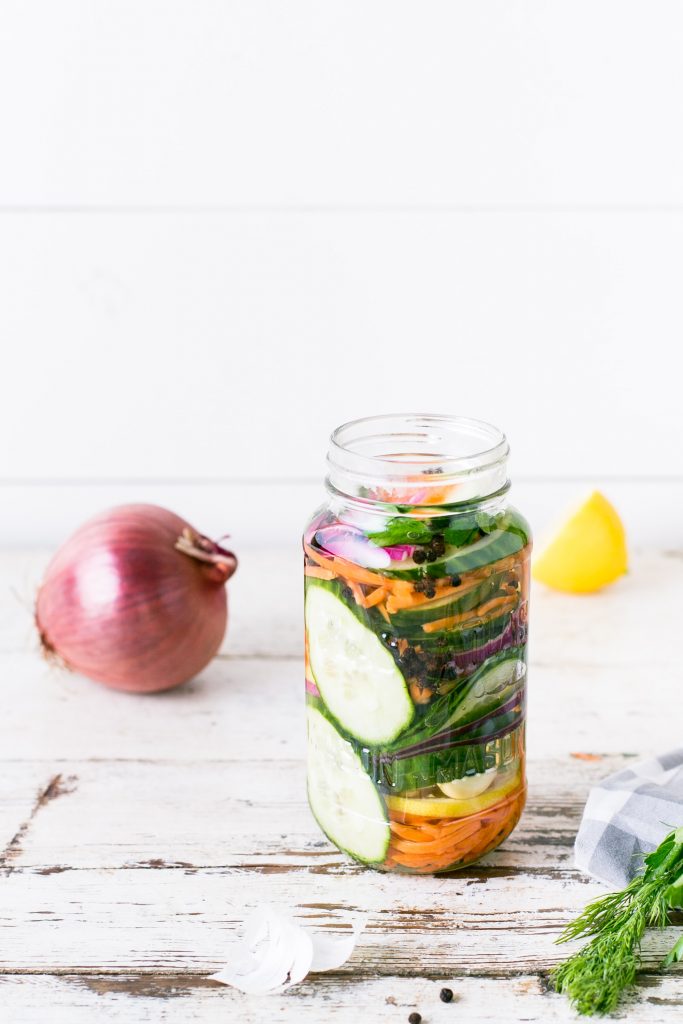
First, we’ll make the brine with vinegar, sugar, salt, and a blend of spices like mustard seed, allspice, cloves, and black peppercorns. Then, we’ll chop up our favorite veggies, like cucumbers, onions, and green tomatoes, and pack them into sterilized jars. Pour the brine over the veggies, remove any air bubbles, and seal the jars tight.
Now, here’s the most important part: let these babies pickle for at least 3 weeks before opening and serving. Trust us, the longer they sit, the more flavor they’ll develop. And don’t be afraid to experiment with different veggies and spice blends – that’s what makes pickling so fun!

So go ahead and give this 1890s recipe a try, and let me know in the comments how it turned out. Cheers, and happy pickling!
Here’s a recipe from the 1890s for pickling vegetables:
Ingredients:
- 1 quart of vinegar
- 1 cup of water
- 1 cup of sugar
- 1 tablespoon of salt
- 1 tablespoon of mustard seed
- 1 tablespoon of celery seed
- 1 tablespoon of whole allspice
- 1 tablespoon of whole cloves
- 1 tablespoon of whole black peppercorns
- Vegetables of your choice (such as cucumbers, onions, and green tomatoes)
Instructions:
- In a large pot, combine the vinegar, water, sugar, salt, mustard seed, celery seed, allspice, cloves, and black peppercorns. Bring the mixture to a boil and then let it simmer for 10 minutes.
- While the brine is simmering, prepare your vegetables. Cut them into small pieces or slices, depending on your preference.
- Pack the vegetables into clean, sterilized jars. Make sure to leave enough space at the top of the jars for the brine to cover the vegetables completely.
- Once the brine has simmered for 10 minutes, remove it from the heat and carefully pour it over the vegetables in the jars.
- Use a knife or chopstick to remove any air bubbles from the jars. Then, seal the jars tightly with lids.
- Place the jars in a cool, dark place to pickle for at least 3 weeks before opening and serving. The longer the pickles sit, the more flavorful they will become.
Note: This recipe is from the 1890s and may contain outdated or unsafe canning practices. For safe and modern canning practices, please consult a reliable source such as the National Center for Home Food Preservation.


