Fun and Easy: Making Butter in a Mason Jar!

Hey there, future butter-makers! Are you ready to embark on a kitchen adventure that will turn cream into creamy, dreamy butter? Today, we’re going to learn a super cool way to make butter using a mason jar. It’s like magic in the kitchen! So, grab your ingredients and let’s get started!

How to make Butter in a Mason Jar

Ingredients:

  • Heavy whipping cream (make sure it’s cold)
  • A pinch of salt (optional)
  • A mason jar with a tight-fitting lid

Step 1: Pour the Cream

Start by pouring some cold heavy whipping cream into the mason jar. Fill it about halfway – you don’t want to overfill, or the magic won’t happen!

Step 2: Shake It Up!

Now comes the fun part. Secure the lid tightly on the mason jar and shake it like you’re dancing to your favorite tunes. Shake, shake, shake! This is where the magic begins. As you shake, the cream inside the jar will start to thicken and change.

Step 3: Keep Shaking

Don’t stop shaking! It might take a little while, but keep at it. You’ll notice the cream becoming thicker and grainier. That’s the butter forming. If you want, you can take turns shaking with a friend or family member – it’s a great workout for your arms!

Step 4: Check the Butter

After a bit of time and enthusiastic shaking, take a peek inside the jar. You should see two things: a liquid (that’s buttermilk) and solid clumps (that’s your butter). Hooray! But we’re not done yet.

Making homemade butter is easy and fun.

Step 5: Drain the Buttermilk

Carefully pour out the buttermilk. You can use a strainer or simply tilt the jar while keeping the lid on to keep the butter inside. Save the buttermilk for pancakes or other recipes – waste not, want not!

Step 6: Rinse the Butter

Add some cold water to the jar and shake it again. This helps rinse off any remaining buttermilk. Pour out the water and repeat until the water is clear. Your butter will taste better without the extra buttermilk.

Step 7: Add a Pinch of Salt (Optional)

For extra flavor, you can add a pinch of salt to your butter. Give it a gentle stir with a spoon, and you’re ready to spread it on toast, crackers, or whatever you like!

fresh butter

Congratulations, survival chefs! You’ve just made your very own butter using a mason jar. It’s a fun and tasty kitchen experiment that proves cooking can be both educational and delicious. So next time you’re in the mood for a kitchen adventure, grab a jar, some cream, and get shaking! Enjoy your homemade butter, and happy cooking!

Will Your Family Go Hungry? Is Your Family Prepared for an Emergency?

Emergencies come in various forms, ranging from severe storms to unexpected power outages. Just like having insurance coverage for your home or car, it’s crucial to be prepared for the unexpected by stocking up on long-term food items. These food reserves act as a safety net, ensuring that your family won’t go hungry during times of crisis.

By incorporating freeze-dried foods into your emergency food supply, you can be ready for almost any unexpected event. Consider how invaluable these foods can be when a storm knocks out your electricity for several days. With long-term food items and a simple one-burner stove or candle to heat water (cold water can suffice in a pinch), you can still enjoy a hot and satisfying meal in less than 10 minutes.

Food Storage for survival

Creating a private food reserve makes perfect sense, both from a financial and security standpoint. Using pouches is ideal for limited short-term emergencies, while cans are more suitable for potential extended emergencies or situations that may affect a large number of people. You can also mix and match your short-term and long-term food items to cater to your specific needs.

Expert Advice:

1. Assess Your Family’s Dietary Needs: Consider the dietary requirements and preferences of each family member when planning your emergency food supply. Take into account any allergies, dietary restrictions, or special considerations to ensure that everyone’s needs are met during an emergency.

2. Calculate the Right Amount: Determine the appropriate quantity of food to store for your family based on the number of members and the estimated duration of the emergency. The general recommendation is to have at least a two-week supply of non-perishable food items.

3. Focus on Balanced Nutrition: While it’s essential to have a sufficient food supply, it’s equally important to maintain a balanced diet during emergencies. Include a variety of food items that provide essential nutrients, such as proteins, carbohydrates, healthy fats, and vitamins.

(more…)

Prepping for Beginners: How to Start Prepping in 90 Days

Are you new to prepping and feeling overwhelmed by the thought of getting started? Prepping doesn’t have to be an all-or-nothing endeavor. With a 90-day plan, you can gradually build your emergency preparedness supplies and knowledge, without breaking the bank or feeling too overwhelmed.

build your emergency preparedness supplies and knowledge

Here’s a simple guide on how to start prepping in 90 days:

Week 1-4: Start with the basics

  • Create a list of emergency supplies you need for survival, such as food, water, shelter, and first-aid supplies.
  • Stock up on a 3-day supply of non-perishable food and water for each person in your household.
  • Invest in a reliable emergency radio and a first-aid kit.

Week 5-8: Expand your supplies

  • Increase your food and water supplies to a 2-week supply.
  • Purchase a good quality tent or shelter for your family.
  • Invest in a good quality water filtration system.

Week 9-12: Enhance your prepping skills

  • Learn basic survival skills like starting a fire, building a shelter, and purifying water.
  • Join a local prepper group or online community to learn from other experienced preppers.
  • Practice using your emergency supplies, so you know how to use them when it really counts.

By following this 90-day prepping plan, you’ll have the essential supplies and knowledge to better protect yourself and your loved ones in case of an emergency. Remember, prepping is a journey, not a destination, so keep learning and building your supplies over time.

Don’t worry, you can become prepared for anything in just 90 days!

protect yourself and your loved ones in case of an emergency

Here’s some more tips to help you start prepping in 90 days:

Week 1-2: Research and Planning

Make a plan: Before you begin prepping, it’s important to have a plan in place. Determine the types of emergencies you may face in your area and create a plan for each scenario.

  • Research potential disasters and emergencies in your area
  • Identify your family’s specific needs and vulnerabilities
  • Create a budget and a prepping checklist

Week 3-4: Emergency Food and Water

Gather emergency supplies: Start with the basics such as a first aid kit, flashlights, and batteries. Then gradually add to your supplies over time, including survival food, water storage, and shelter options.

  • Stock up on non-perishable food items
  • Store water for emergencies

Week 5-6: First Aid Kit and Emergency Supplies

Build a bug out bag: A bug out bag is a portable kit that contains essential items to help you survive for 72 hours. Make sure your bug out bag includes basic supplies such as food, water, shelter, and clothing.

Gather emergency supplies: Start with the basics such as a first aid kit, flashlights, and batteries. Then gradually add to your supplies over time, including survival food, water storage, and shelter options.

  • Assemble a comprehensive first aid kit
  • Purchase and organize emergency supplies like flashlights, batteries, and communication devices

Week 7-8: Personal Protection and Security

  • Purchase self-defense tools
  • Evaluate home security measures

Week 9-10: Shelter and Hygiene

  • Stock up on hygiene essentials like soap and hand sanitizer
  • Plan for alternative shelter options if necessary

Week 11-12: Practice and Review

Learn survival skills: Knowing how to start a fire, filter water, and navigate without a GPS can be crucial in a disaster scenario. Take classes or watch online tutorials to learn these essential survival skills.

  • Practice emergency drills with your family
  • Review and update your prepping plan and checklist
you can become better prepared for whatever emergencies may come your way

By following these steps, you can start prepping in just 90 days. Remember, prepping is a process, and it’s important to take things one step at a time. Start small and gradually build up your supplies and skills over time. With dedication and persistence, you can become better prepared for whatever emergencies may come your way.


100 Items That Will Disappear First In The U. S. When The SHTF (updated)

We saw it with Sandy, and now you are seeing it with the severe winter storms this year. We saw it with Covid, the un-prepared hoards of people buying anything and everything off of the store shelves. (remember the toilet paper run of 2020)

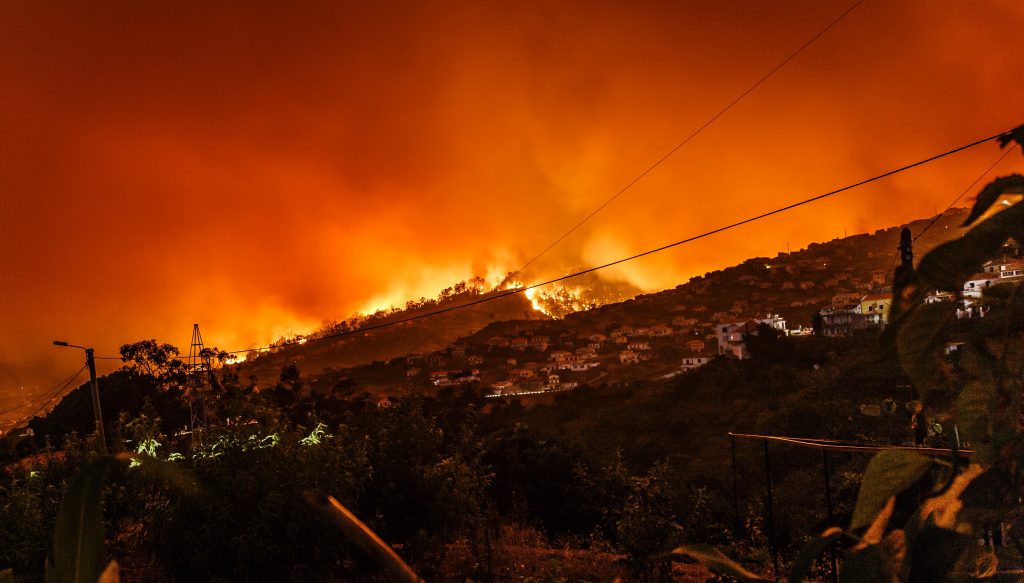
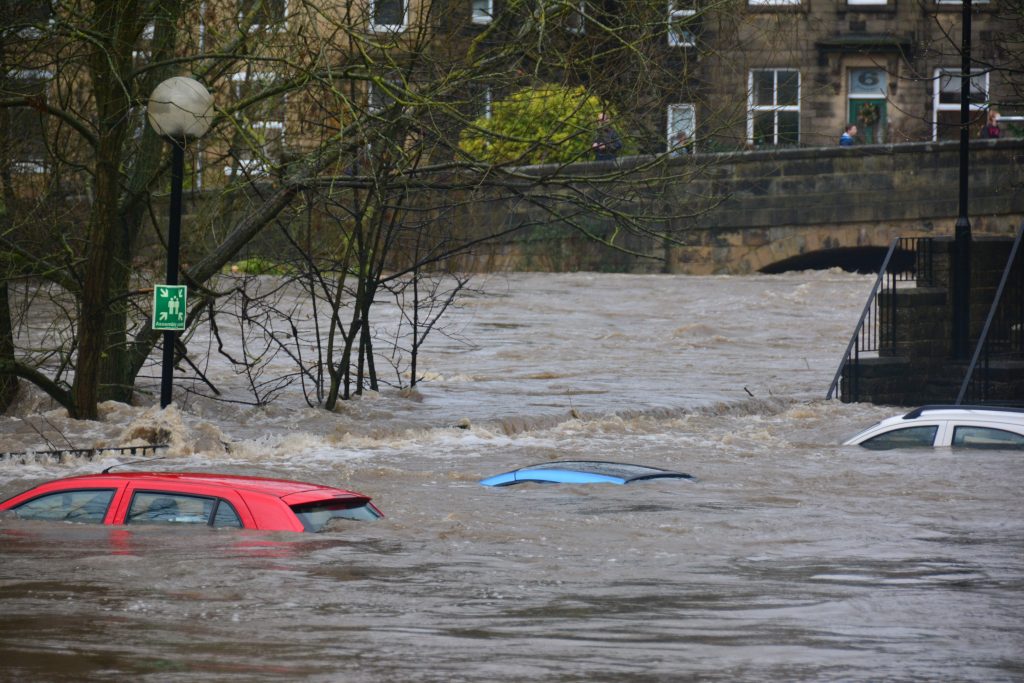
Natural disasters happen. It’s Mother Nature. Do you think you could last a few days, weeks, or even months without the basics of food, water, gas and electricity?

What is your plan? Do you have food insurance built up? Water? Fuel? Etc…

100 items that will disappear

You can start small and build up your supplies over time. You may even have many of theses items already.

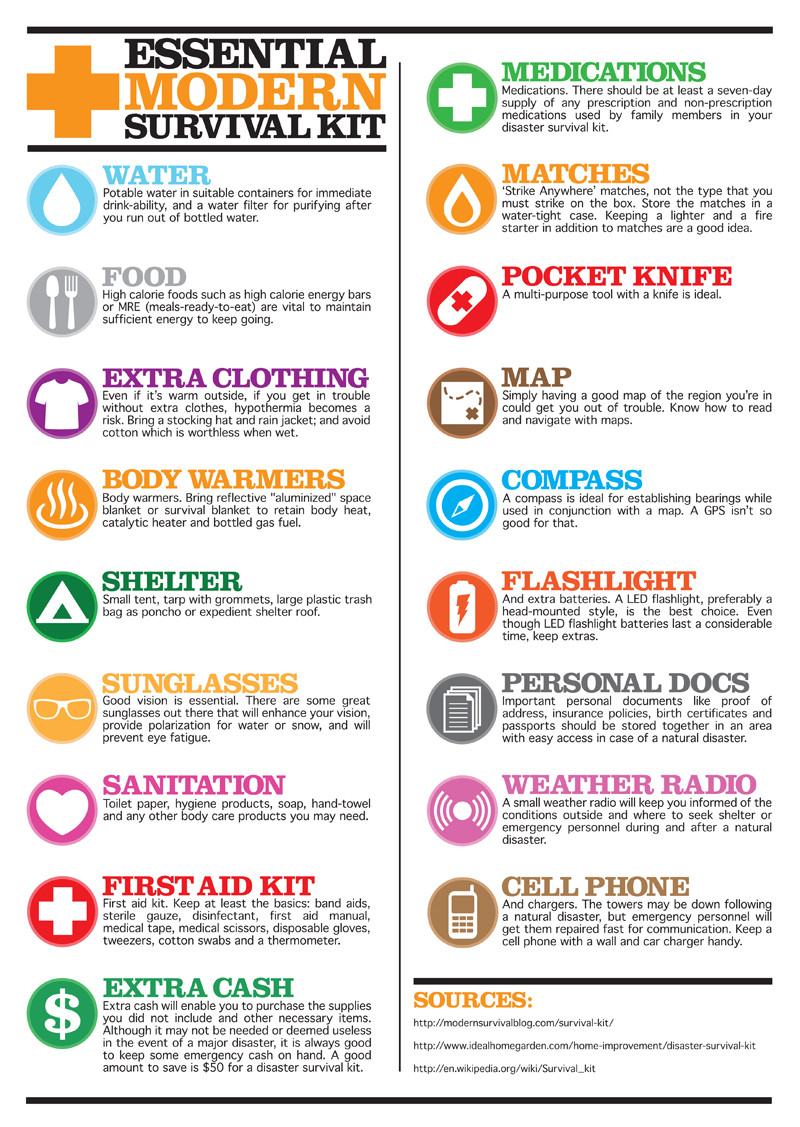
Below is a list of the 100 items most likely to disappear in a disaster scenario:

1. Generators (Good ones cost dearly. Gas storage, risky. Noisy…target of thieves; maintenance etc.)
2. Water Filters/Purifiers
3. Portable Toilets
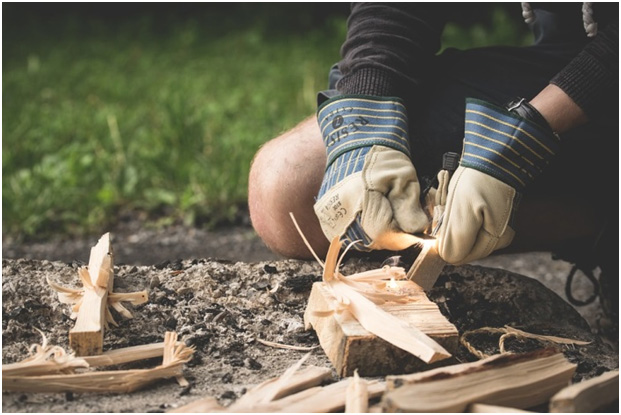
4. Seasoned Firewood. Wood takes about 6 – 12 months to become dried, for home uses.
5. Lamp Oil, Wicks, Lamps (First Choice: Buy CLEAR oil. If scarce, stockpile ANY!)
6. Coleman Fuel. Impossible to stockpile too much.
7. Guns, Ammunition, Pepper Spray, Knives, Clubs, Bats & Slingshots.
8. Hand-can openers, & hand egg beaters, whisks.
9. Honey/Syrups/white, brown sugar
10. Rice – Beans – Wheat
11. Vegetable Oil (for cooking) Without it food burns/must be boiled etc.,)
12. Charcoal, Lighter Fluid (Will become scarce suddenly)
13. Water Containers (Urgent Item to obtain.) Any size. Small: HARD CLEAR PLASTIC ONLY – note – food grade if for drinking.

stock up in preparation

14. Mini Heater head (Propane) (Without this item, propane won’t heat a room.)
15. Grain Grinder (Non-electric)
16. Propane Cylinders (Urgent: Definite shortages will occur.
17. Survival Guide Book.
18. Mantles: Aladdin, Coleman, etc. (Without this item, longer-term lighting is difficult.)
19. Baby Supplies: Diapers/formula. ointments/aspirin, etc.
20. Washboards, Mop Bucket w/wringer (for Laundry)
21. Cookstoves (Propane, Coleman & Kerosene)
22. Vitamins
23. Propane Cylinder Handle-Holder (Urgent: Small canister use is dangerous without this item)
24. Feminine Hygiene/Hair-care/Skin products.
25. Thermal underwear (Tops & Bottoms)
26. Bow saws, axes and hatchets, Wedges (also, honing oil)
27. Aluminum Foil Reg. & Heavy Duty (Great Cooking and Barter Item)
28. Gasoline Containers (Plastic & Metal)
29. Garbage Bags (Impossible To Have Too Many).
30. Toilet Paper, Kleenex, Paper Towels
31. Milk – Powdered & Condensed (Shake Liquid every 3 to 4 months)
32. Garden Seeds (Non-Hybrid) (A MUST)
33. Clothes pins/line/hangers (A MUST)
34. Coleman’s Pump Repair Kit
35. Tuna Fish (in oil)
36. Fire Extinguishers (or large box of Baking Soda in every room)
37. First aid kits
38. Batteries (all sizes…buy furthest-out for Expiration Dates)
39. Garlic, spices & vinegar, baking supplies
40. Big Dogs (and plenty of dog food)
41. Flour, yeast & salt
42. Matches. {“Strike Anywhere” preferred.) Boxed, wooden matches will go first
43. Writing paper/pads/pencils, solar calculators
44. Insulated ice chests (good for keeping items from freezing in Wintertime.)
45. Work-boots, belts, Levi’s & durable shirts
46. Flashlights/LIGHTSTICKS & torches, “No. 76 Dietz” Lanterns
47. Journals, Diaries & Scrapbooks (jot down ideas, feelings, experience; Historic Times)
48. Garbage cans Plastic (great for storage, water, transporting – if with wheels)
49. Men’s Hygiene: Shampoo, Toothbrush/paste, Mouthwash/floss, nail clippers, etc
50. Cast iron cookware (sturdy, efficient)
51. Fishing supplies/tools
52. Mosquito coils/repellent, sprays/creams
53. Duct Tape
54. Tarps/stakes/twine/nails/rope/spikes
55. Candles
56. Laundry Detergent (liquid)
57. Backpacks, Duffel Bags
58. Garden tools & supplies
59. Scissors, fabrics & sewing supplies
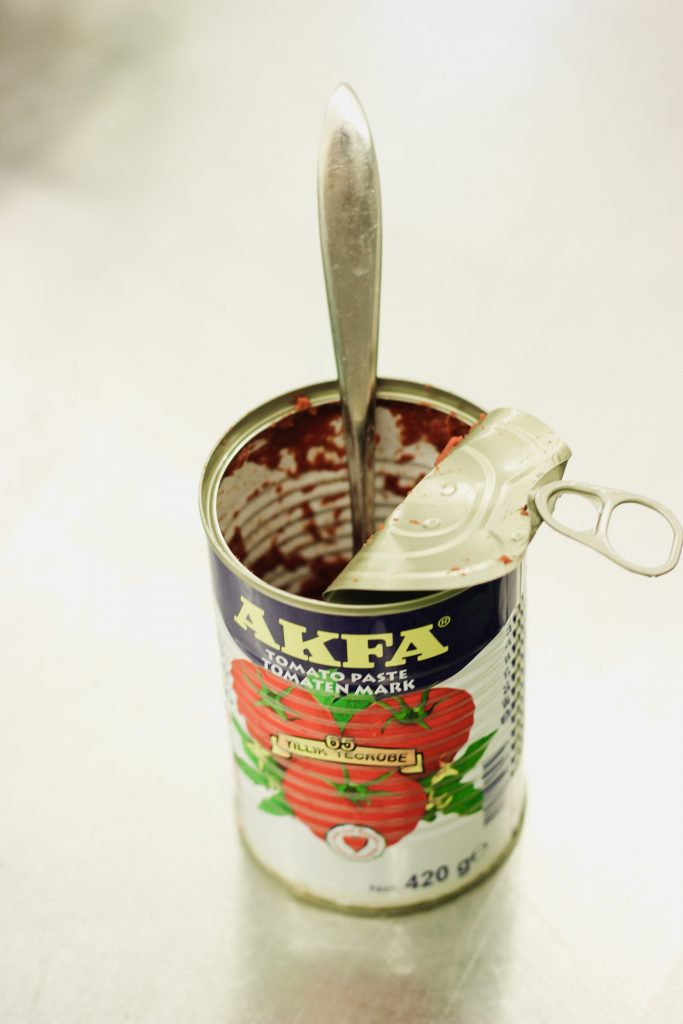
60. Canned Fruits, Veggies, Soups, stews, etc.
61. Bleach (plain, NOT scented: 4 to 6% sodium hypochlorite)
62. Canning supplies, (Jars/lids/wax)
63. Knives & Sharpening tools: files, stones, steel
64. Bicycles…Tires/tubes/pumps/chains, etc
65. Sleeping Bags & blankets/pillows/mats
66. Carbon Monoxide Alarm (battery powered)
67. Board Games, Cards, Dice
68. d-con Rat poison, MOUSE PRUFE II, Roach Killer
69. Mousetraps, Ant traps & cockroach magnets
70. Paper plates/cups/utensils (stock up, folks)
71. Baby wipes, oils, waterless & Antibacterial soap (saves a lot of water)
72. Rain gear, rubberized boots, etc.
73. Shaving supplies (razors & creams, talc, after shave)
74. Hand pumps & siphons (for water and for fuels)
75. Soy sauce, vinegar, bullions/gravy/soup-base
76. Reading glasses
77. Chocolate/Cocoa/Tang/Punch (water enhancers)
78. “Survival-in-a-Can”
79. Woolen clothing, scarves/ear-muffs/mittens
80. Boy Scout Handbook, / also Leaders Catalog
81. Roll-on Window Insulation Kit (MANCO)
82. Graham crackers, saltines, pretzels, Trail mix/Jerky
83. Popcorn, Peanut Butter, Nuts
84. Socks, Underwear, T-shirts, etc. (extras)
85. Lumber (all types)
86. Wagons & carts (for transport to and from)
87. Cots & Inflatable mattress’s
88. Gloves: Work/warming/gardening, etc.
89. Lantern Hangers
90. Screen Patches, glue, nails, screws,, nuts & bolts
91. Teas
92. Coffee
93. Cigarettes
94. Wine/Liquors (for bribes, medicinal, etc,)
95. Paraffin wax
96. Glue, nails, nuts, bolts, screws, etc.
97. Chewing gum/Candy/Chocolate
98. Atomizers (for cooling/bathing)
99. Hats & Bandanas, cotton neckerchiefs
100. Goats/Chickens/Rabbits

Some Thoughts From a Sarajevo War Survivor:

Experiencing horrible things that can happen in a war – death of parents and
friends, hunger and malnutrition, endless freezing cold, fear, sniper attacks.

1. Stockpiling helps. But you never no how long trouble will last, so locate
near renewable food sources.
2. Living near a water well with a manual pump is like being in Eden.
3. After awhile, even gold can lose its luster. But there is no luxury in war
quite like toilet paper. Its surplus value is greater than gold‘s.
4. If you had to go without one utility, lose electricity – it’s the easiest to
do without (unless you’re in a very nice climate with no need for heat.)
5. Canned foods are awesome, especially if their contents are tasty without
heating. One of the best things to stockpile is canned gravy – it makes a lot of
the dry unappetizing things you find to eat in war somewhat edible. Only needs
enough heat to “warm”, not to cook. It’s cheap too, especially if you buy it in
bulk.
6. Bring some books – escapist ones like romance or mysteries become more
valuable as the war continues. Sure, it’s great to have a lot of survival
guides, but you’ll figure most of that out on your own anyway – trust me, you’ll
have a lot of time on your hands.
7. The feeling that you’re human can fade pretty fast. I can’t tell you how many
people I knew who would have traded a much needed meal for just a little bit of
toothpaste, rouge, soap or cologne. Not much point in fighting if you have to
lose your humanity. These things are morale-builders like nothing else.
8. Slow burning candles and matches, matches, matches

Critical Essentials: Modern Survival Kit

Essentials Of The Modern Survival Kit

source


How to Live Off the Grid: a Guide to Freedom

We live such hectic lives, filled with absolute non-sense that we forget what it is we’re actually living for. Most of us have 60 hours’ work weeks so we can pay rent, taxes and buy food. We don’t even have time for our loved ones, and we seem too busy or too tired even when we take a day off. That’s when leaving it all behind and starting a new life in the middle of nowhere starts to sound like an awesome idea.

Give it all up

The first thing is renouncing your old life and habits. That sounds pretty terrifying, but it’s liberating at the same time. Ask yourself this: if a tornado were to take you to Oz, what would you miss the most about your life now?

Giving up your life starts by prioritizing the essential things and relationships. After that, you’ll find there are plenty of things you would gladly let go of, if, in exchange, you could have peace, tranquility, and love.

Find a place

Cabin-in-the-woods

After deciding you really need to take off, you can’t simply do it without a plan. That’s why you should find somewhere to stay first. Maybe you have a cabin in the woods or a property in an isolated territory, and that could be your starting point.

But if you have to find your own place, things can get complicated. For instance, you can either buy or rent a piece of land. You should make sure the place is isolated enough so you won’t have any nosy Nellies around, but still, have some neighbors at convenient distances. You should also check that a nearby town doesn’t have future plans to extend closer to your property if you want to live a more solitary life.

After that, you can set up a camp, maybe even move in your trailer and start building your own home. If you have some money saved, you can commission the work to a professional, but you also have the option of turning this into your first DIY project.

Learn survival skills

You can’t move off in the wilderness without learning some survival skills first. The first one would be how to find water if there are limited water sources near your property. If you have very hot summer days when springs peter out, you might need to use other techniques like placing plastic bags on tree branches or digging for water.

making-fire

You should also learn how to build a fire, but that’s the easy part. After all, you can leave home equipped with 20 pounds of waterproof matches. The hardest part is to learn which trees you can cut down, how to chop them and how to store the wood properly. If you cut green trees and the wood gets too wet, you’ll have fewer chances of building a lasting fire.

Grow your own food

This can mean different things depending on where your property is. If you’ve moved off to a deep, damp forest in the mountains, your only options might be hunting, fishing and eating wild fruits. Of course, learning some hunting and fishing skills, along with buying proper equipment is useful no matter where you might end up. And you need to recognize which plants are edible, and which aren’t.

If you’re moving to a friendlier environment, you can always build a greenhouse with basic equipment. So you might need nothing more than some sturdy cellophane and a few pallets, along with plenty of water and the right seeds.

Apart from that, you can farm certain animals, depending on how large your property is. Chicken is the easiest when you take into account all the logistics, like space and food, plus they give you nutritious meat and eggs. Otherwise, you can consider raising cows for their milk, maybe buy a couple of horses if you own a bigger farmstead.

Arrange your amenities

You also need some degree of comfort, especially for keeping a clean environment. So you’ll want a toilet and some sort of washing facilities, and you have plenty of options here too. The easiest would be to buy a camp toilet and a camp shower, which can easily be transported and used no matter where you are.

Or, you can build your own bath, and improvise if you don’t have any running water. For instance, your toilet can be an outhouse, but you have to place it at some distance from your house and greenhouse.

Your shower can be a barrel of warm water with a valve attached to it and a hose with a showerhead for the warmer summer days. Or you can get a bathtub for indoor use, and that would help you relax after a long day’s work.

Earn the money you need

You might still need some money even if you’re living in a remote location for paying the rent or for buying the things you can’t produce on your own, but that doesn’t mean you should get a day job in the city.

One idea is to sell or trade the things you produce in surplus. So if you have lots of eggs or meat, you can sell that to your neighbors, or trade with them for clothes or different tools.

Another idea is to focus on a skill you already have, and sell the results of your work on the Internet. For instance, you might be into crafting and learn how to make interesting sculptures. Or decorate axes. Or make origami. The world is your oyster.

Learn to enjoy solitude

prepare-to-be-alone

This might prove to be difficult enough, especially if you’re all alone. We’re so accustomed to noise (even white noise) that eating a meal by ourselves without constantly checking our social media accounts seems impossible. But if you’ve chosen to live off the grid, you can find pleasure in loneliness.

So after all that, what seems like the most difficult to do? What plan do you have? Tell us all about that in the comments.


About the author: Mike is a passionate hunter and his favorite grounds are Alaska and British Columbia. He’s also an expert in hunting gear and he is one of the most reliable resources when it comes to choosing the right tools for the job. He also writes for OpitcGearLab.com

Does It Really Take $50,000 To Be A Prepper?

What Does it Cost to Prepare

Scouring the internet for information on disaster preparedness sheds an interesting light on what most people think it costs to ready themselves for the unexpected. Guides abound on how to prepare with minimal investments – but most put the focus on unreliable foodstuffs, tools, and supplies.

At the opposite end of the spectrum are the complete “how to” guides, that claim to show a family how to prepare for any emergency. These guides tend to indicate that the total cost of preparing a family of four for a natural disaster ranges from $5,000 to over $50,000.

Does It Really Take $50,000 To Be A Survival Prepper?

Preparing for the Worst – Not As Expensive As Most Think

Preparing for a disaster doesn’t mean that you and your family could survive in an underground bunker for thirty years without ever accessing the outside world. It means preparing for the inevitable and unexpected emergencies that can arise at any time.

Disaster preparedness isn’t limited to hurricanes, blizzards, and failures of the national infrastructure. It extends into the smaller disasters that we encounter while going about our everyday lives – like getting stranded in a broken down vehicle in the middle of nowhere, or finding yourself injured while on a hike.

Preparing for these situations is relatively inexpensive. With the help of products like these Backpack Survival Kits it can be incredibly simple, too.

Would you have access to digital money in a disaster scenario? #Bitcoin

Preparing for Different Types of Emergencies

While the ideal disaster preparedness plan includes provisions for long periods of isolation from modern amenities (such as running water and food supplies), the majority of emergencies the average person will encounter require far less extensive planning.

Breakdown / Stranded Emergencies – If your vehicle were to break down, or if you found yourself stranded in the middle of nowhere, what would you do? With a ready-made kit, like the Guardian Elite (which comes prepared in a sturdy, easy-to-carry back pack) you would have food, and first aid supplies on hand. Toss in a few bottles of water before you head out, and you’ll have that covered, too.

Temporarily Unavailable Food Supplies – Whether it’s a true natural disaster or merely a predicted blizzard, when the newsman warns that rough weather is moving in, everyone rushes to the grocery store and clears the shelves. Having a one month supply of food on hand would ensure that your family doesn’t go hungry, and with kits like the Meal Package, is not only affordable, but incredibly easy to store.

In both of the cases described above, your total investment is going to be far less than what you might expect. Since the kits are ready made and based on government recommendations for preparedness, you can also be sure that they’re relatively complete.

Don’t put off preparing for disaster because you don’t think you can afford it – it’s far less expensive than you think.

Please share your cost saving prepper and survival ideas in the comments below.


Water Bricks For Survival

Whether you are planning on bugging in, bugging out or have some other survival shelter hidden away, you will need a good stockpile of water. Adding WaterBrick storage in a pantry, a garage or a bunker is a great idea for emergency water storage. And if needed they are more portable than 55 gallon water barrels.

Here are a few examples:

Water Storage Containers – WaterBrick – 8 Pack Blue

Water Storage Containers – WaterBrick – 8 Pack Tan

Emergency Water Storage System - Stackable Boxes, BPA-Free Bladder, Portable - Disaster Prepper Home Water Supply - With Aquamira Drinking Water Purification & Fill Hose (60 Gallon)

Emergency Water Storage System – Stackable Boxes, BPA-Free Bladder, Portable – Disaster Prepper Home Water Supply – With Aquamira Drinking Water Purification & Fill Hose


Water Storage Containers - WaterBrick - 32 Pack Blue

Water Storage Containers – WaterBrick Wall – 32 Pack Blue


These examples of water storage are practical and easy to use.

  • Stackable rectangular blocks which interlock for stability.
  • Easy to grip handle.
  • Can be used for water or foods like rice, beans, or anything you want to keep safe and dry from the elements.
  • FDA approved, and BPA free.