Food Apocalypse? How to Survive If Grocery Stores Run Out of Food

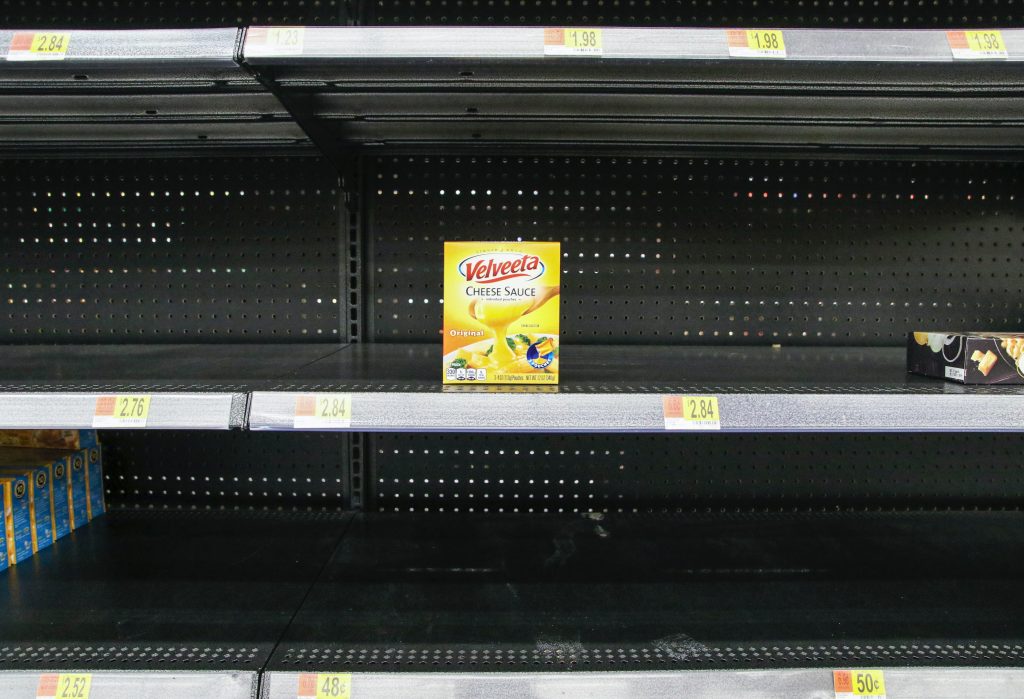
In a world where we rely heavily on grocery stores for our daily needs, the thought of them running out of food can be a scary one. While it’s unlikely to happen on a large scale, it’s important to know what steps we can take to survive if it does.

running out of food can be a scary

The first thing to consider is the reason for the shortage. Is it a temporary issue such as a supply chain disruption, or a long-term problem such as a natural disaster or economic collapse? Understanding the cause will help determine the best course of action.

In the event of a temporary shortage, it’s important to not panic and rush to hoard food. This will only exacerbate the problem and leave others without the resources they need. Instead, focus on purchasing what you need for the immediate future and consider alternative food sources such as local farmers’ markets or community gardens.

community gardens

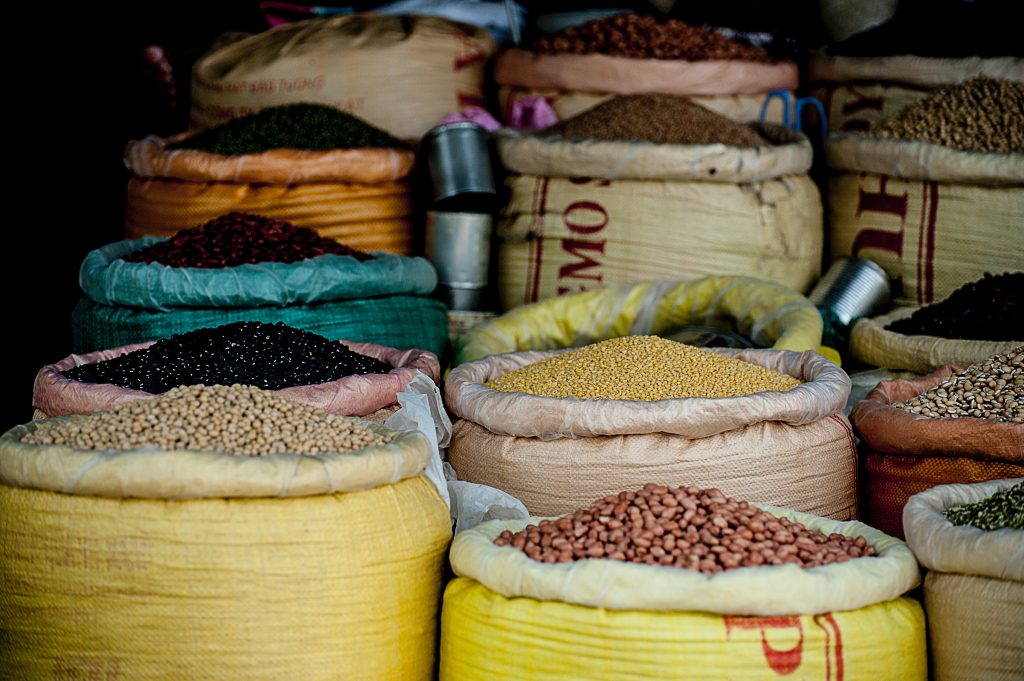
In a long-term shortage, it’s important to be prepared with a stockpile of non-perishable foods such as canned goods, dried fruits and vegetables, and grains. It’s also wise to learn how to preserve food through techniques such as canning, drying, and pickling.

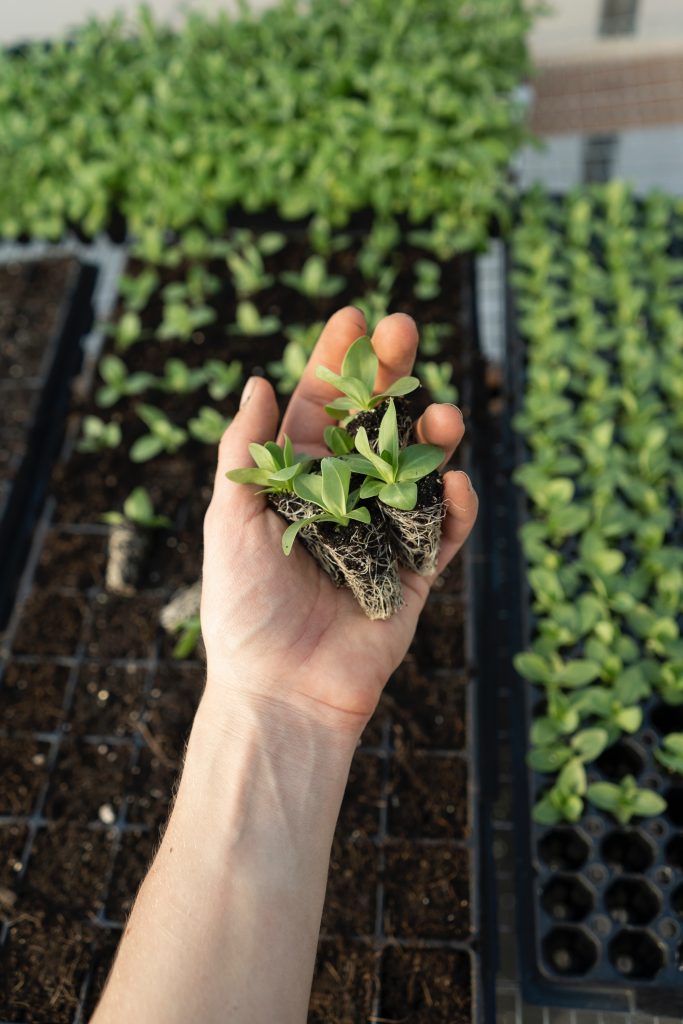
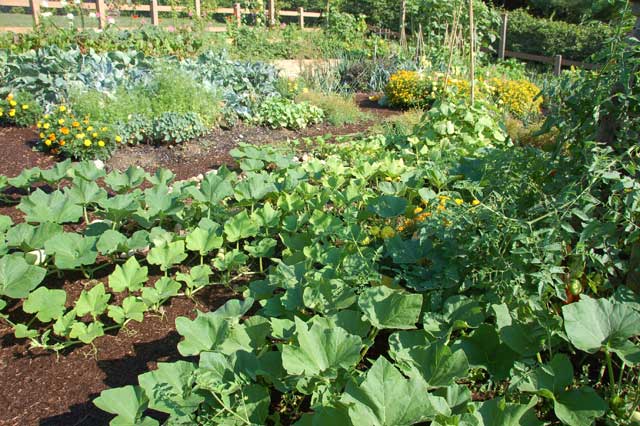
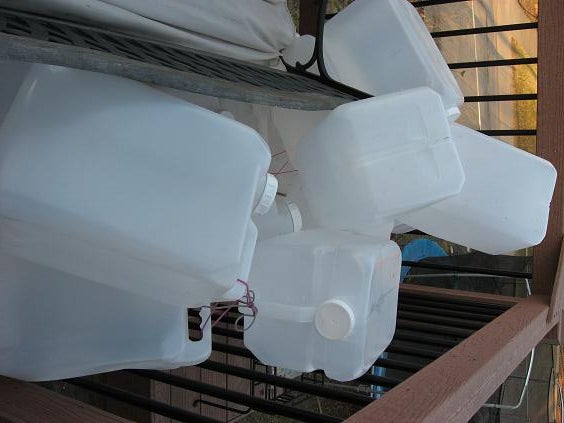
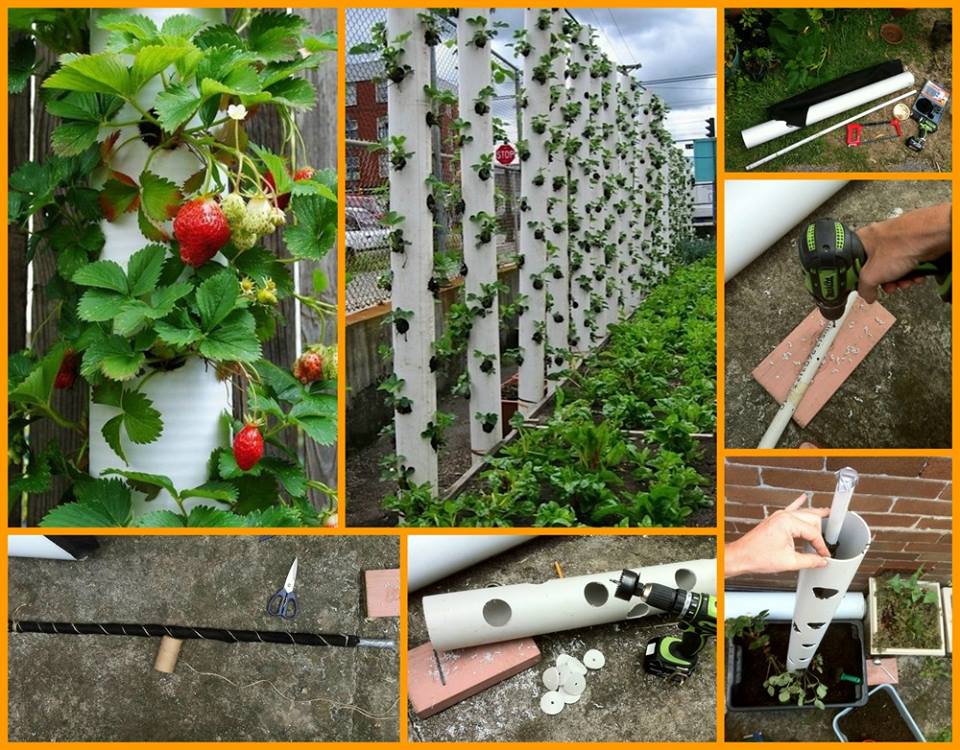
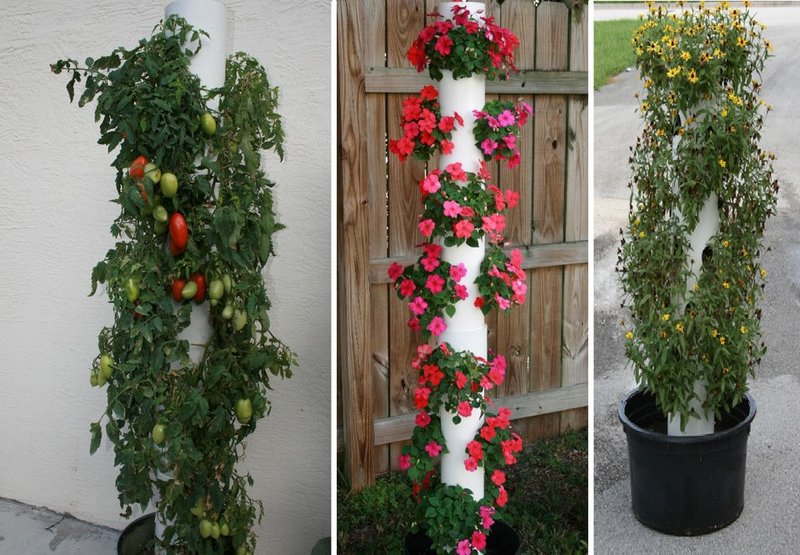
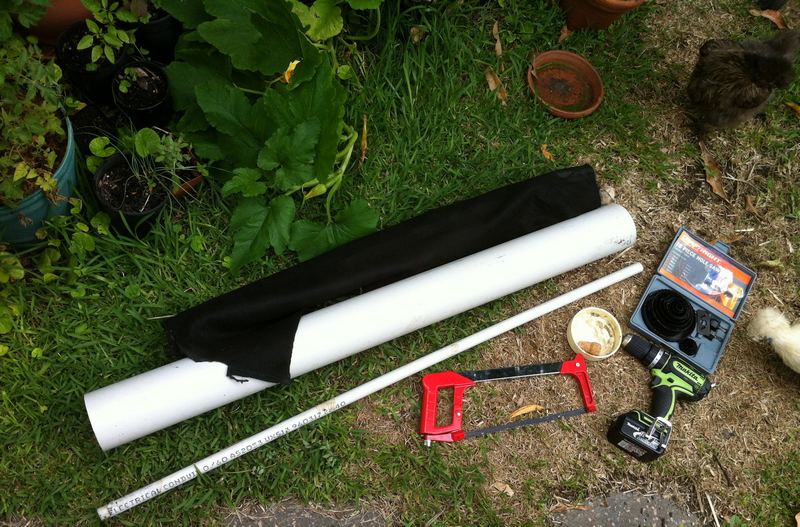
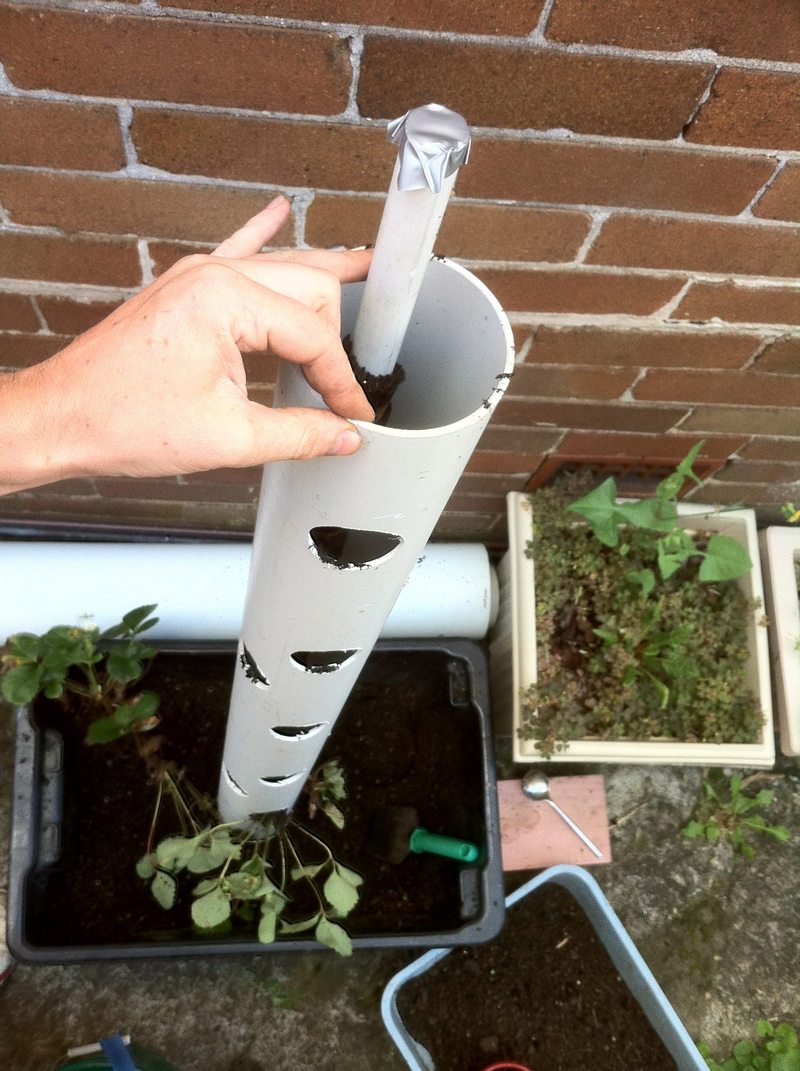
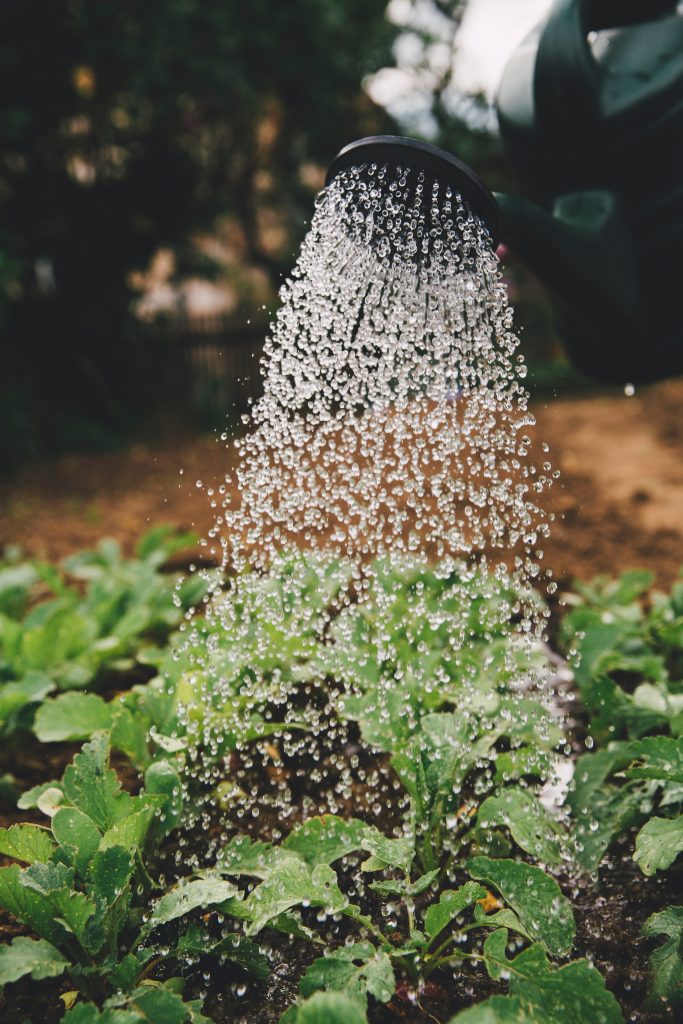
Another important aspect of surviving a food shortage is knowing how to grow your own food. This can be done on a small scale through container gardening or on a larger scale through traditional gardening methods. Learning basic gardening skills and having access to seeds and gardening tools can make a big difference in a food shortage scenario.

sharing resources

Finally, it’s important to remember that community support can be invaluable in times of need. Consider joining or forming a community food co-op or sharing resources with neighbors and friends.

In conclusion, while the idea of grocery stores running out of food can be daunting, there are steps we can take to prepare and survive. By being informed, resourceful, and community-minded, we can weather any storm.

Top 5 Easiest Plants to Grow with High Nutritional Value for Millennials: Practical Tips and Examples

Are you looking to add more nutrient-dense foods to your diet? As a millennial, you can grow your own with ease! You can easily grow plants with high nutritional value right in your own home with just a few practical tips. From leafy greens and microgreens to sprouts and tomatoes, there are many plants that are easy to grow and packed with vitamins and minerals.

5 Easiest Plants to Grow with High Nutritional Value
  1. Leafy greens: Spinach, kale, and lettuce are just a few examples of leafy greens that are packed with vitamins and minerals. Grow them in pots or raised beds and provide them with plenty of sunlight. Harvest the leaves regularly to encourage new growth. Practical tip: Grow leafy greens in well-drained soil and provide them with plenty of sunlight. Harvest the leaves regularly to encourage new growth. (Reference)
  2. Microgreens: Quick-growing microgreens, such as broccoli, radish, and wheatgrass, are packed with nutrients and can be grown in a sunny windowsill or under grow lights. Practical tip: Grow microgreens in well-draining soil and provide them with plenty of light. Harvest the greens when they are just a few inches tall. (Reference)
  3. Sprouts: Alfalfa, mung bean, and clover are just a few examples of sprouts that are easy to grow and packed with vitamins, minerals, and antioxidants. Soak the seeds overnight and then drain and rinse them daily until they sprout. Keep the sprouts in a sunny windowsill or under grow lights. Practical tip: Soak the seeds overnight and then drain and rinse them daily until they sprout. Keep the sprouts in a sunny windowsill or under grow lights.
  4. Tomatoes: Tomatoes are packed with vitamins and minerals and are easy to grow in pots or in the ground. Provide them with well-drained soil, plenty of sunlight, and water and fertilize as needed. Practical tip: Grow tomatoes in well-drained soil and provide them with plenty of sunlight. Water regularly and fertilize as needed. (Reference)
  5. Bell peppers: Bell peppers are packed with vitamins and are easy to grow in pots or in the ground. Provide them with well-drained soil, plenty of sunlight, and water and fertilize as needed. Practical tip: Grow bell peppers in well-drained soil and provide them with plenty of sunlight. Water regularly and fertilize as needed.
Enjoy fresh, nutrient-dense foods right in your own home

By growing these plants, you can enjoy fresh, nutrient-dense foods right in your own home while also saving money on groceries.

Grow your own food
 

Guerilla Gardening: Why We Think It’s A Good Idea To Plant Some Preps Along Your Bug-out Routes

Guerilla Gardening is not done by gorillas.  In fact it is usually done by little old ladies who sneak into people’s yards when no one is home.  At least that’s what I do.
Plant fruits and vegatables along your bugout routes

My first act of gorilla gardening was for my friend Joe.  He’d worked for many years on building a home whenever he had money available and help from friends.  The place was a cluttered construction site for a long time.  But as the building was nearly completed, and the construction debris cleared away, there was room in a sunny spot for a small garden.  I knew Joe wanted to grow some of his own food and where he intended to put a garden so when he left town for a week, I made my move.

I collected some discarded 4×4’s and some left over fencing and piled them into my station wagon along with some garden starts and headed over to Joe’s.  It’s a lovely place at the end of a dirt road.  I got to work with my digging fork and turned sod, weeded and formed beds.  I dug holes and erected the posts and fencing.  Then I planted the seeds and starts, salad greens, squash, peas and beans to climb the fence and a bed for perennials like rhubarb, herbs and raspberries.  I watered it all from the rain barrel.  When Joe came home and found it he was delighted.  Since then his garden has expanded to 5 times the size of the original.

I live on a small lot in town.  The previous owner traveled often so his landscaping was concrete and grass.  Now after 5 years, there’s a native plant garden on the shady side of the house with vine maple and crabapple trees, salal, Oregon grape, red flowering currant, columbine and wild ginger.  In the sunniest part of the yard, right up against the sidewalk, I have my espaliered fruit trees with 10 different kinds of fruit grafted on to 4 trees.  There are 2 blueberry bushes and strawberry plants.  In the beds there are potatoes, squash, peas, salad greens, broccoli, cauliflower and winter greens.  A stately rhubarb fills out one corner and cosmos bloom by the fence.  What a delight to grow my own produce.  I planted greens last August to winter over so I’m eating chard, collards, kale and beets year round. The chard with their red and yellow stems brighten up the flower beds.

Gardening on a small lot

It took a while for me to figure out what grows best here in the Northwest and in my yard.  Then I had to get used to eating what I grow.  But now I’m totally addicted.  I take some with me when I travel.

This spring my elderly neighbor said she wasn’t going to garden this year.  My ears perked up.  I asked, and she said to “Garden as if it was your own.”  That garden has been under cultivation for decades so mostly what I’m doing is weeding and uncovering the volunteers.  There’s lettuce, chard and garlic in abundance.  I added a few squash and beans and covered them with a floating row cover to keep the deer and squirrels at bay.

Another friend is moving from Whidbey where he’s lived for thirty years.  He has a well-established landscape.  I’ve been weeding with him there getting his house ready to sell and hearing about his projects restoring an old house in Port Townsend where he’s planning to move.  Last week while in Port Townsend, I put a couple of big pots on his porch, filled them with potting soil and added salad starts and a couple of squash.  A friend 2 doors down said she’d keep them watered. My friend was touched to find them the next day.  I love guerrilla gardening.

[source]

How to Get the Most Calories per Foot Out of Your Homestead Garden

In order to provide high-quality food for your entire family throughout the year using your garden, you have to plan well. If you grow the majority of your food at your homestead garden, this guide will help you in achieving a successful and plentiful produce. With the correct planning and use of the garden; you may yield a big amount of calories per foot to ensure food sufficiency at your home.

How to Have a Successful Yield

You need to take the following activities into consideration if you want to get enough supply from your garden.

  • Establish your goals and work towards them.

You may start by making a list of the foods which you and your family prefer while also noting the quantities. You may use a chart to make your plan better. It will guide you on how much of each of the food crops you need to grow. This also helps you to organize the garden.

  • Choose an appropriate gardening method.

It is advisable to choose an appropriate method for your gardening. The following is a list of gardening methods which will help you in yielding a great amount of calories. You may choose any that suits the nature of your garden.

  • Deep soil preparation
  • Intensive planting
  • Composting
  • Companion planting
  • Growing crops which offer sufficient calories from a small area
  • Use open-pollinated seeds
  • Growing crops for grains and carbon
  • Choosing the right food crops to grow

The following are examples of great food crops that will do well in your homestead garden with brief explanations about their benefits.

  1. Potatoes

Potatoes are a good source of both proteins and carbohydrates. They provide more carbohydrates per square foot than any other common vegetables. Potatoes also yield more protein per square foot than all other vegetables, except for beans. They can be stored for many months without any need for electricity or processing which adds to their benefits.

  1. Beans

Legumes such as beans, peas, cow-peas and lentils are nutritious, rich in protein and easy to grow. They can be stored for long periods during winter without need for electricity or processing. Different legume species do well in different conditions. It is recommended to grow many different species for a better calorie per foot yield.

  1. Corn

Corn is the most perfect grain for growing and processing on a small scale garden. The harvesting process is easy and they do not require threshing. Fresh corn is rich in vitamins C, B1 and B5. It also contains plenty of dietary fiber, manganese and phosphorous.

Sweet corn provides delicious and fresh cobs during summer and a crop of dent corn provides you corn flour.

  1. Squash

Squash are another great source of carbohydrates, vitamins C and A as well as antioxidants (carotenoids). They thrive well in most gardens.

Final Words

Staple crops are very ideal if you rely on your homestead garden to feed your family. The best staple food crops for ensuring food self-sufficiency are easy to harvest and store. They return great yields and are calorie-dense to offer your entire family the food energy they need each day.

About the Author

Jack Neely is a fitness expert, survivalist, and world traveler. He’s been in several life or death situations, and he’s making an effort to spread his knowledge around the web to help others survive these situations as well. He’s also on the content team at The Tactical Guru.

Self-Watering Seed Starter – DIY

DIY Gardening Tip

Reuse old bottles to make this clever seed starter! A great way to start off your seeds now and be ready to plant soon.


No Gutters On Your House – Create a “Drain Barrel” (Rainwater Collection System)

Gutterless Rain Barrel - a


This is a great idea for capturing rainwater for your home, garden or even at your bugout location. It comes in handy in places where you may not be able to tap a well or water source directly.
 
I wanted to share instructions on how to build a “drain barrel” for those of you who may not have gutters on your house.  This project is most useful for those of us who have a clearly-defined gouge in our wood chips where the water pours off the roof.
 

Step 1:

 
Purchase three cedar decking boards and screw them together in the shape of a trough. Seal all joined edges with a clear silicone caulk.


Step 2:

 
Obtain containers in which the capture the rainwater; it would be best to find containers with about a 2″ opening.


Step 3:

 
Line up the containers and measure the distance between the center of the containers’ openings. Leave about 1/2″ per container for expansion.  Measure the diameter of the container’s opening and use a hole saw (attached to the drill) to make holes in the trough.


Step 4:

 
Purchase a 10′ length of PVC pipe. It should be slightly less in diameter than your hole. Count the number of holes and divide evenly. Cut the PVC into equal lengths.  Purchase a narrowing PVC conduit to glue to the top of your pipes.  Drill two holes in the widest part of the conduit and use a miter saw to remove the material between the holes. This will make a slit to help drain the water into the pipe and ultimately into your container.


Step 5:

 
Construct some simple “feet” to attach to the ends of the trough. If you drill a hole in the middle of the end of the trough, you will be able to swivel the trough up-side-down on the lag bolt to prevent snow from weighing the trough down during the winter.  Dig a hole on both ends for the “feet”, level the trough, and add concrete to prevent the structure from moving during a hard rain.


Step 6:

 
Rake the area under the trough so that you can remove the containers easily. Insert the PVC pipe, and add metal menders if you like to ensure the container’s slit stays level with the trough. When it rains, the water will be directed from the trough, into the PVC pipe and then into your container.  When the container is full, lift the PVC pipe out of the mouth of the container, remove the container, and water your plants.  When the container is empty, put it back under the trough and slip the PVC pipe back down into the mouth of the container.  If you like, you can purchase a rain barrel with which to pour the full containers.


Gardening Top Tip From YZS

Gardening Top Tip: Tomatoes need calcium to achieve their full flavor potential, and calcium is often greatly lacking in our soils. 95% of a dry eggshell is calcium carbonate.

When planting your tomato plants crush up (to powder) about 4 or 5 egg shells and put them in the bottom of the hole. Then plant your tomato on top. They’ll provide calcium and prevent blossom end rot.

egg shells for your garden

See Which Vegetables to Grow During Summer : Click Here

If you are looking for vegetables to grow during summer, these should be the ones you must consider. Plant Heirloom Seeds : Survival Seeds

How To Make Your Own Vertical PVC Planter

Short on space for your garden? Go vertical. Upright planters let those short on space still experience the joys of gardening. I’m so glad that there are options out there! The Owner Builder Network has put together a fantastic tutorial on how to make one of your own from PVC pipe.

Do It Yourself, How to make your own vertical garden in a small space.

Here’s a step by step guide on how to make your own vertical planter.

DIY Vertical Planter

Materials:

– Any length 100mm-150mm (4″ – 6″) diameter PVC or any other kind of pipe
– Potting mix and compost
– Plants (not large plants or bushes)
– Large pebbles of about the same size for added support/stability
– A drip irrigation pipeline (or you can simply water from the top and it will trickle down) *

Tools:
– A drill and circular drill bit OR
– A jigsaw if you don’t own the above
– A hacksaw (if pipe needs to be cut down)
– Marker pen

Materials and Tools

Important:

A minimum of 25% of your above ground height needs to be below ground, to ensure stability. e.g. if you want your planter to be a metre high then the overall length of your pipe must be 125cm (or more).

How to:

If you are using an off cut or leftover material from a previous job, then the size and height of your project have already been determined for you.

If you are buying the materials you need to decide on the height and width of the pipe. For a 100mm pipe it is recommended to have only one hole in a horizontal row so the plants have enough room for their roots to grow. For 150mm pipes you can have up to 3 holes in each horizontal row depending on which plants you choose (three holes for flowers only, the rest either one hole or two).

Using a marker pen, mark out the holes you want to cut for your plants using the guidelines above. The size of the hole directly depends on the plants type and size.

Using the markings, cut the planting holes using either a hand drill with circular drill bit or a jigsaw.

Cutting the holes...

Set up the pipe in a large pot or directly into the soil, using the pebbles for additional stability.

Set up the pipe in a large pot or directly into the soil.

Finally, put the compost and soil into your pipe and start planting.

Keep the water up to your plants and sit back and reap the rewards.

* Because the planters hold only a limited amount of soil, it is essential you keep the water up to your plants. If you are relying in watering only at the top of the pipe, you’ll find that the plants at the top will get plenty of water but those at the bottom will get a lot less dry. That’s fine if you plant accordingly, but the best solution is to insert a weeper hose into the main pipe. This can be purchased or simply made by using 1″ conduit drilled with weep holes down it’s length. Wrap this inner conduit in geo-fabric or weed-cloth to prevent it getting blocked over time.

[source]