Fun and Easy: Making Butter in a Mason Jar!

Hey there, future butter-makers! Are you ready to embark on a kitchen adventure that will turn cream into creamy, dreamy butter? Today, we’re going to learn a super cool way to make butter using a mason jar. It’s like magic in the kitchen! So, grab your ingredients and let’s get started!

How to make Butter in a Mason Jar

Ingredients:

  • Heavy whipping cream (make sure it’s cold)
  • A pinch of salt (optional)
  • A mason jar with a tight-fitting lid

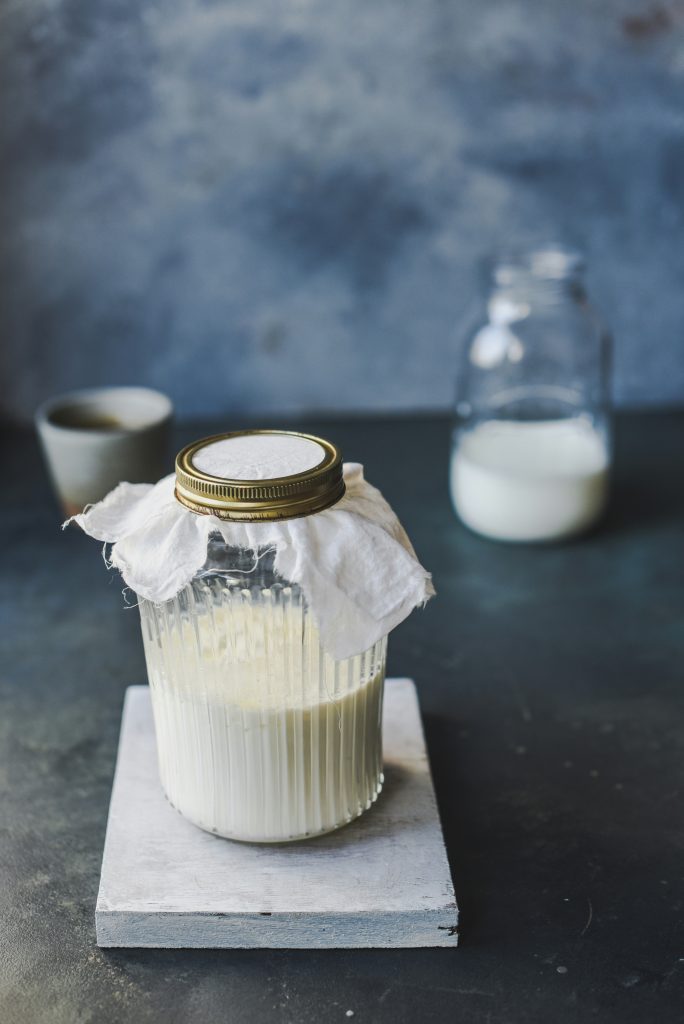
Step 1: Pour the Cream

Start by pouring some cold heavy whipping cream into the mason jar. Fill it about halfway – you don’t want to overfill, or the magic won’t happen!

Step 2: Shake It Up!

Now comes the fun part. Secure the lid tightly on the mason jar and shake it like you’re dancing to your favorite tunes. Shake, shake, shake! This is where the magic begins. As you shake, the cream inside the jar will start to thicken and change.

Step 3: Keep Shaking

Don’t stop shaking! It might take a little while, but keep at it. You’ll notice the cream becoming thicker and grainier. That’s the butter forming. If you want, you can take turns shaking with a friend or family member – it’s a great workout for your arms!

Step 4: Check the Butter

After a bit of time and enthusiastic shaking, take a peek inside the jar. You should see two things: a liquid (that’s buttermilk) and solid clumps (that’s your butter). Hooray! But we’re not done yet.

Making homemade butter is easy and fun.

Step 5: Drain the Buttermilk

Carefully pour out the buttermilk. You can use a strainer or simply tilt the jar while keeping the lid on to keep the butter inside. Save the buttermilk for pancakes or other recipes – waste not, want not!

Step 6: Rinse the Butter

Add some cold water to the jar and shake it again. This helps rinse off any remaining buttermilk. Pour out the water and repeat until the water is clear. Your butter will taste better without the extra buttermilk.

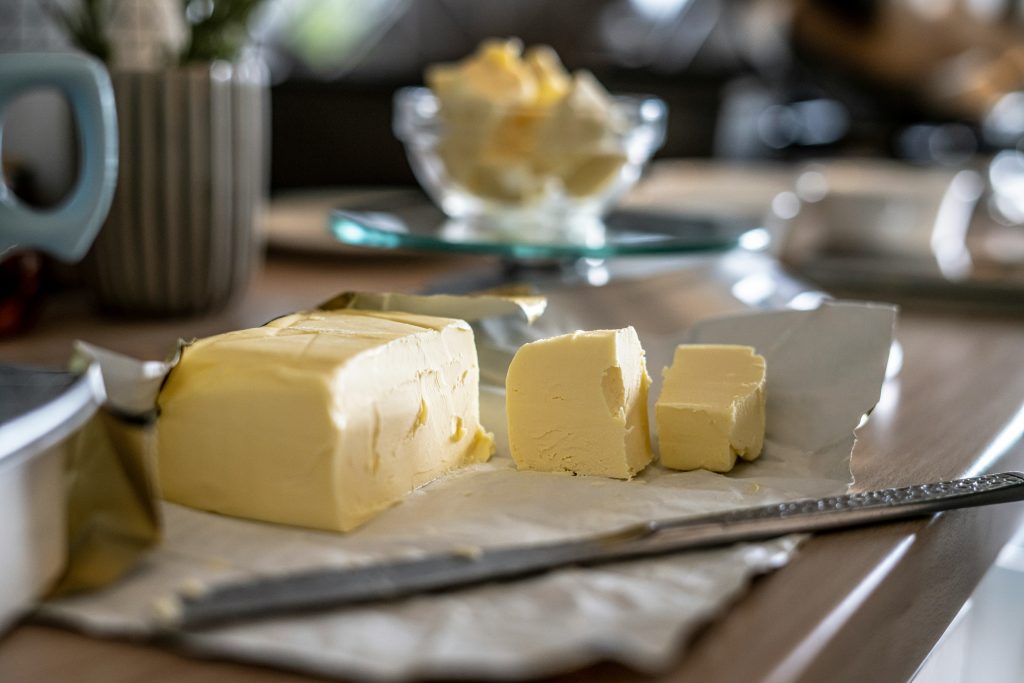
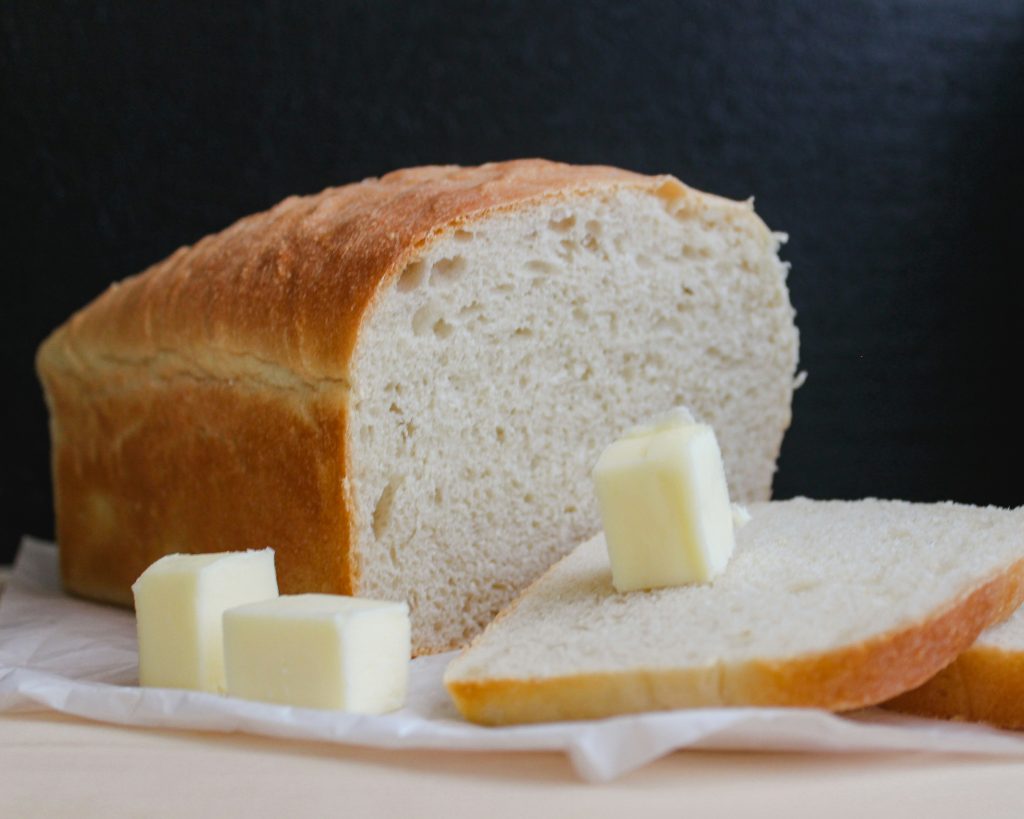
Step 7: Add a Pinch of Salt (Optional)

For extra flavor, you can add a pinch of salt to your butter. Give it a gentle stir with a spoon, and you’re ready to spread it on toast, crackers, or whatever you like!

fresh butter

Congratulations, survival chefs! You’ve just made your very own butter using a mason jar. It’s a fun and tasty kitchen experiment that proves cooking can be both educational and delicious. So next time you’re in the mood for a kitchen adventure, grab a jar, some cream, and get shaking! Enjoy your homemade butter, and happy cooking!

Will Your Family Go Hungry? Is Your Family Prepared for an Emergency?

Emergencies come in various forms, ranging from severe storms to unexpected power outages. Just like having insurance coverage for your home or car, it’s crucial to be prepared for the unexpected by stocking up on long-term food items. These food reserves act as a safety net, ensuring that your family won’t go hungry during times of crisis.

By incorporating freeze-dried foods into your emergency food supply, you can be ready for almost any unexpected event. Consider how invaluable these foods can be when a storm knocks out your electricity for several days. With long-term food items and a simple one-burner stove or candle to heat water (cold water can suffice in a pinch), you can still enjoy a hot and satisfying meal in less than 10 minutes.

Food Storage for survival

Creating a private food reserve makes perfect sense, both from a financial and security standpoint. Using pouches is ideal for limited short-term emergencies, while cans are more suitable for potential extended emergencies or situations that may affect a large number of people. You can also mix and match your short-term and long-term food items to cater to your specific needs.

Expert Advice:

1. Assess Your Family’s Dietary Needs: Consider the dietary requirements and preferences of each family member when planning your emergency food supply. Take into account any allergies, dietary restrictions, or special considerations to ensure that everyone’s needs are met during an emergency.

2. Calculate the Right Amount: Determine the appropriate quantity of food to store for your family based on the number of members and the estimated duration of the emergency. The general recommendation is to have at least a two-week supply of non-perishable food items.

3. Focus on Balanced Nutrition: While it’s essential to have a sufficient food supply, it’s equally important to maintain a balanced diet during emergencies. Include a variety of food items that provide essential nutrients, such as proteins, carbohydrates, healthy fats, and vitamins.

(more…)

Garlic – The Ultimate Survival Tool

Garlic may be the perfect survival tool.

Mother Earth provides survival foods.

Garlic has been used by mankind for over 7,000 years! Garlic tastes amazing, at least to us, but did you know just how powerful this herb is. It does more than just keep Vampires at bay.

Survival benefits of garlic

Just some of the Uses of Garlic that have been claimed

  • Acne
  • Athlete’s foot
  • Blood thinning
  • Cold sore treatment
  • Cold prevention
  • Cough syrup
  • Diabetes
  • Weight Loss Aid
  • Mosquito repellent
  • Pesticide
  • Psoriasis relief
  • Gas prevention
  • Ear infections
  • Splinter removal
  • Facial Skin cleanser
  • Yeast infections
  • Parasite killer
  • Fish bait
  • Mole removal
  • Hair loss help
  • Aphrodisiac
  • Reduces blood pressure
  • Toothaches

[source]

20 Easy Post-Apocalypse Life Hacks Any Survivor Can Do

1. Only make one trip back from the community well.

Use a hockey stick (or an old-fashioned regular stick) to loop sanitized milk jugs through. Sling over shoulders and you’ve enough drinking water to last your hut over a week!

Source: reddit.com

2. For when the economy recovers, hide money in a phone case.

Most likely a desperate and futile gesture, but pop the back of your cell phone case off and hide a twenty spot in there, just in case.

Source: reddit.com

3. Turn lemons into lemonade or electricity. Your choice.

Just because the world ended doesn’t mean you have to stop playing Candy Crush. Get detailed instructions here.

4. Before braving the bee hive for wax, try this.

Once you exhaust Grandma’s supply of scented candles, try your nephew’s crayons before cobbling together a beekeeper suit.

Source: imgur.com

5. Okay, NOW cobble together a homemade bee suit.

Troy used an old A/C casing, duct tape, and gardening gloves, but feel free to get creative!

Source: reddit.com

6. THEN brave the bees to keep water (or blood) off your shoes.

Shoes are a precious commodity in the wasteland of America so keep them in good condition with these step-by-step instructions.

Source: brit.co

7. Convert a rake handle to organize farm implements and weapons.

Just because the world is in chaos, doesn’t mean your tools have to be.

Source: reddit.com

8. Finally, a use for Nacho Cheese flavored Doritos.

Because no matter how hungry you are, they’ll never taste as good as Cool Ranch.

Source: reddit.com

9. Make a fashionably functional bracelet out of paracord.

Created with 10 feet of the versatile rope using this cobra stitch, the colors can also serve to show which gang you owe allegiance too.

10. Then store the remainder on an old pizza box because no one likes tangled cords.

A few cuts with a pair of scissors (or a knife if society has degraded far enough that scissors are a precious luxury) and you’ve got an Earth friendly rope holder.

Source: reddit.com

11. Set broken bones with toilet paper and duct tape.

Once you’ve set the bone, use these instructions to hold it in place until it heals.

12. Or open that pesky jar, rusted shut after a decade.

Forget bottle caps! With its infinite uses, duct tape is the new currency.

Source: reddit.com

13. Kill time, and mutant cockroaches, with a toothpick gun.

It’s all fun and games until someone loses an eye. Then it’s a power play making you dictator for life.

Source: reddit.com

14. Slather up with baby oil to delay inevitable frostbite.

While not as good as gloves or just staying inside until spring, baby oil adds a thin layer of protection from the elements to keep you from chafing while foraging for supplies.

15. Keep West Nile and the plague at bay with a homemade mosquito trap.

Speaking of spring, use brown sugar, yeast, hot water, and an empty two-liter to make a tempting mosquito deathtrap. Instructions here!

16. Lasso those pesky ticks with an old pen and thread.

Mosquitos aren’t the only summer threat. An old mechanical pencil and some fishing line or thick thread can safely remove them. Not today, Lyme disease!

17. Convert keys into arrowheads, a far more effective home deterrent.

Requiring more finesse than the toothpick canon but tremendously more effective. Follow the tutorial here and then make some dowel rod arrows to attach them too.

18. Then make a bow from an old bicycle.

Using this guide to turn bicycle parts, a rubber hose, and a few odds and ends into a safeguard for your turf.

19. Or upcycle empty milk jugs to start a new life

Get the hell out of Dodge, literally. Using PVC pipe, wooden rods, and empty milk cartons, sail off into the wild blue yonder using these step-by-step instructions.

20. Pop a top and catch a fish while you’re on the water.

While you float west, where surely everything is better and not a toxic wasteland (right?), snap off the end of a pop top and loop some thread through the hook for a fast fishing lure.

Article source: click here

25 Survival Uses For Duct Tape

Over the past 70 years of its existence, this staple product of fix-it-your-selfers has been used by virtually every walk of life, for jobs that I’m sure the duct tape developers never imagined. So how can we use it for survival?

he many uses for duct tape in a doomsday prepper situation.

Here are 25 survival uses for duct tape, in no order whatsoever.

1. Repairing a cracked water bottle or a pierced hydration bladder. A little strip of DT is the next best thing to a bandage for an ailing water vessel. Just dry the surface before you try to tape your patch in place, most forms of duct tape don’t stick to wet surfaces.

2. Survival arrow fletching.
 Tear off a few 5-inch pieces, and a long edge of one piece to the arrow shaft, fold the tape lengthwise, and stick the other long edge of that piece to the arrow. Repeat this process one or two more times; trim the vanes to shape with your knife; and you will have a serviceable arrow fletching.

3. Butterfly bandage strips. Cut two small strips of DT, and add a smaller strip across their centers (sticky side to sticky side) to create a makeshift butterfly suture.

4. Make cordage. Twist one or several lengths of duct tape into a cord or rope.

5. Patch a hole in canoe. I wouldn’t trust my life to this one, but it’s been done more than once.

6. Fashion a belt. When you are starving in the wild, and your pants start falling down, run a piece of DT through your belt loops and stick it to itself in the front. Overlap it about 4 or 5 inches and you’ll still be able to peel the belt apart when nature calls.

7. First aid sling. Fold a length of DT down the middle, so that it is half the original width and no longer exposing a sticky side. Use the strap to make a sling for a busted arm.

8. Leave a note. Write on it with a Sharpie, or use strips to form letters.

9. Handcuff alternative. If someone is acting up during a survival emergency, you can duct tape their hands together around a tree to prevent them from becoming a danger to themselves or others.

10. Mend shoes and clothing. You can skip the sewing class, if you have enough duct tape.

11. Repair your glasses. The tape on your glasses my look a little nerdy, but at least you’ll still be able to see.

12. Attach shelter elements.
 Just a few trash bags and some duct tape, and you have a survival shelter roof, or a sleeping bag cover, or a wind break, or…

13. Attach survival gear. Tape a spark rod to the side of your knife sheath, and you’ll always have a back-up fire source.

14. Make a hat. If you believe what you see on TV, the “Mythbusters” guys made a pretty nice looking hat out of duct tape on a recent episode.

15. Afix bandages. Place a sterile dressing over your wound, and strap it in place with DT. Hopefully you’re not too hairy where you got injured.

16. Fix your rain gear. Keep the dry stuff dry, and keep the water out, by mending your ripped rain gear with a few strips.

17. Make a drinking cup. Some creative folding and sticking can result in a cup you can drink from.

18. Make a spear. Strap your knife to a pole and you have a trusty spear to fend off beasts, or make one into your dinner.

19. Blister care. Cover the blistered area with a bit of cotton gauze, and tape over the cotton. Make sure that the duct tape fully covers the cotton and doesn’t touch the blister at all.

20. Mark a Trail. Use it to blaze a trail or signal for rescue, especially if your DT is brightly colored or reflective.

21. Make emergency repairs on your Bug Out Vehicle.
 Leaking hoses and windows that won’t stay up don’t stand a chance against the mending powers of duct tape.

22. Keep the feathers in your sleeping bag. If you have a hole in your down sleeping bag, the feathers will pour out faster than excuses from a politician. Patch the hole with DT.

23. Keep your tent closed. A damaged zipper could leave your tent door flapping in the wind. Stick the door shut, and keep the bugs and critters out.

24. Splint a leg. A broken ankle or leg can be stabilized with ample splint material, padding and duct tape. Pad the crotch of a forked branch with some cloth and duct tape to fashion a quick crutch to go with your splint.

25. Splint a broken tent pole or fishing pole. By taping a stick to the broken area of your tent pole or fishing rod, you might just get one last adventure out of it.

Tell us your best duct tape trick or survival strategy in the comments.

source


DHS Admits It Is Unprepared for EMP Threat


In testimony delivered on September 12, Brandon Wales, director of the Department of Homeland Security’s (DHS) Infrastructure Threat and Risk Analysis Center, admitted that DHS remains unprepared for the possibility of an electromagnetic pulse (EMP) event or attack.

Wales testified that the nation’s power grid is more vulnerable now than it was a few years ago. Nevertheless, he could not provide Congress with an estimate for how much it would cost to combat such vulnerabilities.

An EMP attack could bring this country to a screeching halt by permanently disabling electronic devices. ATMs would stop dispensing money. Water and sewage systems would fail. Even planes and automobiles would stop working. Imagine living in the Dark Ages: This is what it would be like to live through an EMP attack.

More than seven years ago, DHS released its National Planning Scenarios. This document outlined plans to prepare for and respond to 15 different man-made and natural disasters. The list included the detonation of an improvised nuclear device and the use of a plague as a weapon. However, one potential threat was noticeably missing; an EMP event or attack.

The possibility of an EMP is arguably just as likely to occur as the detonation of an improvised nuclear device or the use of a contagious and deadly biological weapon. A rouge nation could effectively disable, damage, or destroy critical infrastructure with a short-range ballistic missile carrying an EMP device or nuclear warhead. Countries such as North Korea and Iran already possess ballistic missile capabilities. Other weapons, such as a radio-frequency device, could also cause an EMP that would disrupt critical systems.

Natural events could also plausibly result in an EMP. NASA and the National Academy of Sciences have argued that a “solar maximum” could occur between now and 2014. As the solar maximum approaches its peak, the sun could propel electromagnetic fluctuations into the earth’s atmosphere. These fluctuations would interact with our electrical systems and result in blackouts affecting 130 million people. Costs of such outages could range from $1 trillion to $2 trillion in the first year alone.

To make matters worse, an outage could last for years, because we would need to completely rebuild our infrastructure. In this scenario, food and water delivery systems would be devastated. We could see massive human casualties on a scale that hardly seems imaginable.

The United States is vulnerable to an EMP that could occur at the hands of our enemies or via uncontrollable natural forces. DHS is ignoring the threat posed by an EMP at the risk of literally plunging us into darkness.

Steven Ballew is currently a member of the Young Leaders Program at The Heritage Foundation. For more information on interning at Heritage, please visit http://www.heritage.org/about/departments/ylp.cfm.

Posted in Protect America

DHS Admits It Is Unprepared for EMP Threat.