- Yemeni Civil War (2014–present) Location: Yemen Parties involved: Yemeni government, Houthi rebels supported by Iran, and other factions Cause: Political and economic grievances, regional power struggle, and sectarian tension Status: Ongoing
- Syrian Civil War (2011–present) Location: Syria Parties involved: Syrian government, opposition forces, and extremist groups Cause: Political repression, economic grievances, and sectarian tension Status: Ongoing, with the Syrian government regaining control of most of the country, but fighting continues in some areas.
- Tigray War (2020–present) Location: Tigray region, Ethiopia Parties involved: Tigray People’s Liberation Front and Ethiopian government, with support from neighboring Eritrea Cause: Political power struggle and grievances between the Tigray region and the central government Status: Ongoing, with reports of widespread human rights abuses and humanitarian crisis.
- Nagorno-Karabakh conflict (2020) Location: Nagorno-Karabakh region, between Armenia and Azerbaijan Parties involved: Armenia and Azerbaijan Cause: Territorial dispute over the Nagorno-Karabakh region Status: Ended with a ceasefire agreement in November 2020, but tensions and sporadic clashes continue.
- War in Donbass (2014–present) Location: Eastern Ukraine Parties involved: Ukrainian government forces and Russian-backed separatists Cause: Political and economic grievances, regional power struggle, and ethnic tension Status: Ongoing, with a ceasefire agreement in place but fighting continues in some areas.
- Israeli-Palestinian conflict (ongoing) Location: Israel and the Palestinian territories (Gaza Strip and West Bank) Parties involved: Israel and Palestinians Cause: Territorial dispute and the establishment of a Palestinian state Status: Ongoing, with sporadic outbreaks of violence and limited progress towards a peaceful resolution.
- Myanmar Civil War (1948–present) Location: Myanmar Parties involved: Myanmar government and various ethnic armed groups Cause: Political power struggle, ethnic and religious tension, and resource control Status: Ongoing, with reports of widespread human rights abuses and displacement.
- Afghanistan War (2001–present) Location: Afghanistan Parties involved: US-led coalition forces and the Taliban Cause: The September 11 attacks and the Taliban’s support for terrorist groups Status: Ongoing, with the Taliban regaining control of much of the country following the withdrawal of US troops in 2021.
- Libyan Civil War (2014–present) Location: Libya Parties involved: UN-backed Government of National Accord and the Libyan National Army Cause: Political power struggle and economic grievances Status: Ongoing, with a ceasefire agreement in place but significant instability and humanitarian crisis.
- Somalia Civil War (1991–present) Location: Somalia Parties involved: Somali government, various militias, and Islamist extremist groups Cause: Political instability, ethnic and religious tension, and resource control Status: Ongoing, with reports of widespread violence, displacement, and humanitarian crisis.Here are some verified sources for more information on the conflicts and wars mentioned:
- Yemeni Civil War: https://www.un.org/en/
chronicle/article/yemeni- civil-war-where-things-stand- and-what-needs-happen - Syrian Civil War: https://www.un.org/press/en/
2022/sc14649.doc.htm - Tigray War: https://www.icrc.org/en/
document/ethiopia-tigray- conflict - Nagorno-Karabakh conflict: https://www.un.org/press/en/
2020/sc14370.doc.htm - War in Donbass: https://www.osce.org/ukraine-
smm - Israeli-Palestinian conflict: https://www.un.org/unispal/
- Myanmar Civil War: https://www.hrw.org/world-
report/2022/country-chapters/ myanmar - Afghanistan War: https://www.un.org/press/en/
2021/sc14601.doc.htm - Libyan Civil War: https://www.icc-cpi.int/libya
- Somalia Civil War: https://www.un.org/somalia/
- Yemeni Civil War: https://www.un.org/en/
How to Live Off the Grid: a Guide to Freedom
We live such hectic lives, filled with absolute non-sense that we forget what it is we’re actually living for. Most of us have 60 hours’ work weeks so we can pay rent, taxes and buy food. We don’t even have time for our loved ones, and we seem too busy or too tired even when we take a day off. That’s when leaving it all behind and starting a new life in the middle of nowhere starts to sound like an awesome idea.
Give it all up
The first thing is renouncing your old life and habits. That sounds pretty terrifying, but it’s liberating at the same time. Ask yourself this: if a tornado were to take you to Oz, what would you miss the most about your life now?
Giving up your life starts by prioritizing the essential things and relationships. After that, you’ll find there are plenty of things you would gladly let go of, if, in exchange, you could have peace, tranquility, and love.
Find a place
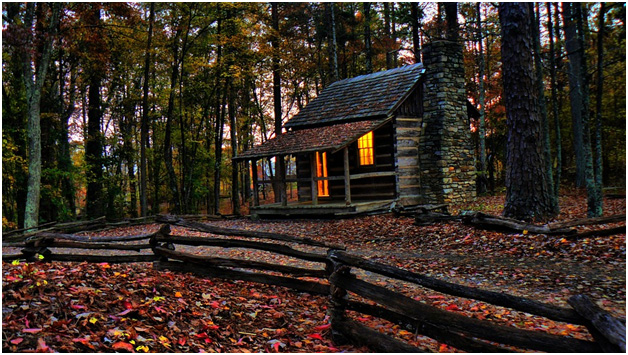
After deciding you really need to take off, you can’t simply do it without a plan. That’s why you should find somewhere to stay first. Maybe you have a cabin in the woods or a property in an isolated territory, and that could be your starting point.
But if you have to find your own place, things can get complicated. For instance, you can either buy or rent a piece of land. You should make sure the place is isolated enough so you won’t have any nosy Nellies around, but still, have some neighbors at convenient distances. You should also check that a nearby town doesn’t have future plans to extend closer to your property if you want to live a more solitary life.
After that, you can set up a camp, maybe even move in your trailer and start building your own home. If you have some money saved, you can commission the work to a professional, but you also have the option of turning this into your first DIY project.
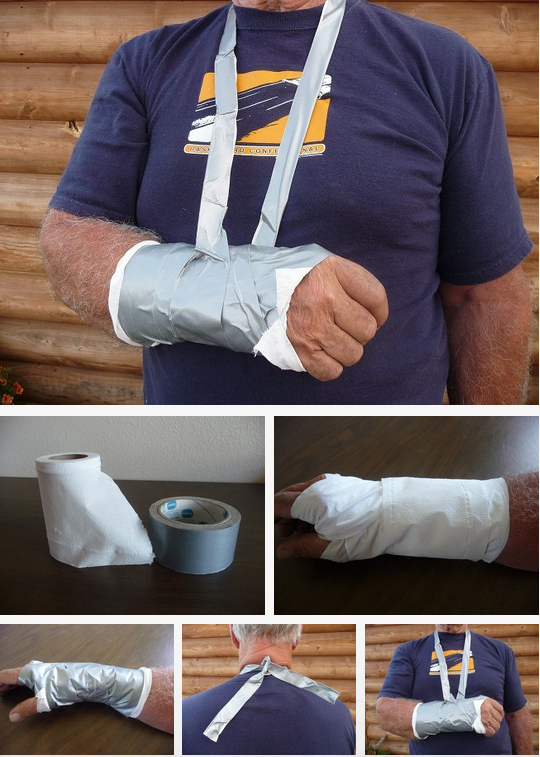
Learn survival skills
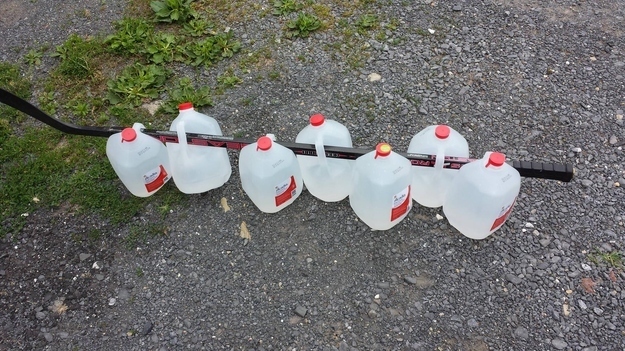
You can’t move off in the wilderness without learning some survival skills first. The first one would be how to find water if there are limited water sources near your property. If you have very hot summer days when springs peter out, you might need to use other techniques like placing plastic bags on tree branches or digging for water.
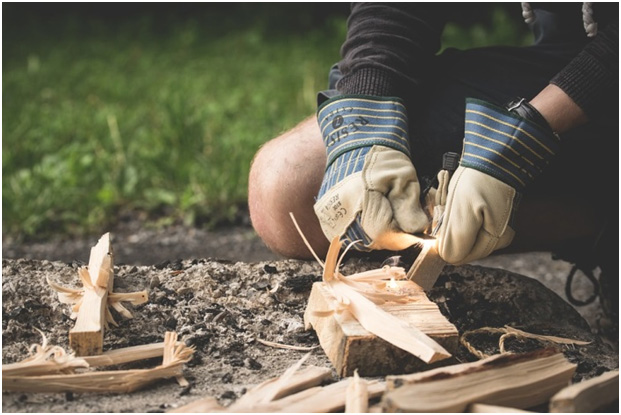
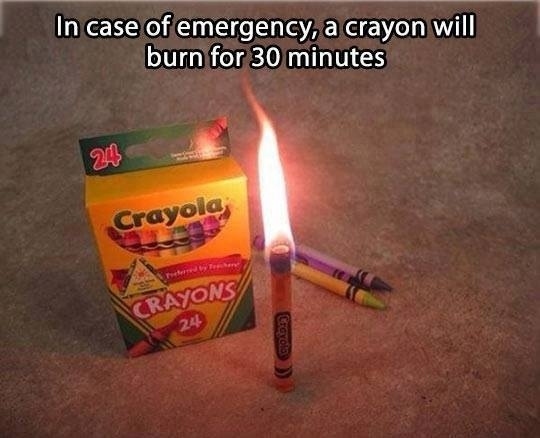
You should also learn how to build a fire, but that’s the easy part. After all, you can leave home equipped with 20 pounds of waterproof matches. The hardest part is to learn which trees you can cut down, how to chop them and how to store the wood properly. If you cut green trees and the wood gets too wet, you’ll have fewer chances of building a lasting fire.
Grow your own food
This can mean different things depending on where your property is. If you’ve moved off to a deep, damp forest in the mountains, your only options might be hunting, fishing and eating wild fruits. Of course, learning some hunting and fishing skills, along with buying proper equipment is useful no matter where you might end up. And you need to recognize which plants are edible, and which aren’t.
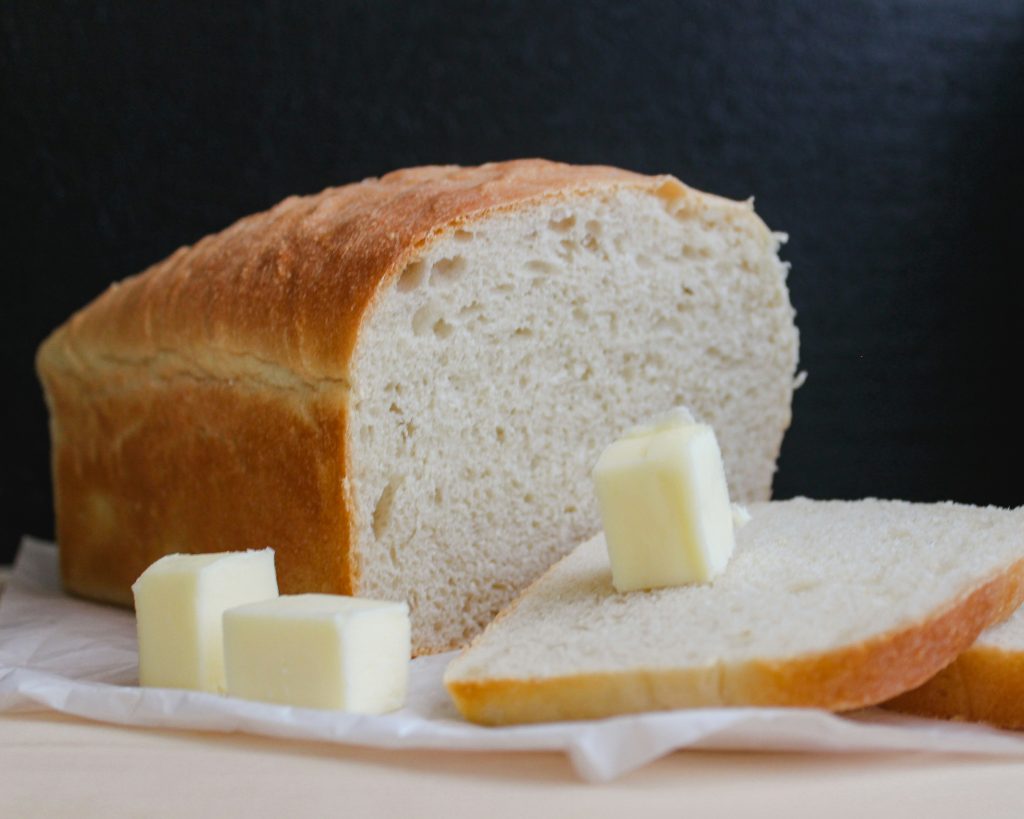
If you’re moving to a friendlier environment, you can always build a greenhouse with basic equipment. So you might need nothing more than some sturdy cellophane and a few pallets, along with plenty of water and the right seeds.
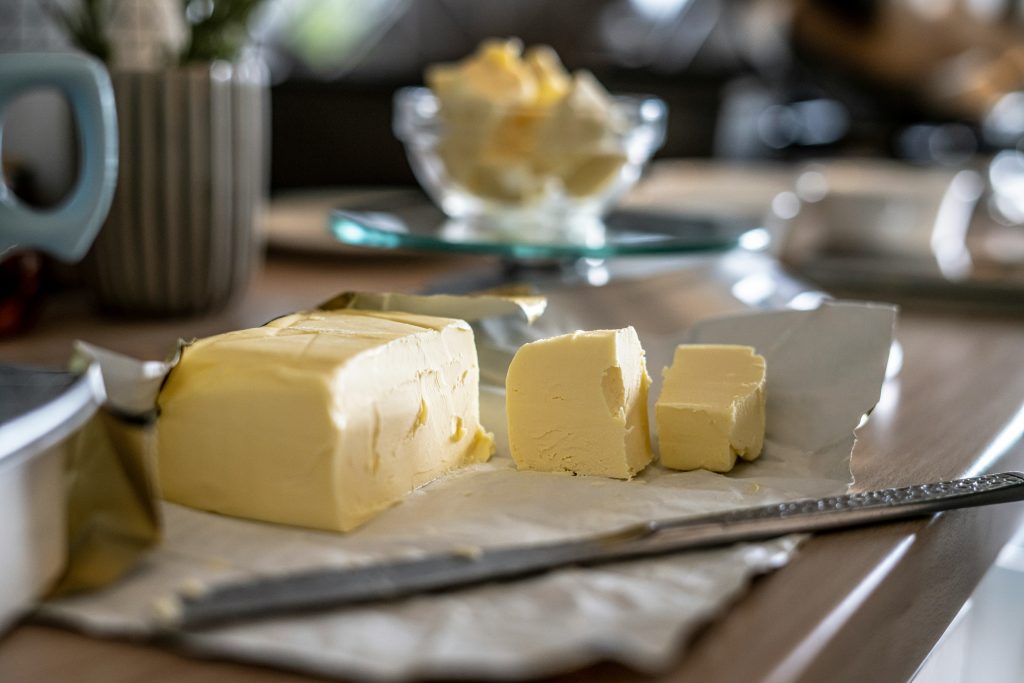
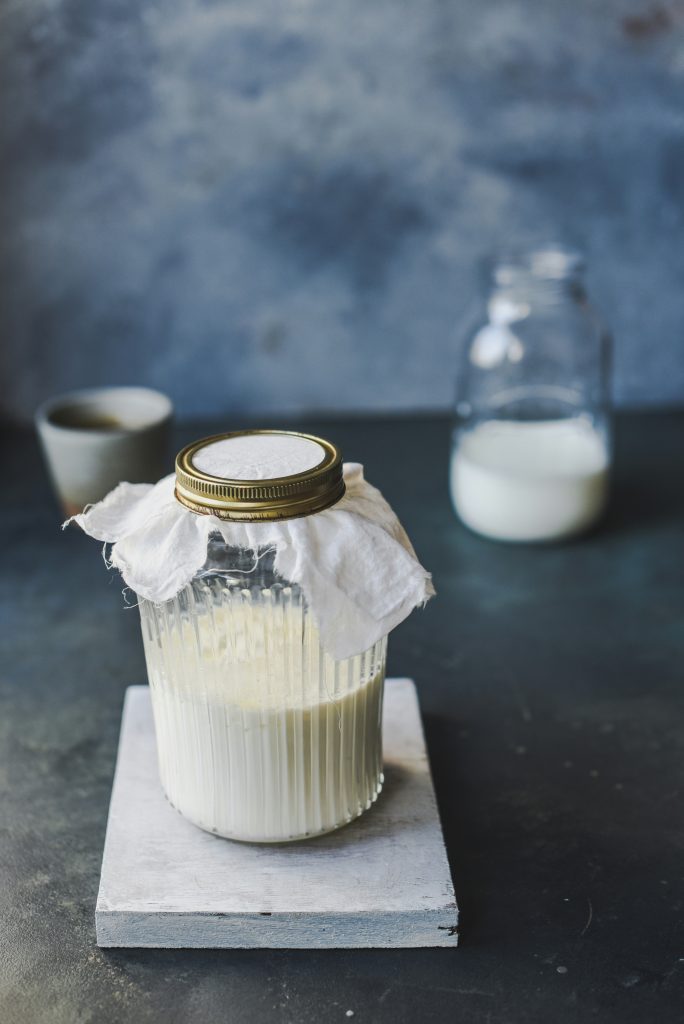
Apart from that, you can farm certain animals, depending on how large your property is. Chicken is the easiest when you take into account all the logistics, like space and food, plus they give you nutritious meat and eggs. Otherwise, you can consider raising cows for their milk, maybe buy a couple of horses if you own a bigger farmstead.
Arrange your amenities
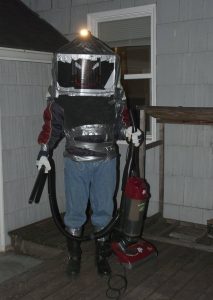
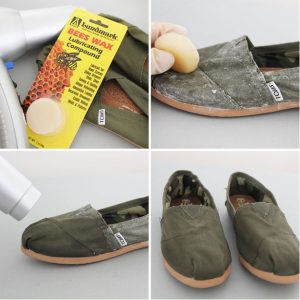
You also need some degree of comfort, especially for keeping a clean environment. So you’ll want a toilet and some sort of washing facilities, and you have plenty of options here too. The easiest would be to buy a camp toilet and a camp shower, which can easily be transported and used no matter where you are.
Or, you can build your own bath, and improvise if you don’t have any running water. For instance, your toilet can be an outhouse, but you have to place it at some distance from your house and greenhouse.
Your shower can be a barrel of warm water with a valve attached to it and a hose with a showerhead for the warmer summer days. Or you can get a bathtub for indoor use, and that would help you relax after a long day’s work.
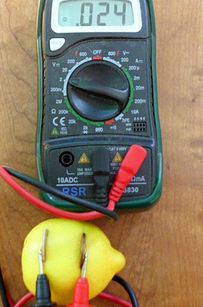
Earn the money you need
You might still need some money even if you’re living in a remote location for paying the rent or for buying the things you can’t produce on your own, but that doesn’t mean you should get a day job in the city.
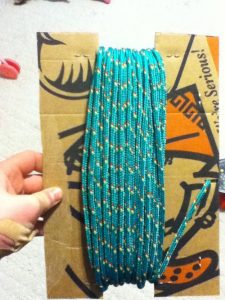
One idea is to sell or trade the things you produce in surplus. So if you have lots of eggs or meat, you can sell that to your neighbors, or trade with them for clothes or different tools.
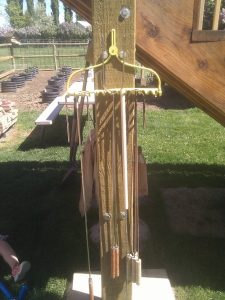
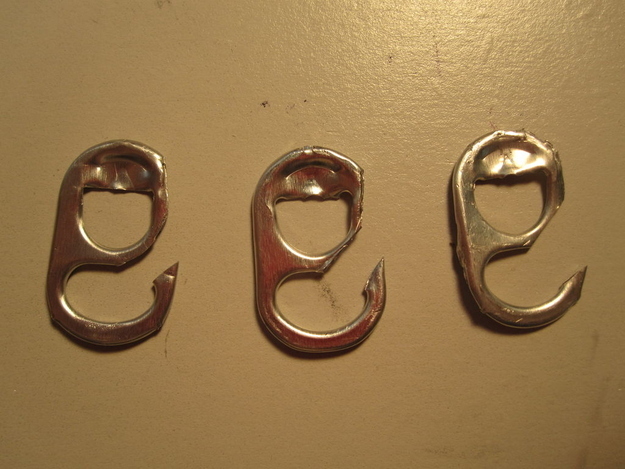
Another idea is to focus on a skill you already have, and sell the results of your work on the Internet. For instance, you might be into crafting and learn how to make interesting sculptures. Or decorate axes. Or make origami. The world is your oyster.
Learn to enjoy solitude
This might prove to be difficult enough, especially if you’re all alone. We’re so accustomed to noise (even white noise) that eating a meal by ourselves without constantly checking our social media accounts seems impossible. But if you’ve chosen to live off the grid, you can find pleasure in loneliness.
So after all that, what seems like the most difficult to do? What plan do you have? Tell us all about that in the comments.
About the author: Mike is a passionate hunter and his favorite grounds are Alaska and British Columbia. He’s also an expert in hunting gear and he is one of the most reliable resources when it comes to choosing the right tools for the job. He also writes for OpitcGearLab.com
Survival on the Cheap: Preparing for an Emergency without Losing your Savings
By Guest Blogger – Survival Life
Being prepared for any eventuality is one of the keystones of being a survivalist. However, if you’re just starting out, it can be a little overwhelming thinking of all of the supplies you need to be ready for three days, a week, a month or even more living on your own. Being prepared doesn’t have to cost a fortune though. In fact, re-using items and finding alternative (and affordable) sources for food, clothing and other essentials goes hand-in-hand with being a prepper. It’s a more modern variation of “living off of the land.”
If you’re looking to start building your survival stockpile, below are a few hints to help you gather everything you need without breaking the budget. (And, remember: you don’t have to buy everything at once; a better plan is to build your stockpile gradually and thoughtfully. Your ideas about what you need will evolve over time.)
Tips for preparing for an emergency on a budget
1. Learn from the couponers. Although you may be buying different items (they’re buying baby food; you’re buying beans), there’s a lot to be learned from the extreme couponing crowd. Combining coupons with store specials can net you regular savings of 30 percent or more on non-perishable food items and toiletries. Take it a step further and join the grocery and drug store reward programs and you can find things like hand sanitizer, toothpaste and a host of other items for free that you can use in your survival kit. To learn more about couponing, check out sites like the KrazyCouponLady.com.
Surplus stores, stores that sell dented cans or half lots of boxed items, can also be good places to find non-perishable food items. Learn how to create a price binder.
2. Be a regular at estate and garage sales. Estate and garage sales are other good places to find gear and supplies. Estate sales are especially good hunting grounds, since they feature an entire house full of goods. Some sales may require that you dig around in the attic a little bit, but there are often treasures to be found at cents on the dollar. Good things to look for at such sales are water containers, camping equipment and kitchen items. Some people also find good bargains on food at such sales. (I prefer to buy food directly from the grocery or market.) If you do look at food items, be sure to check the sell-by dates.
3. Shop off-season sales. Off-season sales are another good place to find seasonal gear like camping equipment and gardening supplies at prices that are 50 percent or even 75 percent off of their original price.
4. Host your own swap meet. If you know others that are interested in the survival life, you can combine preparing your stockpile with a social night by hosting a swap meet. Have everyone bring something extra from their stockpile and let the trading begin.
Review these 70+ survival items that cost less than $5!
Being prepared for any emergency or situation doesn’t have to be expensive or all consuming. Like other aspects of life, it’s all about smart shopping and always keeping an eye out for a bargain.
About the Author
At Survival Life our mission is to provide vast array of knowledge, tactics, and skills in the survival and preparedness fields, to any and all who wish to become more prepared for whatever may come. We strive to maintain a truthful and unbiased compendium of knowledge, both in original content, product reviews and survival tips, as well as curated articles from other top survival websites. Click here to visit our site and learn more.
20 Easy Post-Apocalypse Life Hacks Any Survivor Can Do
Clever ideas for surviving on or off the grid in any situation.
1. Only make one trip back from the community well.
Use a hockey stick (or an old-fashioned regular stick) to loop sanitized milk jugs through. Sling over shoulders and you’ve enough drinking water to last your hut over a week!
2. For when the economy recovers, hide money in a phone case.
Most likely a desperate and futile gesture, but pop the back of your cell phone case off and hide a twenty spot in there, just in case.
3. Turn lemons into lemonade or electricity. Your choice.
Just because the world ended doesn’t mean you have to stop playing Candy Crush. Get detailed instructions here.

4. Before braving the bee hive for wax, try this.
Once you exhaust Grandma’s supply of scented candles, try your nephew’s crayons before cobbling together a beekeeper suit.
5. Okay, NOW cobble together a homemade bee suit.
Troy used an old A/C casing, duct tape, and gardening gloves, but feel free to get creative!
6. THEN brave the bees to keep water (or blood) off your shoes.
Shoes are a precious commodity in the wasteland of America so keep them in good condition with these step-by-step instructions.
7. Convert a rake handle to organize farm implements and weapons.
Just because the world is in chaos, doesn’t mean your tools have to be.
8. Finally, a use for Nacho Cheese flavored Doritos.
Because no matter how hungry you are, they’ll never taste as good as Cool Ranch.
9. Make a fashionably functional bracelet out of paracord.
Created with 10 feet of the versatile rope using this cobra stitch, the colors can also serve to show which gang you owe allegiance too.
10. Then store the remainder on an old pizza box because no one likes tangled cords.
A few cuts with a pair of scissors (or a knife if society has degraded far enough that scissors are a precious luxury) and you’ve got an Earth friendly rope holder.
11. Set broken bones with toilet paper and duct tape.
Once you’ve set the bone, use these instructions to hold it in place until it heals.
12. Or open that pesky jar, rusted shut after a decade.
Forget bottle caps! With its infinite uses, duct tape is the new currency.
13. Kill time, and mutant cockroaches, with a toothpick gun.
It’s all fun and games until someone loses an eye. Then it’s a power play making you dictator for life.
14. Slather up with baby oil to delay inevitable frostbite.
While not as good as gloves or just staying inside until spring, baby oil adds a thin layer of protection from the elements to keep you from chafing while foraging for supplies.
15. Keep West Nile and the plague at bay with a homemade mosquito trap.
Speaking of spring, use brown sugar, yeast, hot water, and an empty two-liter to make a tempting mosquito deathtrap. Instructions here!
16. Lasso those pesky ticks with an old pen and thread.
Mosquitos aren’t the only summer threat. An old mechanical pencil and some fishing line or thick thread can safely remove them. Not today, Lyme disease!
17. Convert keys into arrowheads, a far more effective home deterrent.
Requiring more finesse than the toothpick canon but tremendously more effective. Follow the tutorial here and then make some dowel rod arrows to attach them too.
18. Then make a bow from an old bicycle.
Using this guide to turn bicycle parts, a rubber hose, and a few odds and ends into a safeguard for your turf.

19. Or upcycle empty milk jugs to start a new life
Get the hell out of Dodge, literally. Using PVC pipe, wooden rods, and empty milk cartons, sail off into the wild blue yonder using these step-by-step instructions.
20. Pop a top and catch a fish while you’re on the water.
While you float west, where surely everything is better and not a toxic wasteland (right?), snap off the end of a pop top and loop some thread through the hook for a fast fishing lure.
On A Budget: Prepping For 5 Bucks
Unless you have deep pockets, and most people don’t, you are going to have to purchase and store your prepping supplies a little at a time. When your at the store buying clothes for your kids, pick up a pack of batteries. When you are out picking up dinner at the grocery store, don’t forget to grab a couple of cans of soup. You get the picture.
With all this in mind, here is a list of items that you can start buying when your out and about to add to your prepping supplies that will cost you right around 5 bucks. You would be surprised at how much stuff you can amass when you think to pick up a few extra things a few times a week.
Add in some Aldi coupon codes and your entire grocery bill will shrink, allowing you to save money or get extra supplies.
(Note: This list comes from other posts and articles of read over time with a couple of items I have added from my own experience. If you have got any suggestions, please leave a comment and share your knowledge. )
(Note: I’m aware that the dollar has been devalued such that some items on this list may now far exceed the 5 dollar limit. Adjust quantities accordingly.)
- Five packages of instant potatoes
- A case of ramen noodles (20 pkgs)
- Five cans of sardines
- Five gallons of purified water
- Case of bottled water
- Four cans of canned fruit
- 2 jars of mandarin oranges
- Five pounds of rice
- Three pounds of spaghetti
- Two cans of spaghetti sauce
- Three bags of egg noodles
- 8 packages of gravy mix
- Four cans of whole or sliced new potatoes
- Three cans of g veggies
- Two cans of Yams
- Six cans of pork and beans
- One 40 ounce can of Dinty Moore Beef Stew
- Two 12 ounce cans of chicken, tuna or roast beef
- One 1lb canned ham
- Three cans of refried beans
- Three 12 oz cans of raviolis or spaghetti O’s.
- Two 12.5 ounce cans of Salmon
- Five pounds of Oatmeal
- Four packages Dinty Moore heat and eat meals
- 5 packages of corn bread mix
- Four pounds of Sugar
- Five pound of Flour
- 1.5 quarts of cooking oil
- Three one pound bags of dry beans
- 2 cans of apple juice
- 1 jar of peanut butter
- Two boxes of yeast
- Two bags of generic breakfast cereal
- 10 8 oz cans of tomato paste/tomato sauce
- Four cans of soup
- 4 cans of Chunky soup
- 8-10 pounds of Iodized salt
- Two bottles of garlic powder or other spices
- Two boxes of kool aid
- A can of coffee
- 2 bottles of powdered coffee creamer
- One manual can opener
- Two bottles of camp fuel stove
- 100 rounds of .22lr ammo
- 25 rounds of 12 ga birdshot or small game loads
- 20 rounds of Monarch 7.62×39 ammo
- Spool of 12lb test monofilament fishing line
- 2 packages of hooks and some sinkers or corks.
- Artificial lure
- Two packages of soft plastic worms
- Three Bic Lighters or two big boxes of matches
- A package of tea lights
- 50 ft of para cord
- Roll of duct tape
- Box of nails or other fasteners
- Two D-batteries, four AA or AAA batteries or two 9v batteries
- Travel toothbrush and tooth paste
- Bag of disposable razors
- Eight bars of ivory soap (it floats)
- Box or tampons or bag of pads for the ladies
- Gallons of bleach
- Needles and thread
- Ball of yarn
- 2 bottles 1000 count 500 mg generic Tylenol (acetometaphin)
- 2 bottles 500 count 200 mg generic advil (ibuprofen)
- 2 boxes 24 cound 25 mg generic Benadryl (diphenhydramine HCI)
- 4 bottles 500 count 325 mg aspirin
- 2 boxes of generic sudafed
- 4 bottles of alcohol
- a box of bandages (4×4)
If The End Was Near: Would You Survive?
In order to be a proper prepper, you have to do more than just store cans of soup though. You have to think ahead for the details.
This infographic, which has a rather depressing title, is called The End Is Near: Doomsday Would You Survive? and it’s by National Geographic Channel. If you want to know more about being a prepper, this will enlighten you a bit, but you should educate yourself a little everyday. Be sure to follow this survival blog, and continue the learning process.
Here are some interesting facts and information about what it can take to be a prepper.
DIY Chicken Watering Hole (and Other Critters Too)
Easy Fill Chicken Waterer
1 new oil pan
And some 1.5″ PVC pipe, some fittings, PVC primer and cement, some gasket material, and a valveI started by using a hole saw to cut a hole in the top of the bucket for the pipe to fit through.

You can see that the hole ended up a little bigger than the pipe but I’ll take care of that.

Here is the label from the gasket material I used. It comes in sheets. This kind came from Lowe’s but I’m sure you can get some at any hardware store.I used some snips to cut the gasket into squares and to cut holes into the squares. These were my first cuts, so to speak. I had to enlarge them a little to fit around the pipe perfectly.

Here are the fittings I used. Put a gasket over the long threaded piece on the left, then put it through the hole. Put the other gasket over the fitting on the inside of the lid, then install the nut on the inside and tighten it up.

Here it is with the gasket on the upper fitting. It looks a little sloppy but I don’t think the chickens will care.

After you tighten up these fittings you need to make sure that the pipes and fittings fit together. Here is what it looks like.

Then I used the PVC primer and cement to make the connections permanent. You probably don’t want to cement the valve on at this point because you will want to put the pipe through the side of your cage. If you have the valve cemented on you will have to cut a big hole in the side of your cage and then repair it. You might want to assemble this in your chicken cage to make sure you have the height and angle of the fittings correct before you use the cement. Here is the primer and cement I used.

Next, I used a drill with a 3/16″ bit to drill four holes in the bucket about a 1/2″ above the bottom.

Here is the assembly placed into the oil pan.

Here is the assembly in the corner of the cage.

Here is the valve I used. It will keep bugs and vermin out of the water tank and it creates a vacuum that keeps all the water from pouring out.

I used a tie wrap to hold the pipe to the side of the cage and used wire to hold the bucket steady.

To fill it just turn on the garden hose, open the valve and pour water in. The pipe is big enough to let the air out while you are filling it. When you get it full just close the valve and you are done.The total cost was about $15 and now I don’t have to get my feet muddy when it rains.
Homemade 72 Hour Emergency Food Supply Kits
You never know when some sort of disaster might happen, but you can be ready. Please note that this is only a 72 hour supply, so I like to put in some comfort foods, this is in no way similar to my longer term food storage, which is geared to a longer survival period.
MATERIALS:
One gallon plastic food container per kit (it is very hard to fit all the food into the container so I planned on using 1 gallon zip lock bags) Also added a couple of Oxygen Absorbers in each container for good measure.
Food items on the menu:
3 Day Food Supply for One
- Day 1
- Day 2
- Day 3
- EXTRA ITEMS TO KEEP WITH YOUR CONTAINER
- ONE YEAR ROTATION
Shove the food into the container as best you can and store with your backpack or 72 hour kit.
Choosing a survival food kit.
Some food items last longer than others. Related: Shelf life of food.
Tip: If you use mints keep them in a separate baggie or they will make your crackers taste like mint. GOOD TO KNOW!
This “menu” is purely an example. You can put in your jar what ever you want. Food preferences and choices are and should be up to the individual making the kit. I realize lot of you might disagree with the food choices I have used, but it is my choice, you pack yours the way you want, with MREs and long-term food storage items.