The guys at the Sietch have a great little idea here, making their own solar thermal collector with spare parts and trash readily available in any scrap yard worldwide. This would be good if the SHTF and we had to live off the grid. Enjoy. Let us know if you build your own.
Materials needed:
Water
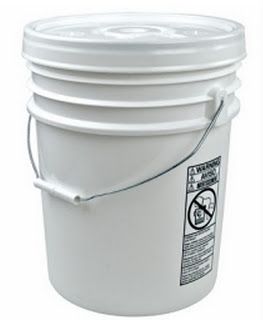
2 buckets
Drill (with both drill bits and screw bits)
Some scissors
A saw (a simple hand saw will do)
Some wood
A pane of glass.
The back of a small refrigerator.
12 feet of air pump hose used in fish tanks
Backing material (we used an old door mat)
A box of wood screws
Aluminum Foil
Role of duct tape
Angle Cutter (or hack saw)
Time: This project took about 3 hours of constructions time. It took a couple weeks to find all the parts.
Now onto the project. The first thing we did was collect all of the parts.
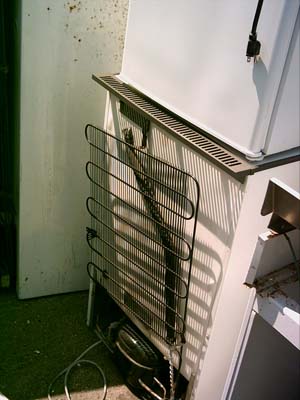
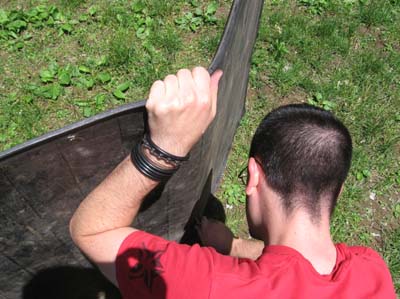
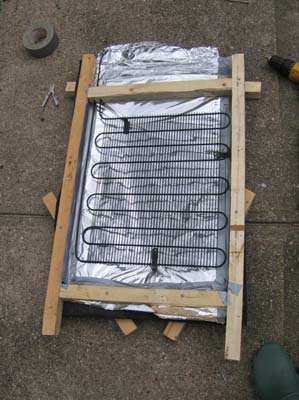
Our local dump has a coolant removal program that has refrigerators and dehumidifiers that they remove old freon from. With this in mind I found the perfect heat collector. The back of a fridge is basically a heat dispersal system, with a slight modification is can be used to collect large amounts of heat.
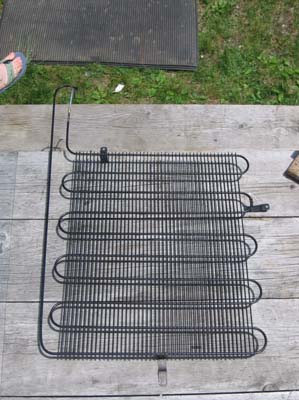
Make sure that the freon, or other coolant has been removed, and cut the grill off at the base, near the large coolant holder.
There was an old couch that had been run over by one of the large dump plows, the inside wood was the perfect size for the frame.

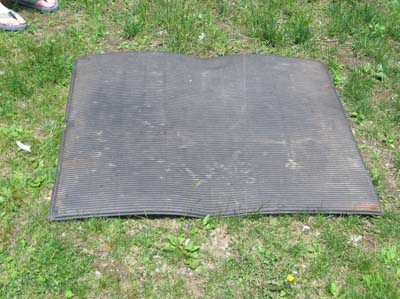
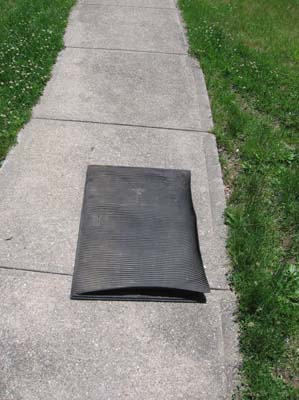
I found a pane of glass and an old rubber door mat that made the perfect backing and front.
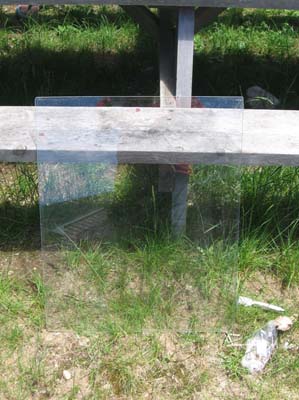
The glass was a real find, and may be the only part of the panel that may need to be purchased. Make sure your glass is big enough to fit over your collector and have enough room to attach it to the frame.
The door mat was HUGE, so I had to cut it in half. Funny thing seems there was a lot of nasty black goo, and a metal sheet in the middle. Who knew. Remove the metal plate (or cut it in half as well) and leave the goo.
Once The backing was cut to size, it was time to start building the frame.
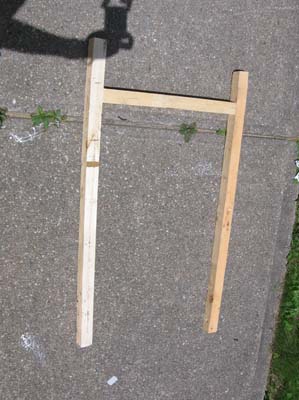
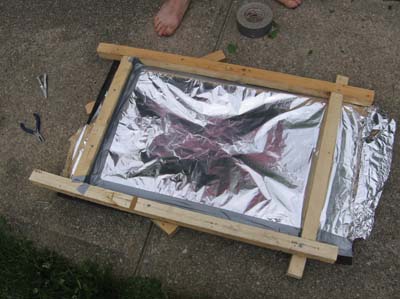
As you can see I sort of built the frame around the collector, leaving enough backing to hold it all together.
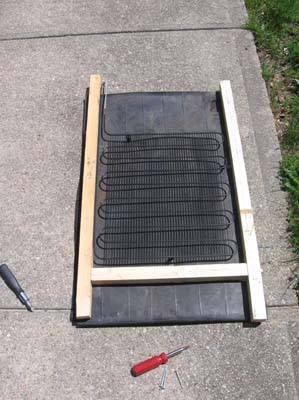
The frame is held on by building a similar frame on the back and driving large wood screws through the front frame, the backing and into the back frame.
I added some foil to the backing. The reason for this is that counter to what you would think, you do not want the backing to warm up. You only want the collector to absorb heat (it was so nice of the fridge company to paint it black for us). The foil will take any sun that was not absorbed by the collector on the first pass and bounce it back over the collector for another try at absorption. The glass cover will keep all the heat inside the panel for further absorption.
Light can pass through glass, but heat can not.
Notice how duct tape was used on the inside to seal all cracks, you could use caulk but I didn’t have any so I used the cheapest option. It worked well, and held the foil in place.

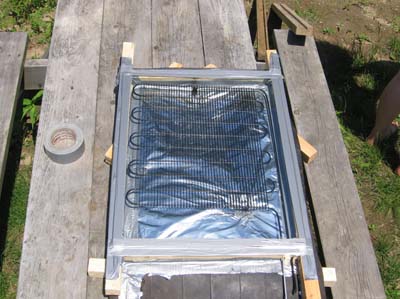
Next we cut some notches for the entry and return ports to the collector.
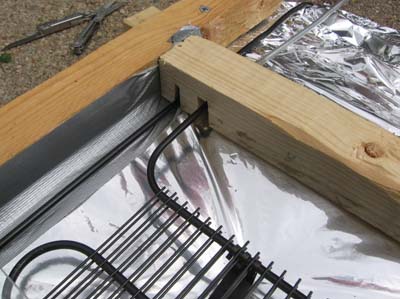
Note again the use of duct tape to seal cracks.
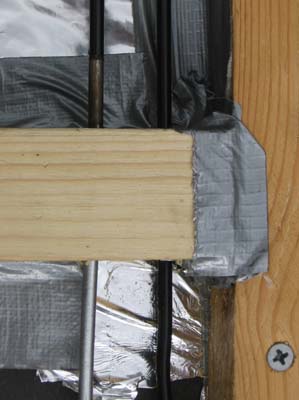
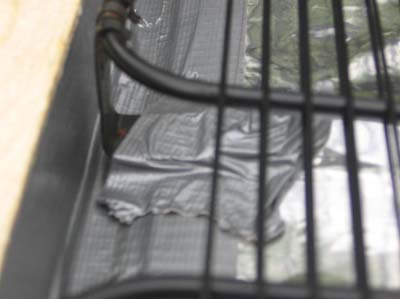
I got some air pump hose from the local fish store and attached them to the end of the entry and return ports.


The duct tape was applied to make sure it was a tight fit, it was later removed as it was not needed.
Next we attached the collector to the backing, using the mounting brackets that came on the fridge and some duct tape. If you wanted you could use some screws and wood, but I found the tape and the natural tension of the construction to be enough to hold it in place.
Lastly we attach the glass to the top. This serves to trap all the infrared radiation from the sun inside our panel where our collector will absorb it. Again light can pass through glass, but heat can not.
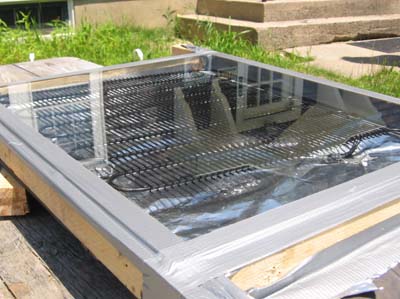
As you can see simple duct tape is enough to hold it on. I would recommend using some sort of mounting bracket however as after a couple days in the sun the tape started to droop allowing the glass to slide off. A few screws would solve this, but I am cheap so I just put new tape on.
Set your panel up at an angle so that it catches the most sun.

Here is the gross part, put one end of the hose into your bucket of cold water, and make sure it is at the bottom of the bucket, next grab the return hose and start sucking. That’s right, unfortunately you have to prime the panel by getting some water into it. This can be done without getting water in your mouth, but inevitably I sucked just a little too hard and ended up with a mouth full of nasty water. I would recommend having a friend do this part. 🙂
Set your cold water bucket (source) up higher than your warm water bucket (return) and the whole thing will gravity siphon. Due to the design of this collector (both ports return to the same location on the panel) it will not thermo siphon. For that to happen I would need to cut the long return pipe and have it exit at the top of the panel.
A word of warning, this panel works VERY WELL. We tested it on a very sunny day and within seconds the water coming out of the panel was hot enough TO SCALD. I burned my fingers. This very hot water is only formed when the water inside the panel is allowed to sit for about a minute without moving. If the water is moving (do to the gravity siphon) the water exiting the return pipe is about 110 degrees, and while hot, will not burn you.
The water does not flow through the panel very fast (as the pipes are very small) but that is sort of a good thing as it allows the water to heat up a lot on its journey through the collector. It does take a while to heat up a 5 gallon bucket of water, I ended up building an insulated return bucket that was all black and sealed on the top except for the port where the water tube enters. This kept the returned hot water hot long enough to be of use.
I let this guy run for a couple of hours one hot sunny day and heated up a five gallon bucket of cold water (measured at 70 degrees F) to over 110 degrees F. The temp that day was about 76 degrees F. If the water is allowed to sit in the panel for several minutes and then forced out (by blowing in one of the hoses) the water was measure at 170 degrees F. All in all we are much happier with the performance (and cost) of this panel. It performs much better than the previous one.
Our next modifications to this design will be to alter the return port so that it will thermo siphon, in this way the return hose can be fed into the source bucket and the water will continually circulate in the panel getting hotter and hotter. We have also talked about adding mirrors to the panel to concentrate more heat. Our goal is to boil water. This entire project cost less than five dollars, as I already had the screws, and the duct tape. The only thing I purchased was the air hose, which cost $3.76.
Enjoy the hot water.
[source]


")
")
")
")
")
")