
How and Why to Store Salt
Different kinds of salt and their uses:
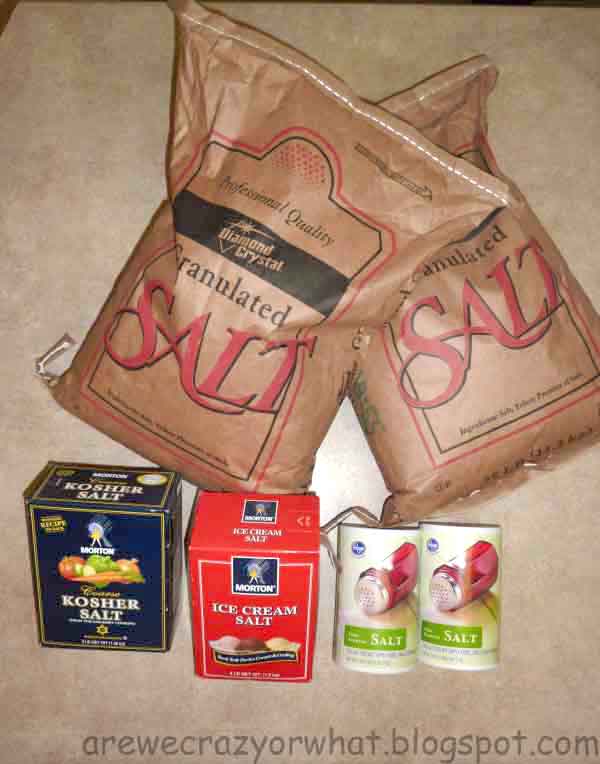
Table Salt: Table salt is the refined white crystal typically found in a salt shaker. It usually comes in a cardboard can and is the cheapest salt on the shelf at the grocery store. You can buy it with or without iodine added (more on that later). It generally contains an anti-clumping agent.
Sea Salt and/or Mineral Salt: (such as Himalayan Pink Crystal Salt or Celtic Sea Salt): All salt originally came from the sea so to call something sea salt is a bit misleading. Typically when something is labeled sea salt it is not refined and still has other minerals in it, whether it was mined or was processed out of sea water. The minerals salt contains vary according to where the salt was mined. Himalayan salt contains different minerals than Celtic sea salt. Sea salt that has been collected after water has evaporated or distilled also has other minerals from the ocean. There are a lot of “gourmet” salts on the market so it’s important
to read the label.
Koshering and Pickling Salt: Koshering salt (commonly known as kosher salt) generally consists of salt without additives I say generally because there are some brands that do contain additives, so always read the label. Kosher salt has a large flat grain helpful for the koshering process, and if it does not have any additives it can be used for canning. Pickling salt is refined salt with no anti-clumping agent and is used for canning – it has a very fine grain so it will dissolve quickly in liquids. Using table salt for canning discolors the food because of the additives.
Rock Salt and other salts: Rock salt (the kind found at the grocery store) is salt typically used in ice cream makers and is not approved for human consumption; again, it’s important to read the label. There are other types of salts available such as salt used in water softeners or salt used to help melt ice on roads. These are not meant for human consumption and should not be placed in food storage.
Why Salt is Important:
Salt is an important part of a healthy diet. Salt helps to balance electrolytes and is needed for proper cell function.Without salt we will die.
Which Type of Salt to Store:
If you are eating from your food storage you may not be eating a lot of processed foods and the salt that you have stored could be your main salt intake. So it’s important to decide what kind of salt is best to store for your family. Iodine was added to salt to prevent Goitre. You can get iodine from other sources of food such as seafood, soil (if it is contained in the soil you grow your food in) or seaweed such as kelp or dulse. Also, most multi-vitamins contain iodine. The only down-side to storing salt with iodine is that it can turn yellow after time. If you’re storing salt as a trading item (see below), yellow salt might not look so appetizing. However, it’s still safe to eat and will store indefinitely. If you store table salt without iodine it will usually just contain an anti-clumping agent and will store indefinitely. Sea salt and mineral salt will also store well but not indefinitely. They would deteriorate according to the other minerals they contain. So reading the labels and doing an internet search on the minerals contained in the salt would give you an idea of the shelf life.
Table salt is cheapest of all the varieties of salt therefore it is easy to obtain a year’s supply for your family, which should be between 3-5 pounds a person, in a relatively short time. If you’re on a budget, like me, table salt might be your best option. You may also want to stock-up on pickling salt if you plan to preserve things from your garden. You would have to calculate how much according to the estimated yield from your garden for a given year. Pickling salt and table salt will store indefinitely, even if moisture seeps into the container, it can be laid out and dried.
Salt Storage:
Here’s what I did:
I bought two 25 pound bags of salt from a big box store. The bags do not contain iodine and this was my only choice from this store. I have a food saver but decided that I did not want to waste my storage bags because salt will not go rancid even if it’s exposed to air.
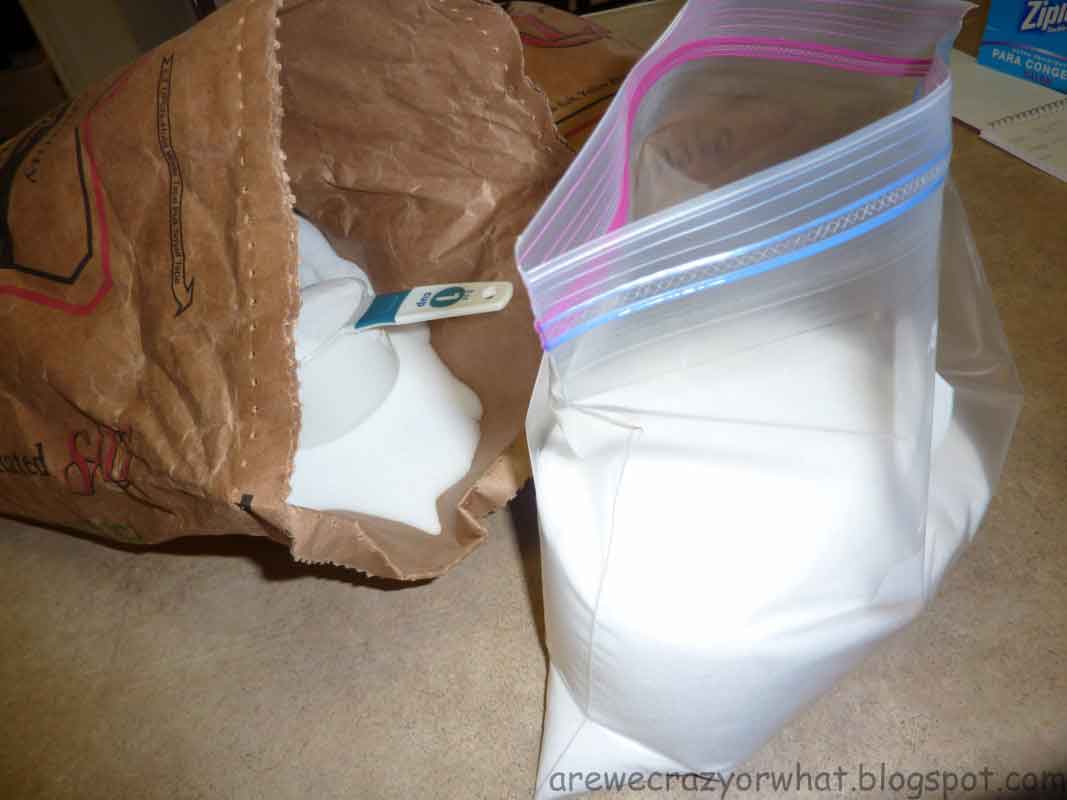
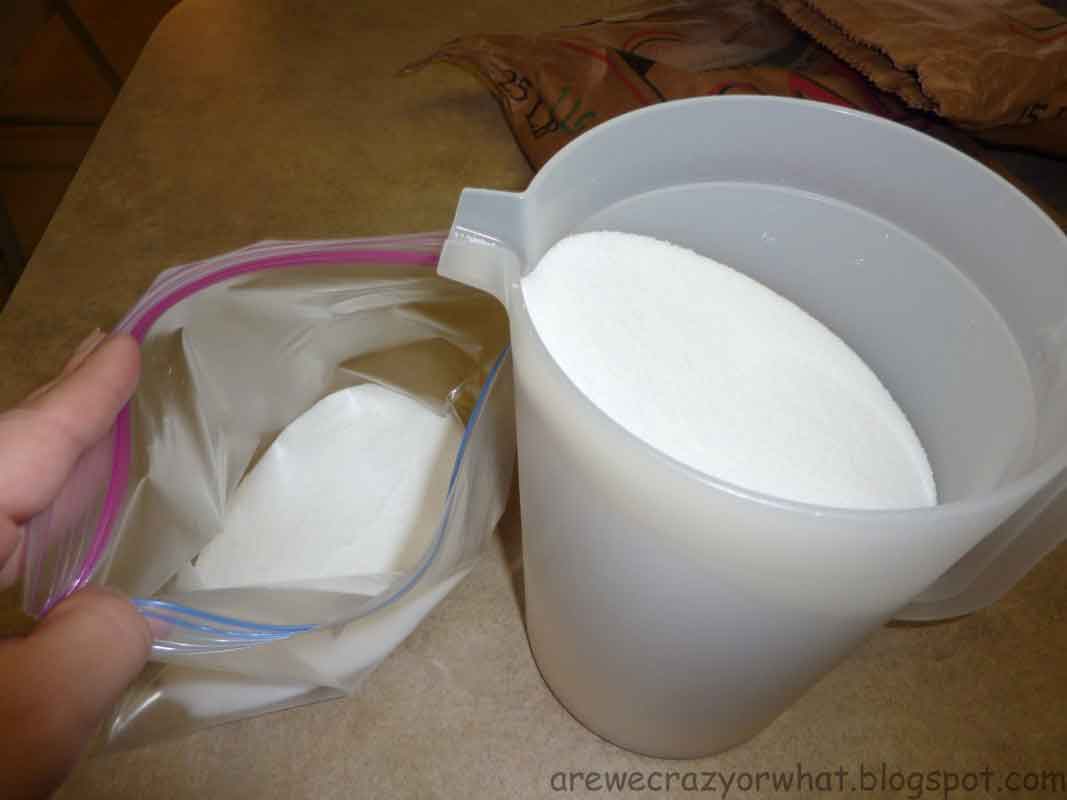
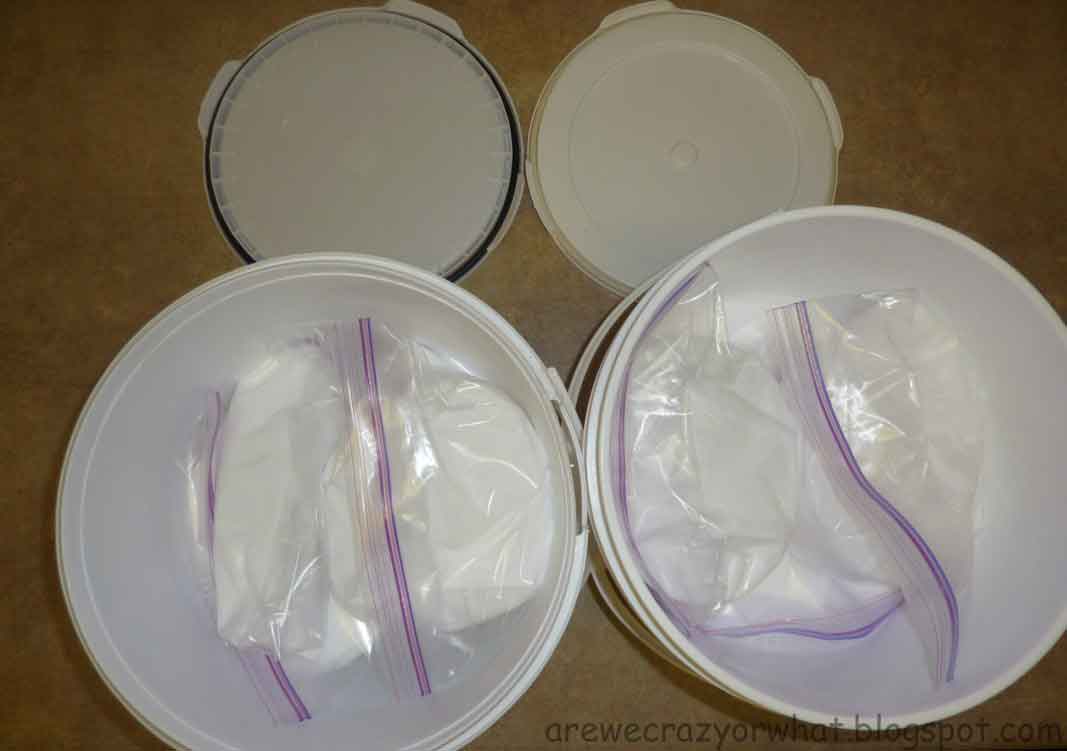
I scooped the salt into one gallon bags. I did not fill the bags all the way because I did not want the plastic to break. They will probably be retrieved by one of my children in our food rotation process so I wanted to make sure they were light enough to carry. I poured the salt into a pitcher because it’s very hard to pour a bag into a bag.

 |

Other Important Notes:
- Salt should not be confused with Epsom salt (also known as magnesium sulfate) – they are completely different compounds.
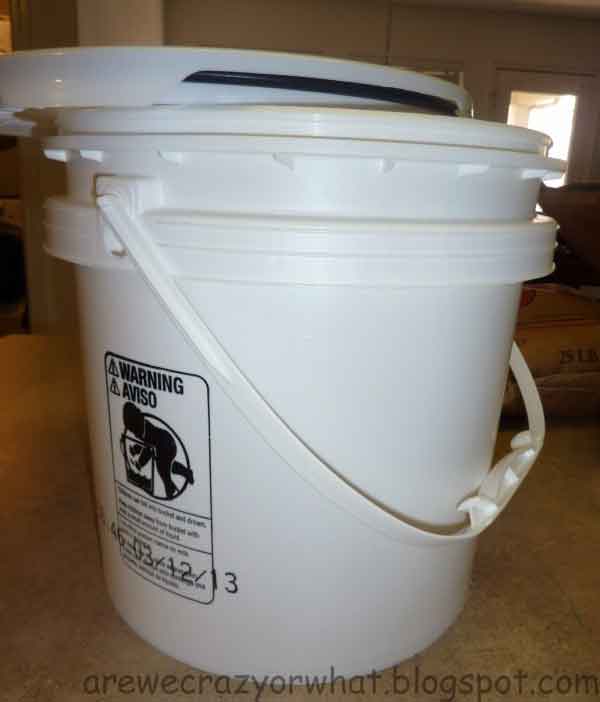
- Never store salt in metal containers. Salt leaches metals and/or elements out of the metal. You could wind up with a poisonous substance in your salt.
- Also something to consider is using/storing salt to be used as a bartering item. A lot of preppers store canned goods and processed food, which already contain salt, so they don’t give much thought to plain salt. In our culture today salt has been associated with heart attacks and other health afflictions resulting from the over consumption, therefore, many people might not store enough salt or store it at all. At some point, processed food might become scarce and salt would once again be a valuable item as it was in ancient times.


")

")

